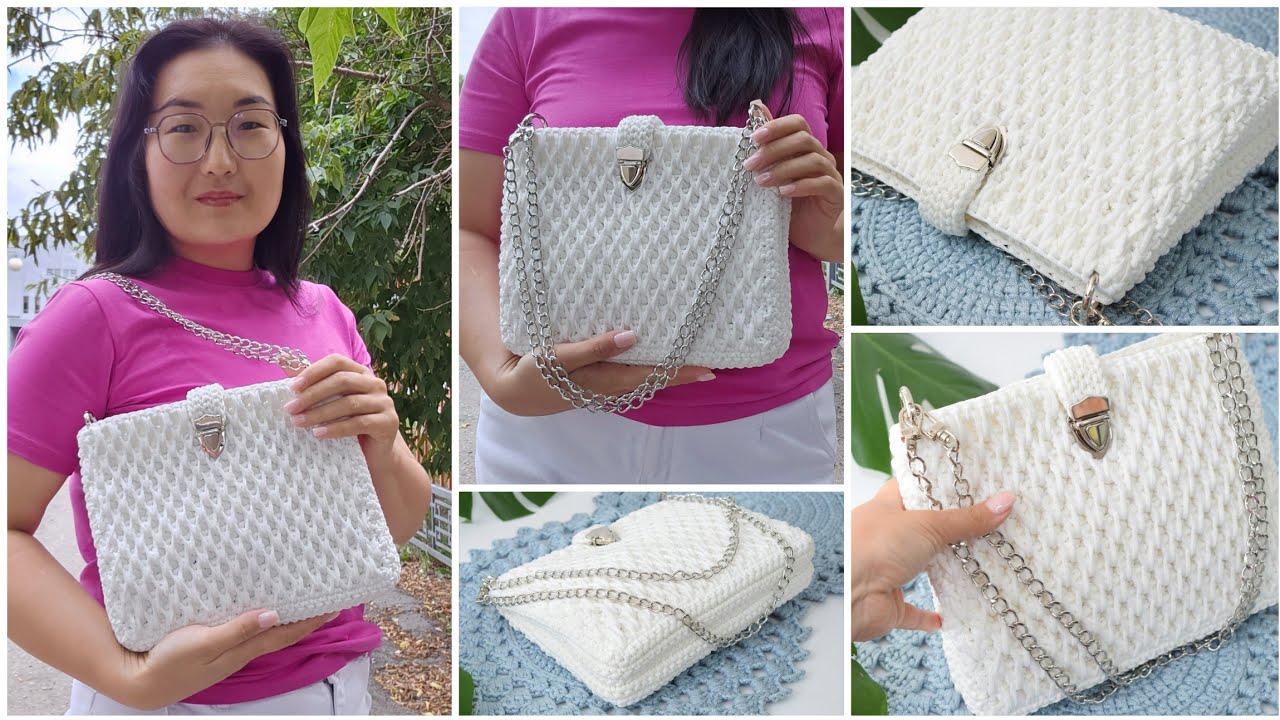
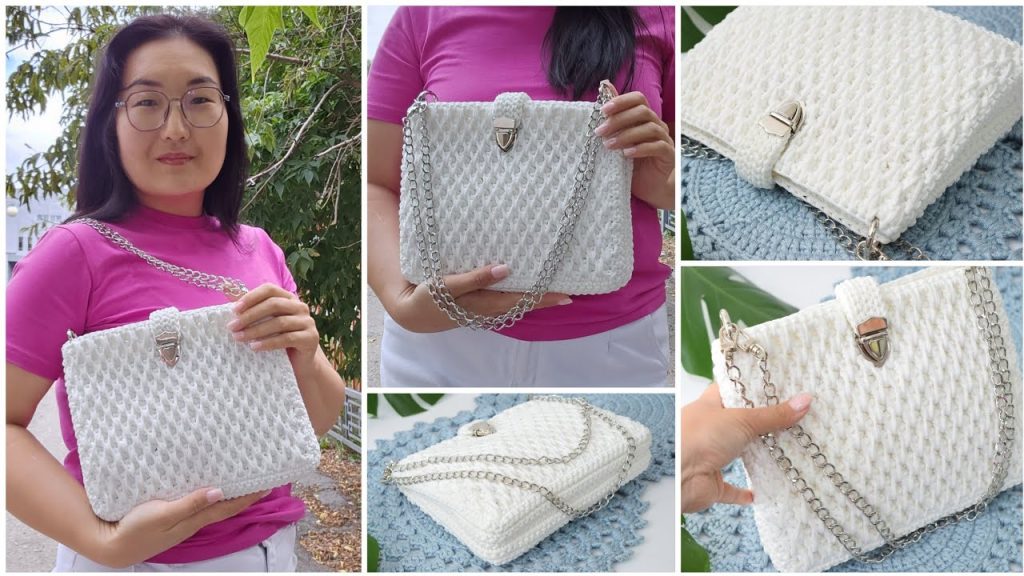
This tutorial will show you how to crochet a beautiful, structured handbag featuring the striking Honeycomb Stitch. This pattern, inspired by the video, creates a dense, sturdy fabric with a wonderful texture that makes it ideal for bags. The handbag is constructed from two flat panels that are later seamed, resulting in a clean, professional finish.
This is a great project for intermediate crocheters or confident beginners ready to tackle textured stitches and garment construction.
Why Crochet the Hexa-Chic Handbag?
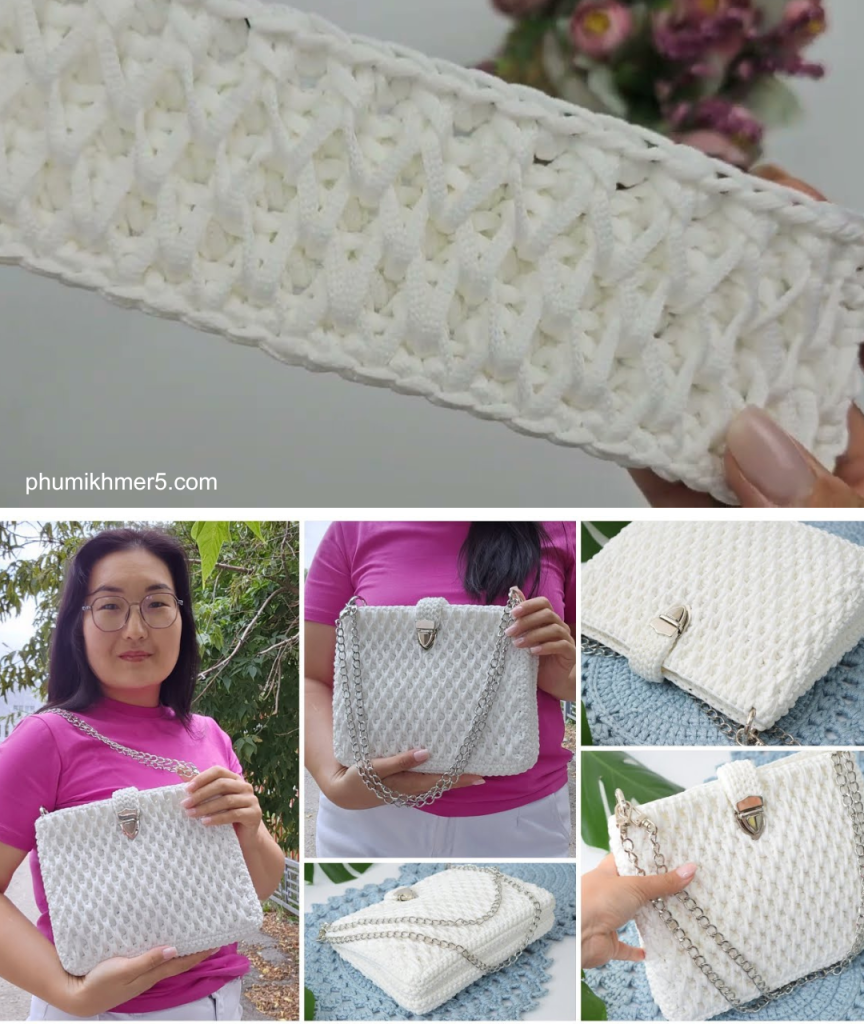
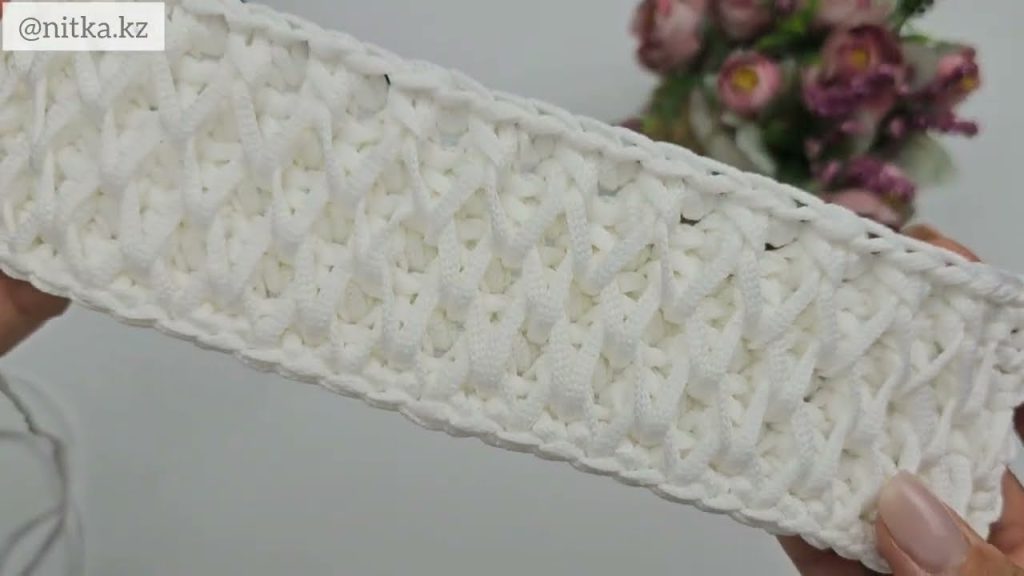
- Unique Texture: The Honeycomb Stitch (a combination of single crochet, long single crochet, and front post single crochet) provides a stunning, durable fabric.
- Sturdy Structure: When worked with a thick cord and a smaller hook, the fabric is dense enough to hold the bag’s shape without heavy lining.
- Customizable: Easily change the height or width by adjusting the initial chain count and the number of pattern rows.
- Chic Hardware: Designed to accommodate a modern metal chain and a tongue lock (backlog) for a polished, ready-to-wear look.
1. Materials & Tools You’ll Need
- Yarn: 3 mm thick Polyester Cord (The video used approximately 200 meters).
- Crochet Hook: 4.0 mm (G-6 US).
- Hardware:
- Two Snap Rings (or D-Rings).
- One Tongue Lock (or other bag closure/backlog).
- One Metal Chain (for the shoulder strap).
- Tools: Scissors, Tapestry Needle (Yarn Needle).
2. Key Measurements & Finished Size
- Finished Dimensions (approx.): Width: 26 cm, Height: 21 cm (after assembly).
- Panels: You will crochet two identical panels.
3. Essential Crochet Stitches & Techniques
| Abbreviation | Stitch Name | Notes |
| ch | Chain | |
| sl st | Slip Stitch | |
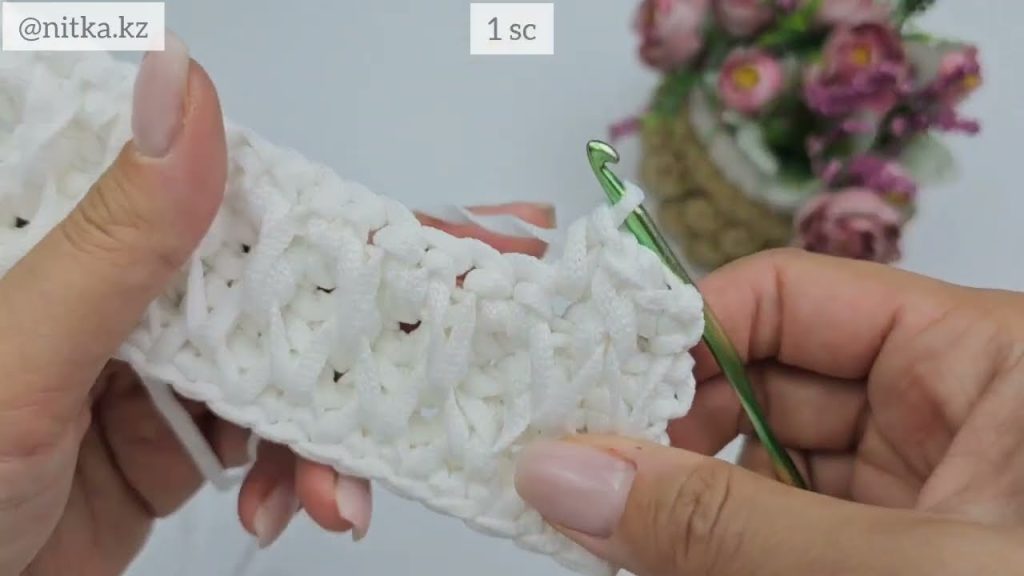
| sc | Single Crochet | |
| LSC | Long Single Crochet | Insert hook into the base of the bottom stitch from the previous relevant row (usually two rows below). |
| FPSC | Front Post Single Crochet | Insert hook around the two halves of the two next stitches from the row below. |
4. The Pattern Instructions
You will create two identical panels (Panel A and Panel B) using a 4-row repeat pattern.
Part 1: Main Bag Panel (Make 2)
The main panel starts with a foundation chain of 30 stitches. The final stitch count for each row will be 29 stitches.
- Foundation Chain: Ch 30.
- Row 1 (Base Row): Leave one stitch. Insert hook into the back loop of the second chain from the hook. Make 1 sc and 1 sc in the back loop of each chain across.
- Stitch Count: 29 sc. Ch 1, turn.
The Honeycomb Pattern Repeat (Rows 2-5 are the block):
- Row 2 (LSC Offset): Insert hook into the base of the first stitch of the first row and make 1 LSC. *1 sc in the next stitch, 1 LSC in the base of the stitch two rows below*. Repeat from * to * across.
- Stitch Count: 15 LSC, 14 sc (29 total). Ch 1, turn.
- Row 3 (FPSC Row):1 sc in the first stitch. *Insert hook into the two halves of the next two stitches and make 1 FPSC, 1 sc in the next stitch*. Repeat from * to * across.
- Stitch Count: 14 FPSC, 15 sc (29 total). Ch 1, turn.
- Row 4 (LSC Centered):1 sc in the first stitch. *1 LSC (into the base of the stitch two rows below, under the triangle pattern), 1 sc in the next stitch*. Repeat from * to * across.
- Stitch Count: 14 LSC, 15 sc (29 total). Ch 1, turn.
- Row 5 (FPSC Offset):2 sc in the first two stitches. *1 FPSC (into the two halves of the next two stitches), 1 sc in the next stitch*. Repeat from * to * until you have two stitches remaining. Work 1 sc in each of the last two stitches.
- Stitch Count: 13 FPSC, 16 sc (29 total). Ch 1, turn.
Continue the Pattern: Repeat Rows 2-5 until you have completed 15 sets of the 4-row pattern. Fasten off the yarn on Panel A.
Part 2: Working the Border (Sides and Base)
You will work single crochet rounds around both panels to create the side walls of the bag.
- Border Row 1 (Panel A): Attach yarn at one corner. Ch 1.
- Side 1 (Pattern edge): Sc down the side, working 3 sc for each pattern repeat (15 patterns x 3 sc = 45 sc).
- Corner 1: Work 2 sc in one base.
- Side 2 (Foundation chain edge): Work 27 sc across the foundation chain edge.
- Corner 2: Work 2 sc in one base.
- Side 3 (Pattern edge): Sc up the final side, working 3 sc for each pattern repeat (45 sc).
- Total Stitches: 98 stitches. Ch 1, turn.
- Border Rows 2-5: Work 98 sc around, making sure to work the corners as single stitches to maintain the stitch count and square shape.
- Finish Panel A: Cut the yarn and hide the tip of the yarn into the stitches.
- Finish Panel B: Repeat steps 1-3 for Panel B, but DO NOT cut the yarn after the final row..
Part 3: Bag Assembly
You will now join the two panels to form the bag body.
- Seaming the Top: Hold Panel A and Panel B together with the wrong sides facing each other. Starting at the corner of Panel B (where the yarn is still attached), work a row of single crochet through both loops of both panels across the top edge (Side 3 in the border instructions).
- Seaming the Bottom: Continue working single crochet down the side (Side 1 of the border), across the bottom edge (Side 2 of the border), and up the next side (Side 3 of the border).
- Final Seam: Continue crocheting the final edge closed. When you reach the beginning of the seam, cut the yarn and weave in the tail.
- Turn the bag right side out and give it the right shape.
Part 4: Strip for the Lock
This strip is crocheted flat in slip stitch rows.
- Foundation: Leave a long yarn tail (approx. 20 cm) for sewing. Ch 13.
- Row 1: Skip 1 ch. Sl st in the second ch from the hook and in each ch across. (12 sl st). Ch 1, turn.
- Row 2: Insert hook into the back loop only and make 1 sl st in each stitch across. (12 sl st). Ch 1, turn.
- Continue: Crochet a total of 6 rows. Cut the yarn, leaving a long tail for sewing. Hide the tip of the yarn.
5. Finishing and Hardware
- Install the Lock: Install the lock onto the crocheted strip. Sew the strip securely to the front of the bag using the starting yarn tail.
- Install the Lower Lock Piece: Sew the lower part of the lock onto the bag body, making sure it aligns perfectly with the top part.
- Attach Rings: Attach the two snap rings (D-Rings) to the side walls of the bag using the tails left during the seaming process or new yarn.
- Attach Chain: Attach the metal chain to the snap rings.
Your Hexa-Chic Crochet Honeycomb Handbag is now complete!
Video tutorial:


