🌸 Introduction: Your New Favorite DIY Project
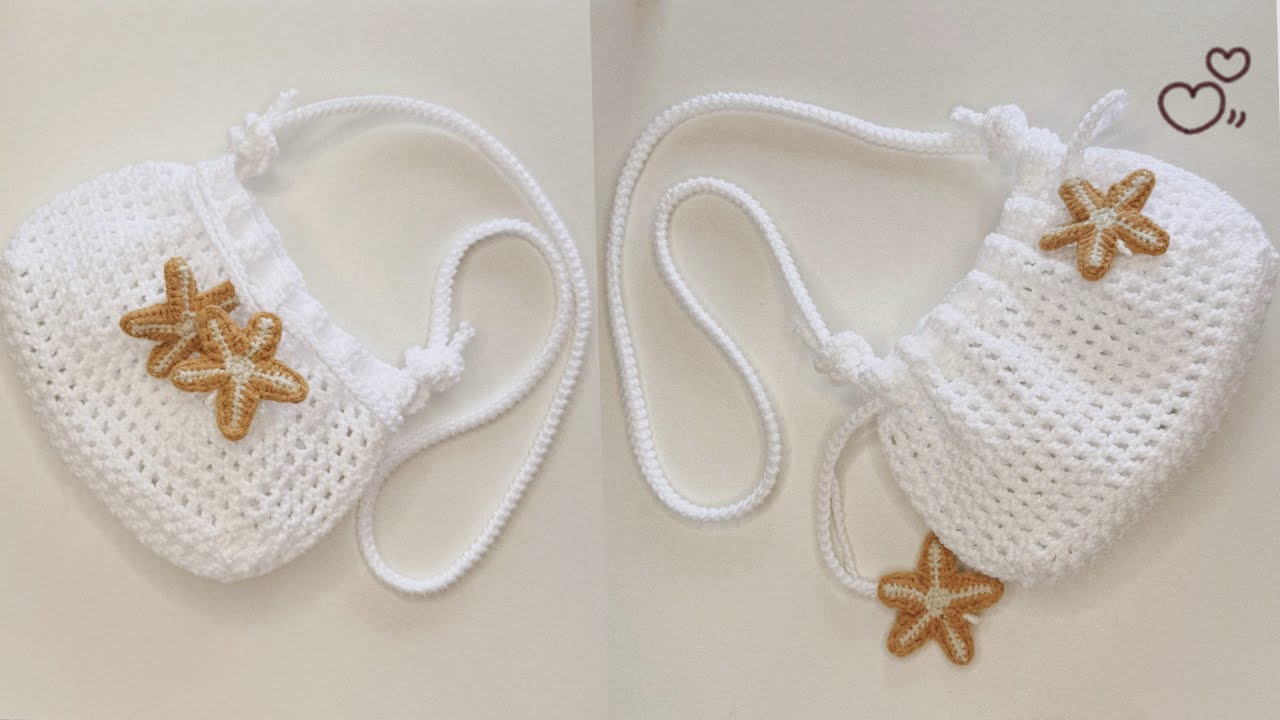
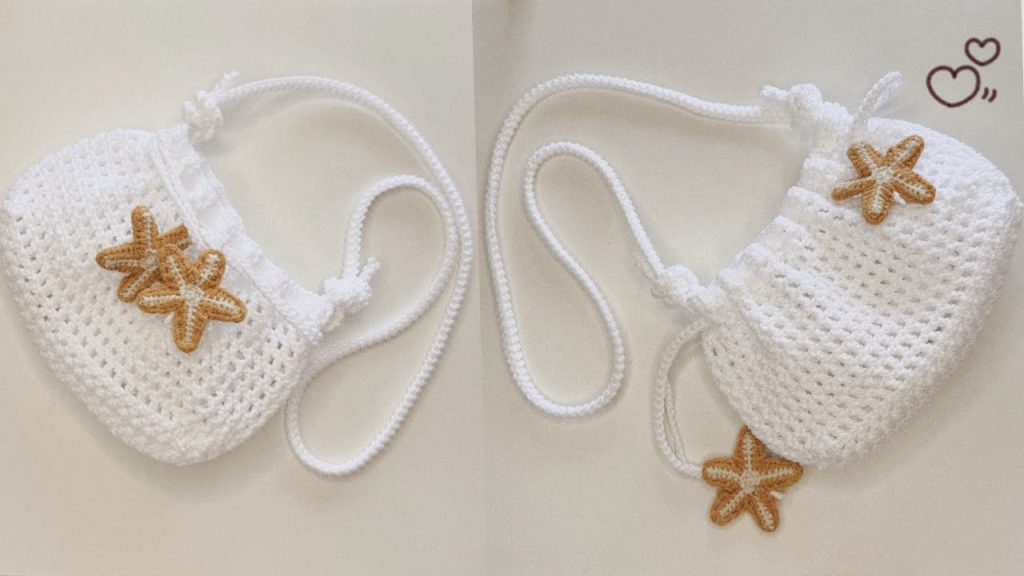
Welcome to the newest pattern on the blog! If you loved the cute, simple style of the beginner crochet bag in the video, you’re ready to dive into The Meadow Bloom Sling Bag.
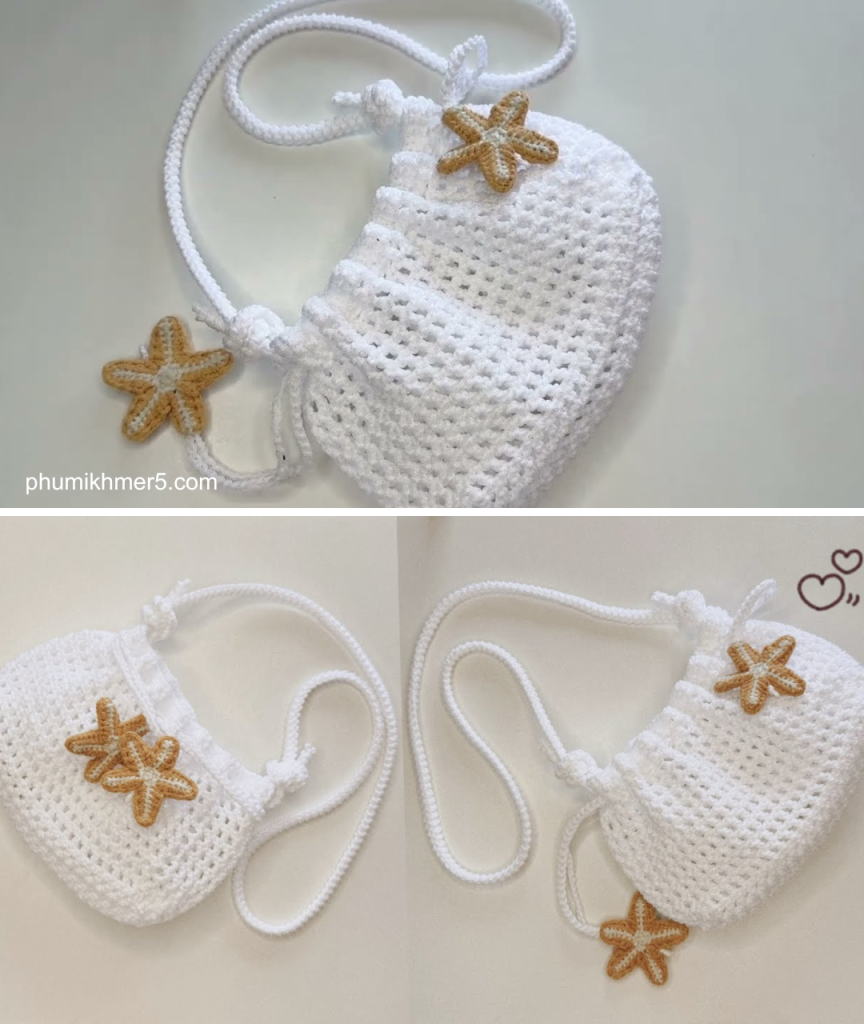
This pattern is designed with the absolute beginner in mind—much like the inspiration video suggested—using simple stitches in a fun, textured combination. This bag is the perfect size for your phone, keys, and wallet, making it ideal for a quick coffee run or a stroll in the park. It works up quickly using medium-weight yarn and a comfortable hook size, making it a satisfying weekend project.
Ready to create a beautiful, custom accessory? Let’s grab our yarn and start stitching!
📋 Project Quick Details
| Feature | Detail |
| Skill Level | Beginner |
| Finished Size (Approx.) | 7.5 inches wide x 8 inches tall (without strap) |
| Gauge | 4 rows of stitch pattern = 1 inch tall |
| Key Stitches | Single Crochet (SC), Half Double Crochet (HDC) |
| Est. Time | 4–6 hours |
🧶 Materials & Tools Checklist
To make your “Meadow Bloom” Sling Bag, you will need the following supplies. (Pro-Tip: For a sturdy bag, choose a cotton or cotton-blend yarn!)
- Yarn: Approx. 200–220 yards of Worsted Weight (Category 4) yarn.
- Recommendation: A sturdy, plant-based yarn like Lily Sugar’n Cream or a blend like Lion Brand 24/7 Cotton.
- Color(s): Choose one main color (MC) for the body and a small amount of a contrasting color (CC) for the optional strap trim.
- Hook: US Size H/8 (5.0 mm) crochet hook.
- Notions:
- Tapestry needle for weaving in ends.
- Scissors.
- 4 Stitch markers (essential for marking the beginning of rounds and increase points).
- Optional: A magnetic snap or zipper for closing.
📘 Essential Abbreviations (US Terms)
| Abbreviation | Meaning |
| CH | Chain |
| SL ST | Slip Stitch |
| SC | Single Crochet |
| HDC | Half Double Crochet |
| ST(S) | Stitch(es) |
| MC | Main Color |
| CC | Contrasting Color |
| REP | Repeat |
📐 Gauge (Tension) Swatch
It is highly recommended to check your gauge to ensure your bag is the intended size!
Swatch Instructions:
- CH 18.
- Row 1: SC in the 2nd CH from hook, SC in each CH across. (17 SC)
- Row 2: CH 1 (does not count as a stitch), HDC in the first ST, SC in the next ST. *HDC in the next ST, SC in the next ST* REP from * to * across, ending with SC in the last ST. (17 STS)
- Row 3: CH 1 (does not count as a stitch), SC in the first ST, HDC in the next ST. *SC in the next ST, HDC in the next ST* REP from * to * across, ending with HDC in the last ST. (17 STS)
- Rows 4-10: REP Rows 2 and 3.
Check: Your 10 rows should measure approximately 2.5 inches tall. Your 17 stitches should measure approximately 4 inches wide. Adjust your hook size up or down if your measurements are significantly different.
📝 The Meadow Bloom Bag Pattern
We will work the bag in four parts: The Base, The Body, The Rim, and The Strap.
Part 1: The Oval Base (Working in Rounds)
The base is worked in a continuous spiral to create a flat oval shape. Use a stitch marker to mark the first stitch of every round.
- CH 27 (or desired length).
- Rnd 1: SC in the 2nd CH from hook. SC in the next 24 CH. 3 SC in the last CH. Rotate your work to continue down the opposite side of the starting chain. SC in the next 24 CH. 2 SC in the last CH (this is the same CH you started the round in). (54 SC)
- Rnd 2: 2 SC in the first ST. SC in the next 24 STS. 2 SC in each of the next 3 STS. SC in the next 24 STS. 2 SC in each of the last 2 STS. (60 SC)
- Rnd 3: SC in the first ST. 2 SC in the next ST. SC in the next 24 STS. *SC in the next ST, 2 SC in the next ST* REP from * to * 3 times. SC in the next 24 STS. *SC in the next ST, 2 SC in the next ST* REP from * to * 2 times. (66 SC)
- Rnd 4: SC in the first 2 STS. 2 SC in the next ST. SC in the next 24 STS. *SC in the next 2 STS, 2 SC in the next ST* REP from * to * 3 times. SC in the next 24 STS. *SC in the next 2 STS, 2 SC in the next ST* REP from * to * 2 times. (72 SC)
- Rnd 5: SC in the back loop only (BLO) of every ST around. This will create a clean fold line for the body. (72 SC)
(Base complete. You should have 72 stitches around.)
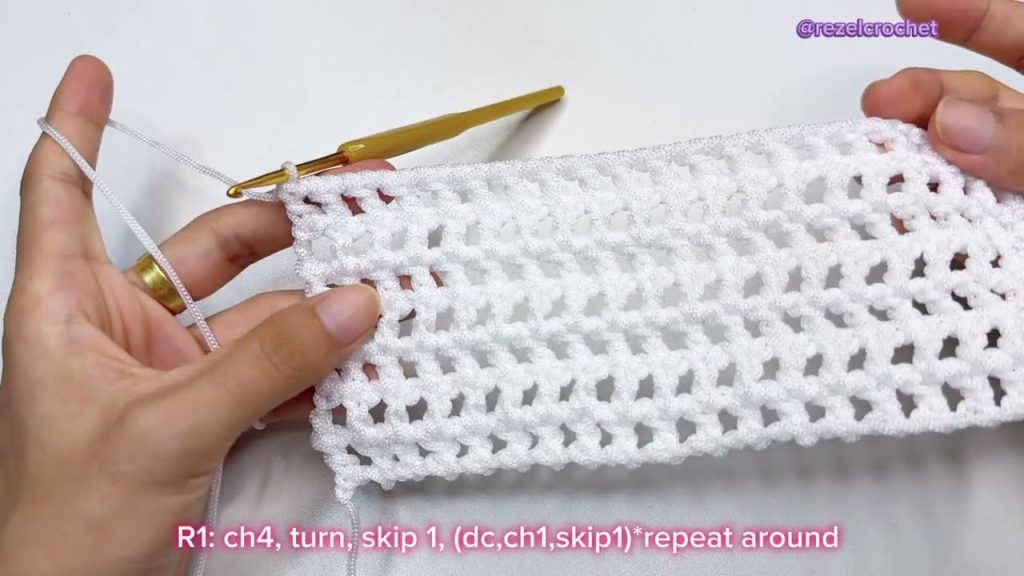
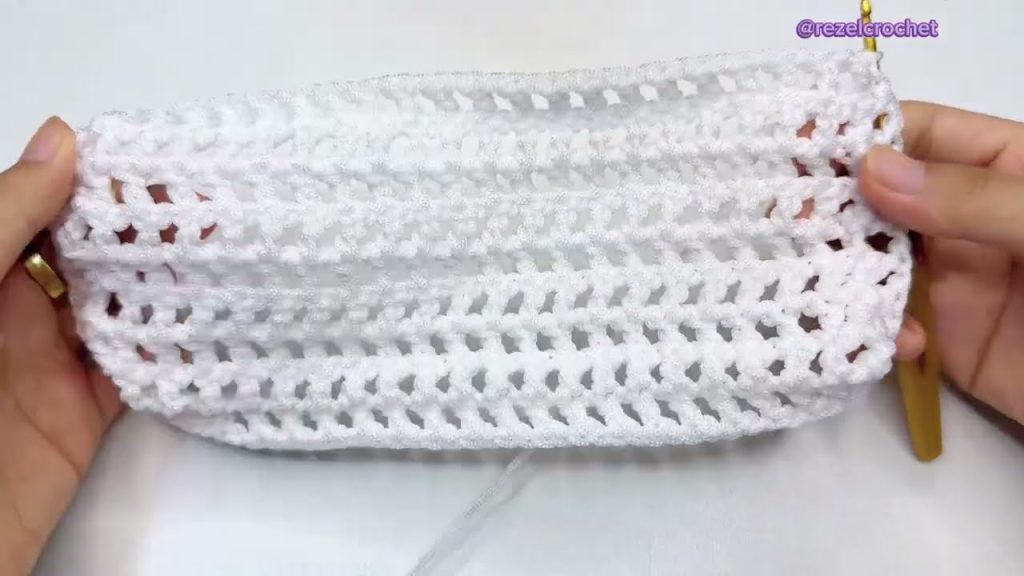
Part 2: The Textured Body
We will now work the main body in continuous rounds using the textured Moss/Grit stitch.
- Rnd 6: SC in the first ST. HDC in the next ST. *SC in the next ST, HDC in the next ST* REP from * to * around. (72 STS)
- Rnd 7: HDC in the first ST (this should be over the SC from the previous round). SC in the next ST (this should be over the HDC from the previous round). *HDC in the next ST, SC in the next ST* REP from * to * around. (72 STS)
- Rnd 8 and beyond: REP Rnd 6 and Rnd 7 in an alternating pattern until the bag reaches approximately 8 inches in height (or desired height). This should be around 35–40 rounds.
(The body should now be taking shape and standing upright.)
Part 3: The Rim and Finishing (Working in Joined Rounds)
We will now switch to joined rounds for a neater top edge.
- Rnd 1 (Transition): REP the last body round you worked, then SL ST to the first ST to join. (72 STS)
- Rnd 2 (SC Edging): CH 1. SC in the same ST and in every ST around. SL ST to the first SC to join. (72 SC)
- Rnd 3 (Crab Stitch/Reverse SC – Optional): CH 1. Work a Reverse SC (Crab Stitch) in every ST around. SL ST to the first ST to join.
- Note: If you skip the Crab Stitch, simply fasten off after Rnd 2.
- Fasten off Main Color (MC) and weave in the end securely.
(The bag body is complete.)
Part 4: The Adjustable Sling Strap
This strap is worked in rows and then attached to the bag.
- Using MC: CH 6 (or desired width).
- Row 1: SC in the 2nd CH from hook, and SC in each CH across. (5 SC)
- Row 2: CH 1, turn. SC in each ST across. (5 SC)
- Rows 3 and beyond: REP Row 2 until the strap reaches approximately 48–50 inches (or your desired cross-body length).
- Fasten off, leaving a long tail (approx. 24 inches) for sewing.
Attaching the Strap
- Thread your tapestry needle with the long yarn tail.
- Flatten the bag. The sides where you started and ended your rounds are now the “seams” of the bag.
- Position one end of the strap to the inside edge of one of the seams, aligning the edge of the strap with the Rim stitches.
- Use the whipstitch or mattress stitch to securely sew the strap to the bag over about 1.5 inches of the rim.
- Repeat with the other side of the strap on the opposite seam of the bag. Weave in all remaining ends.
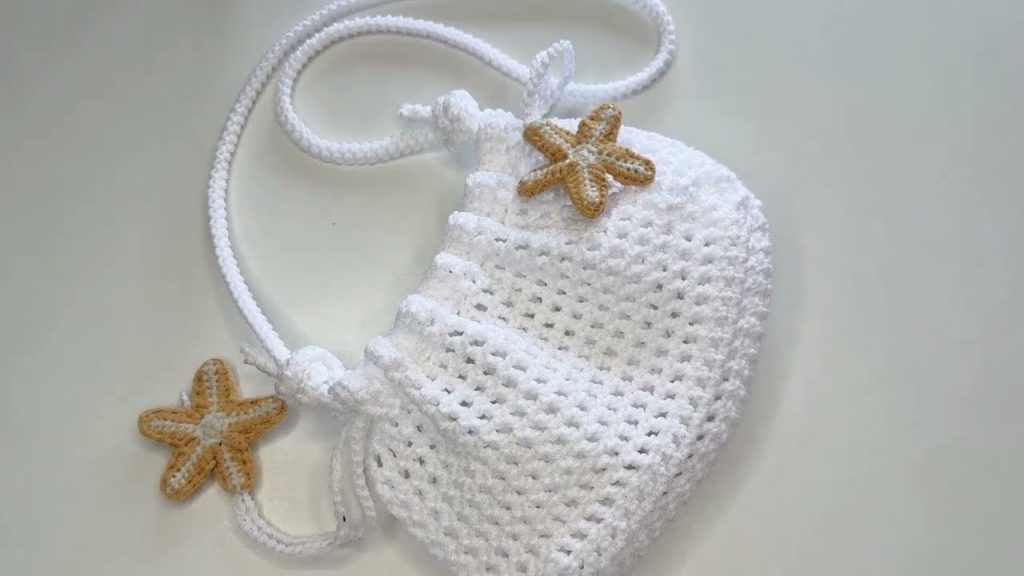
✨ Finishing Touches & Customization
1. Adding a Contrast Trim (Optional)
You can easily add an eye-catching detail to the strap using your contrasting color (CC).
- Using your CC and a smaller hook (e.g., 4.0 mm), SL ST along both long edges of the completed strap. This creates a neat, finished look and adds a pop of color.
2. Inner Lining (Highly Recommended)
For a professional finish and to prevent small items from falling through the crochet stitches, consider adding a simple fabric lining.
- Cut a simple rectangular fabric liner (cotton is best) that is slightly larger than the bag body.
- Sew the sides and bottom of the liner, and then fold the top edge over.
- Hand-stitch the lining to the inside of the crochet bag rim, just under the top edge.
3. Closure Options
- Magnetic Snap: Sew a magnetic snap closure to the inside of the rim, centered on the front and back of the bag.
- Button & Loop: Crochet a small chain loop (CH 10-15) and attach it to the back center of the rim. Sew a decorative button to the front center of the bag body.
💡 Troubleshooting & Pro-Tips for Beginners
- My Bag is Tilting! If your bag is spiraling or tilting, it means you are not maintaining a perfectly consistent count of 72 stitches. Put your work down, count your stitches in the last round, and adjust by adding or subtracting an SC/HDC until you reach 72 again.
- The Texture Isn’t Right! The texture (Meadow Bloom Stitch) relies on alternating SC and HDC. If you are accidentally putting an SC on top of an SC, the texture won’t form correctly. You must always ensure an SC is worked into the HDC from the previous row, and an HDC is worked into the SC from the previous row.
- Use Stitch Markers: Always mark the first stitch of the round in the Base and Body sections to avoid losing your place.
📸 Share Your Creation!
We can’t wait to see your “Meadow Bloom” Sling Bag! Tag us on social media with #MeadowBloomSling and let us know what color you chose.
Happy crocheting!
Video tutorial:


