
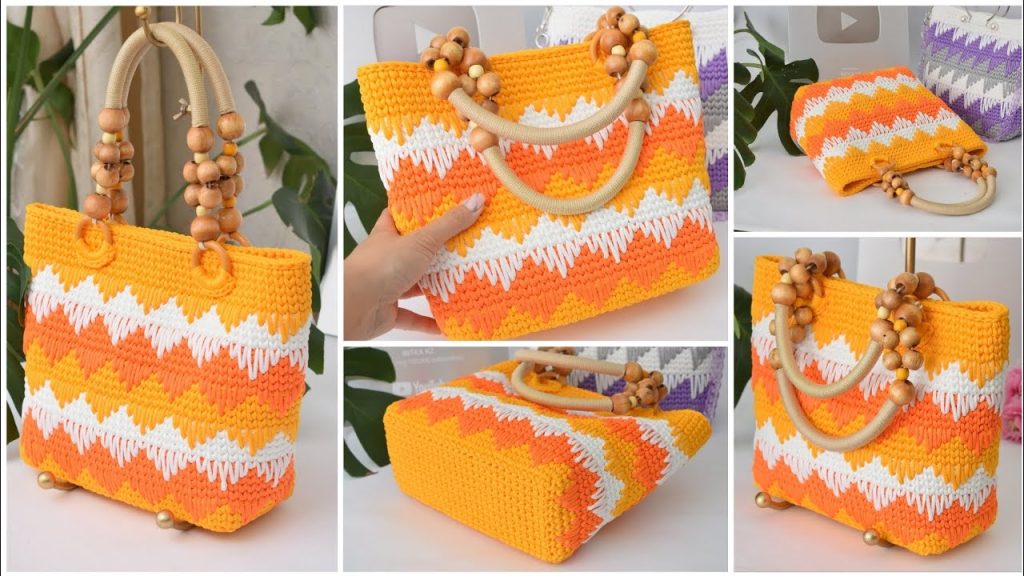
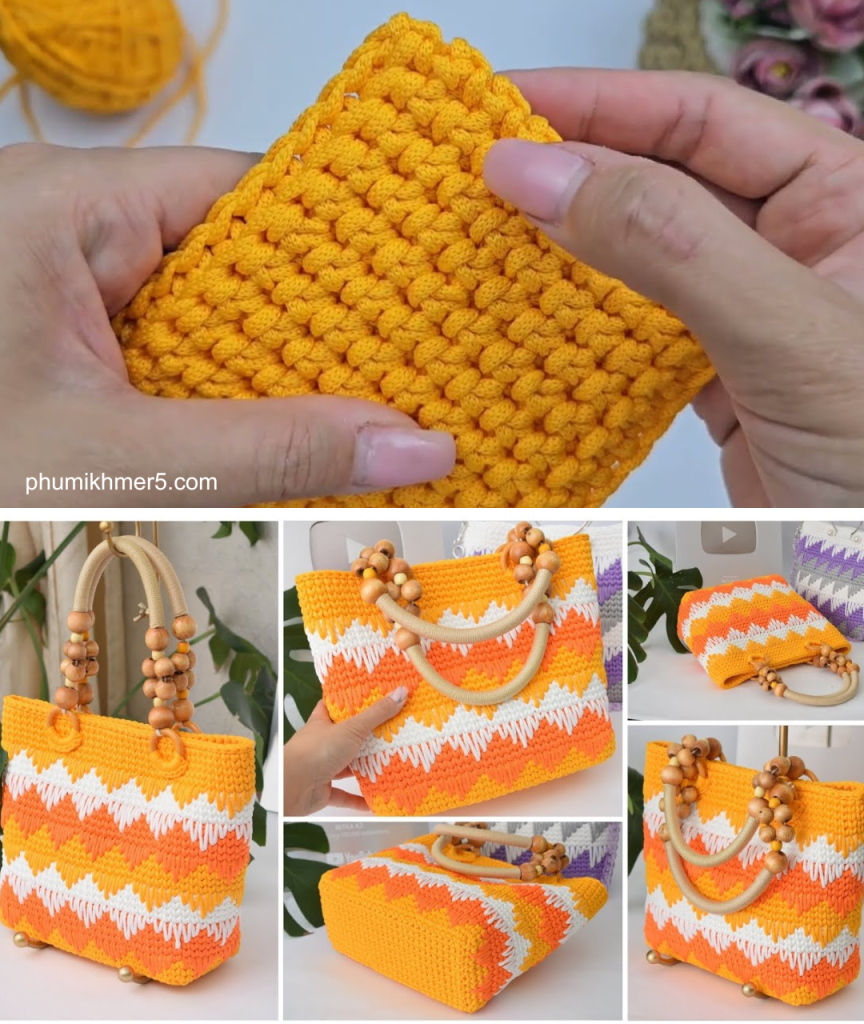
Are you ready to create a bag that is as durable as it is stylish? The Crossbody Bag is the perfect accessory for any adventure, blending practical size with a stunning, tactile texture. Inspired by the clean lines and sturdy construction of classic handmade bags, this pattern utilizes the unique Herringbone stitch and is worked with a dense macrame-style cord, resulting in a structured and elegant finish. Forget floppy bags—this one stands on its own!
This tutorial is a complete master-class, guiding you through the base, the textured body, and the professional assembly of the hardware.
Project Snapshot
- Finished Dimensions: Approximately 20 cm (8 in) wide x 25 cm (10 in) high.
- Skill Level: Intermediate (Requires familiarity with reading stitch counts, working in the round, and basic stitches).
- Key Techniques: Oval foundation, working in the round, Herringbone Half Double Crochet (HHDC), Tapestry Crochet for stripes.
Essential Materials Checklist
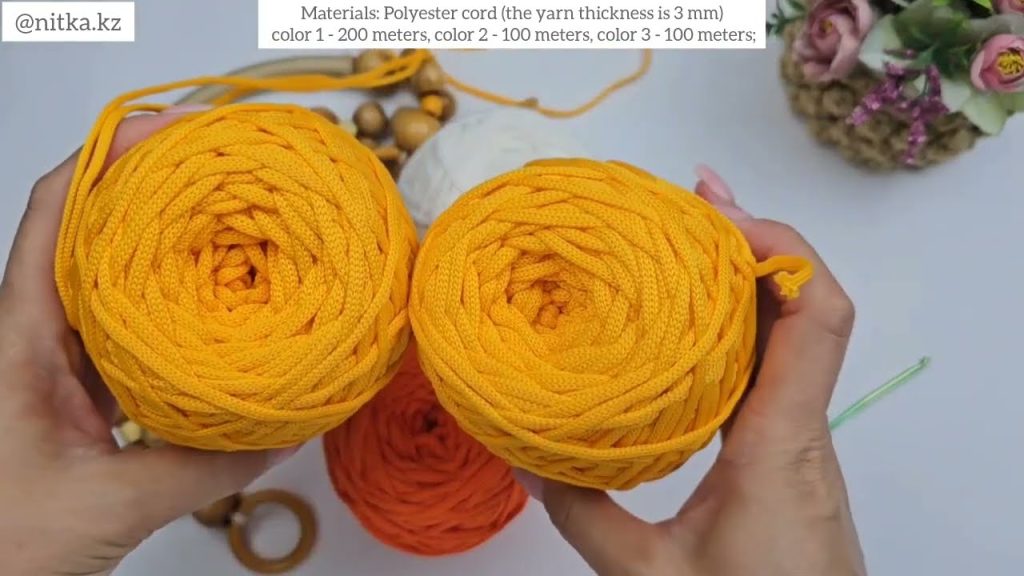
To replicate the sturdy feel and elegant texture, we recommend using macrame cord or a robust rope yarn. For a multi-color look, you will need three colors, similar to the multi-tonal approach of classic crochet projects.
| Item | Details | Quantity |
| Macrame Cord/Rope Yarn | 5mm Single Strand Macrame Cord (or equivalent robust yarn) | Color A (Main Body): 350 meters |
| Color B (Accent Stripe 1): 100 meters | ||
| Color C (Accent Stripe 2): 100 meters | ||
| Crochet Hook | Size 7.0 mm (L/11) | 1 |
| Accessories | Magnetic Snap Closure | 1 (18 mm diameter) |
| Swivel Clasps and D-Rings | 2 of each (2.5 cm/1 in diameter) | |
| Adjustable Leather/Faux Leather Strap | 1 (120 cm length) | |
| Notions | Stitch Markers, Scissors, Lighter (for sealing cord ends), Tapestry Needle, Clear Monofilament Thread. |
Export to Sheets
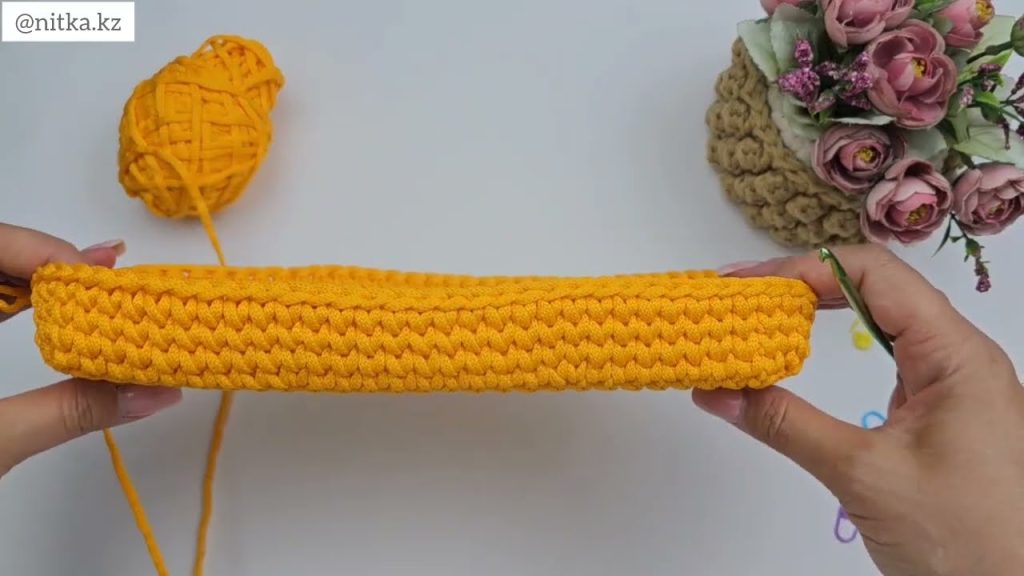
Section 1: The Foundation – Creating a Sturdy Oval Base
A perfect bag starts with a perfect base. We will create a flat oval that provides the necessary depth and stability.
Starting Chain: Using Color A, chain 20.
Round 1:
- SC in the second chain from the hook, and SC in the next 17 chains.
- In the very last chain, work 3 SC (this is your turn).
- Working back down the opposite side of the chain: SC in the next 17 stitches.
- In the last stitch (the one where you made your very first SC), work 2 SC.
- Slip stitch (SL ST) to the first SC to join the round.
- (Total Stitches: 40)
Round 2: Establishing the Oval Shape
- Chain 1 (does not count as a stitch).
- Work SC in the next 18 stitches.
- Increase Section: Work 2 SC in each of the next 3 stitches.
- SC in the next 18 stitches.
- Increase Section: Work 2 SC in each of the next 2 stitches.
- SL ST to the first SC to join.
- (Total Stitches: 45)
Round 3: Final Base Shaping
- Chain 1.
- Work SC in the next 19 stitches.
- Increase Section: Work
[2 SC in the next stitch, 1 SC in the next stitch]three times. - SC in the next 18 stitches.
- Increase Section: Work
[2 SC in the next stitch, 1 SC in the next stitch]two times. - SL ST to the first SC to join.
- (Total Stitches: 50)
Your oval base should now measure approximately 20 cm in length and 7-8 cm in width. Do not cut the yarn.
Section 2: Transition to Walls & Body Preparation
This round is crucial for creating a defined, sharp corner between the base and the body of the bag, allowing the walls to rise vertically.
Round 4 (Transition Round):
- Chain 1.
- Work Single Crochet in the Back Loop Only (SC BLO) in every single stitch around.
- SL ST to the first SC BLO to join.
- (Total Stitches: 50)
Round 5 (Body Foundation):
- Chain 1.
- Work Single Crochet (SC) in every stitch around, using the classic V-stitch (or “galochki” stitch, inserting the hook directly into the center of the V of the stitch below for a clean, dense fabric).
- SL ST to join.
- (Total Stitches: 50)
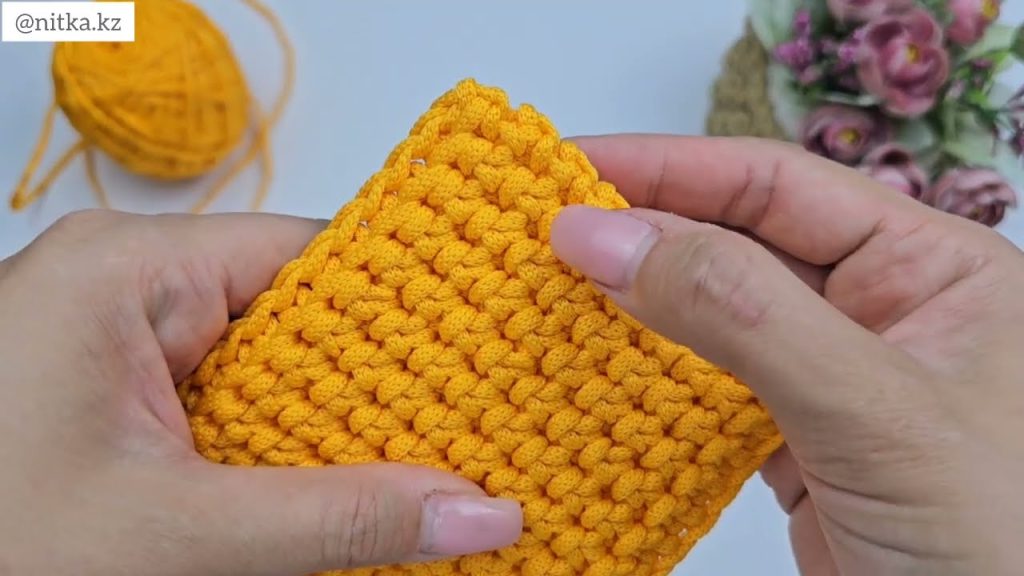
Section 3: The Main Feature – Textured Herringbone Pattern
We will now introduce the main textured stitch and the color changes to create the multi-stripe pattern. The total body height will be 20 rounds of pattern and solid color.
Herringbone Half Double Crochet (HHDC) Instructions:
- To make HHDC: Yarn Over (YO), insert hook into the indicated stitch. YO, pull up a loop through the stitch and through the first loop on your hook (this is the key to the herringbone slant). YO, pull through the remaining two loops on your hook.
Block 1: Color A (Main Color)
- Rounds 6-10: Work HHDC in every stitch around. SL ST to the first HHDC to join. (5 rounds of solid Color A).
Block 2: Color B (Accent 1)
- Round 11 (Color Change): Change to Color B on the final SL ST of Round 10. Work HHDC in every stitch around. Carry Color A along the inside of your work (tapestry crochet technique) to easily pick it up later. (1 round of Color B texture).
- Rounds 12-13: Still using Color B, work SC in every stitch around, using the V-stitch technique for density. (2 rounds of solid Color B).
Block 3: Color C (Accent 2)
- Round 14 (Color Change): Change to Color C on the final SL ST of Round 13. Work HHDC in every stitch around. Carry Color B along the inside. (1 round of Color C texture).
- Rounds 15-16: Still using Color C, work SC in every stitch around, using the V-stitch technique. (2 rounds of solid Color C).
Block 4: Color A (Main Color Reprise)
- Round 17 (Color Change): Change back to Color A on the final SL ST of Round 16 (pick up the carried strand). Work HHDC in every stitch around. (1 round of Color A texture).
- Rounds 18-20: Still using Color A, work SC in every stitch around. (3 rounds of solid Color A).
Section 4: The Finishing Touches and Hardware Assembly
We are now ready to finish the top edge and attach the hardware.
Round 21 (Final Edge):
- Chain 1.
- Work Reverse Single Crochet (Crab Stitch) in every stitch around. This creates a beautifully tight, rolled edge that prevents stretching.
- SL ST to the first stitch and cut your yarn, leaving a long tail (20 cm).
Securing and Shaping:
- Use your tapestry needle to invisibly weave in the last yarn tail.
- Carefully melt and press the cut ends of the macrame cord with a lighter to prevent fraying and knotting the ends inside the bag for extra security.
Hardware Assembly
1. Attaching D-Rings and Swivel Clasps:
- You will attach two D-rings to the top edge for the strap.
- Place one D-ring on the far left side and one on the far right side of the bag’s opening (directly opposite the center points of the front and back).
- Using your clear monofilament thread (or a matching sewing thread), sew the D-ring securely to the top edge, ensuring the stitching goes through the dense fabric. Repeat for the second D-ring.
- Attach your prepared adjustable strap to the D-rings using the swivel clasps.
2. Installing the Magnetic Snap Closure:
- Fold the bag flat. Identify the exact center point of the front and back panels.
- Placement: Place the magnetic snap about 3 cm (1.25 in) down from the top edge on the center point of the front panel. Mark the prong locations.
- Attachment: Insert the prongs through the fabric and place the washer on the prongs. Use pliers to fold the prongs flat against the washer.
- Repeat the process for the second half of the snap on the back panel, ensuring both halves align perfectly when the bag is closed. Use the monofilament thread to sew around the metal plate for extra security, hiding your knots inside the bag.
3. Optional: Adding a Lining
- While this cord provides a dense structure, a fabric lining adds a professional touch and prevents small items from slipping through.
- (For a complete guide, please refer to our separate master-class on “Simple Drop-In Linings for Crochet Bags.”)
Conclusion: Your Finished Wanderlust Crossbody
Congratulations! You have completed a stunning, professional-quality crochet bag. The Herringbone stitch creates a beautiful chevron texture that catches the light, and the sturdy cord ensures your bag will keep its shape for years to come.
Your finished bag measures 20 cm wide and 25 cm high, perfect for carrying your essentials.
We can’t wait to see your unique color combinations! Share your finished bag on Instagram and tag #WanderlustCrossbody so we can admire your beautiful work. Happy crocheting!
Video tutorial:


