
As the sun shines brighter and the waves call louder, there’s no better time to craft your very own DIY crochet beach bag. Not only is this project a satisfying way to unleash your creativity, but it also results in a practical and stylish accessory that’s perfect for carrying your summer essentials.
Whether you’re new to crochet or an experienced maker looking for your next favorite summer project, this guide will walk you through everything you need to know—from choosing the right yarn and hook to patterns, stitches, and even tips for customization.
🏖️ Why Crochet Your Own Beach Bag?
Crochet has made a strong comeback in fashion, and beach bags are no exception. Here’s why a DIY crochet beach bag is worth your time:
- Eco-Friendly: Reusable and handmade bags reduce reliance on plastic.
- Customizable: Choose your own colors, size, and design.
- Durable: Properly crocheted with the right materials, your bag can last for years.
- Stylish: Unique handmade items always turn heads!
- Functional: Crochet beach bags are spacious, lightweight, and breathable.
🧵 Materials You’ll Need
Before diving into the pattern, let’s gather everything:
🧶 Yarn
- Type: Cotton or cotton-blend yarn is ideal. It’s sturdy, washable, and doesn’t stretch too much.
- Weight: Worsted weight (category 4) or bulky (category 5) yarn is best.
- Color: Go wild with summery brights, nautical stripes, or natural tones.
🪝 Crochet Hook
- Use the hook size recommended on your yarn label (usually 5.0 mm to 6.5 mm for worsted weight).
- A larger hook creates looser stitches and a more flexible bag; a smaller hook creates tighter stitches and more structure.
🧷 Other Tools
- Stitch markers
- Scissors
- Yarn needle
- Optional: Wooden handles, lining fabric, or a button for closure
🧣 Basic Stitches to Know
If you’re new to crochet, don’t worry! These are the foundational stitches you’ll need:
- Chain (ch)
- Slip Stitch (sl st)
- Single Crochet (sc)
- Half Double Crochet (hdc)
- Double Crochet (dc)
Optional for advanced texture:
- Shell Stitch
- Granny Stitch
- Mesh Stitch (ch + skip)
You can practice these stitches beforehand on a swatch.
🧺 Basic DIY Crochet Beach Bag Pattern
Here’s a beginner-friendly pattern to create a beautiful, roomy, and functional beach bag.
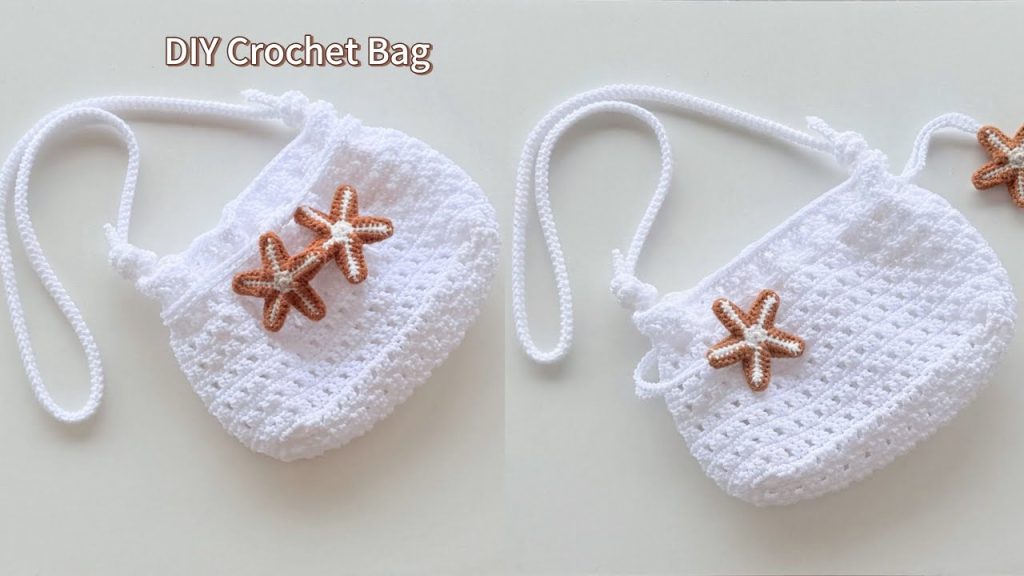
🌞 Pattern: “Ocean Breeze Crochet Beach Bag”
Finished Size: Approximately 15″ wide x 16″ tall (excluding handles)
Skill Level: Easy to Intermediate
Time Required: 6-8 hours (can vary)
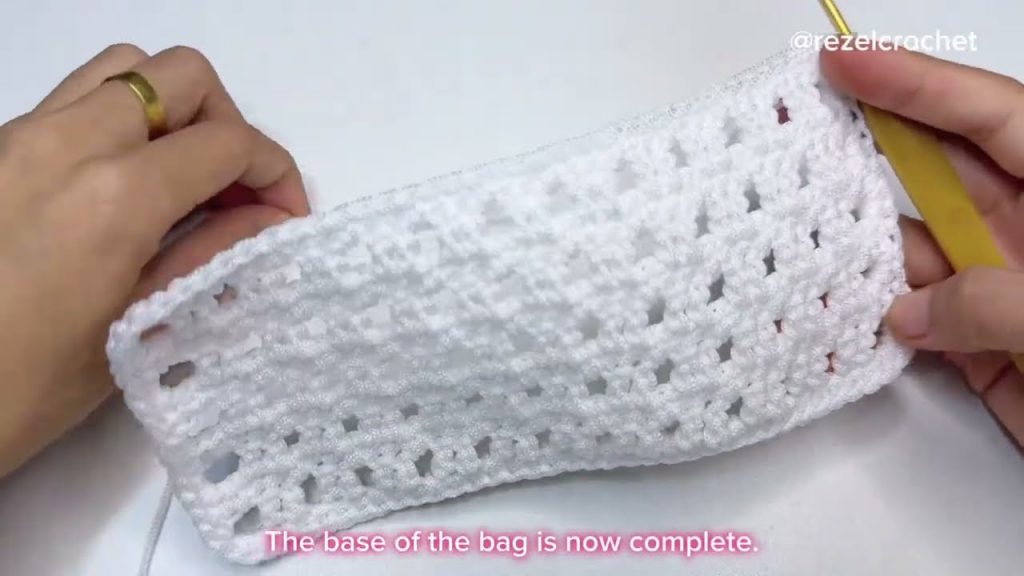
📌 Step 1: Create the Base
Foundation Chain
- Ch 31 (or desired width of the bag)
Round 1
- Sc in 2nd ch from hook and in each ch across (30 sc).
- Continue around to the underside of the chain.
- Sc in each stitch along the other side of the foundation chain. Join with sl st to the first sc. (60 sc)
Round 2–5
- Sc around in continuous rounds to create a sturdy base.
- Optional: Place a stitch marker at the beginning of each round.
📌 Step 2: Build the Body
Round 6
- Ch 2 (counts as hdc), hdc in each st around. Join with sl st.
Round 7–30
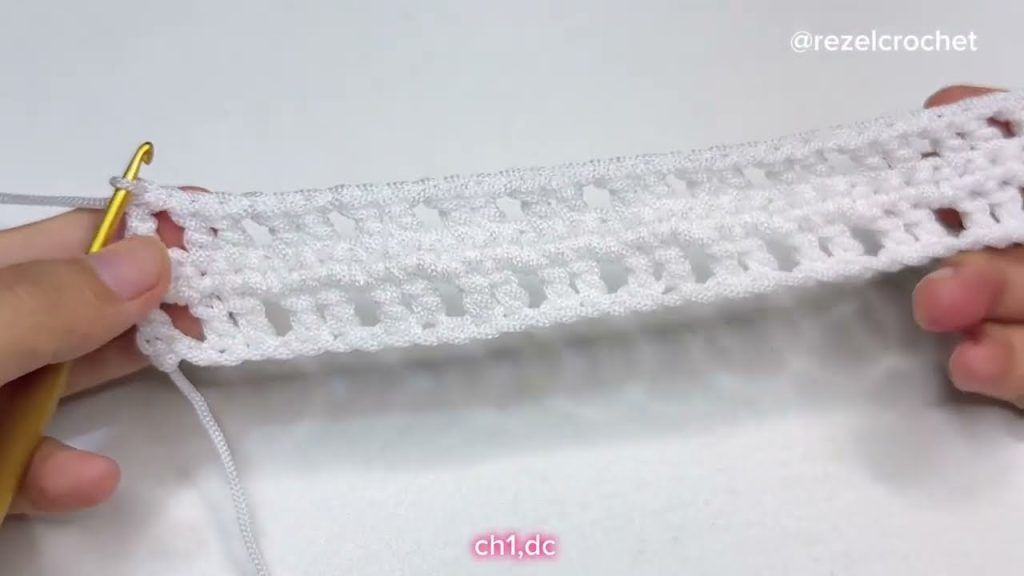
- Alternate hdc and mesh stitch rounds:
- Even Rounds: Hdc in each stitch around.
- Odd Rounds: Hdc, ch 1, skip next st, repeat. Creates a mesh/lace effect perfect for a beachy vibe.
Optional Textures: Add 2-3 rounds of shell stitch or granny stitch in the middle for a decorative stripe.
📌 Step 3: Shape the Top
Round 31–34
- Sc around to create a firm top edge of the bag.
- Optional: Add a round of crab stitch (reverse single crochet) for a decorative border.
📌 Step 4: Add Handles
You can either crochet handles or use pre-made ones (wooden or rope).
Crochet Handles Option:
- Ch 60 (or desired length).
- Skip 10 stitches on the bag and sl st the handle chain to the other side.
- Sc across the chain to make it thicker. Repeat for the second handle.
Attach with Reinforcement:
- Stitch securely and reinforce with extra rows where the handles connect to the bag to avoid stretching or tearing.
📌 Step 5: (Optional) Add Lining or Closure
Lining:
- Use lightweight cotton fabric.
- Cut and sew a rectangle slightly smaller than your bag.
- Hand-stitch or machine-sew into place.
Closure:
- Sew on a magnetic snap, button, or toggle for added security.
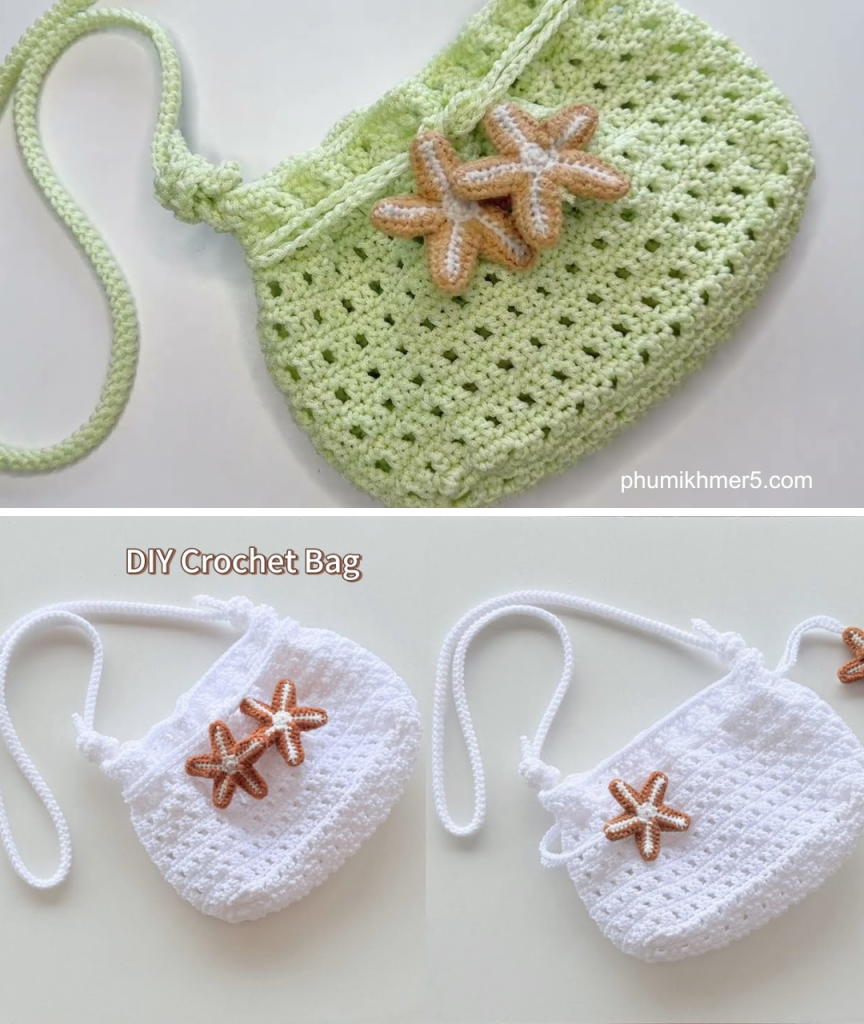
🌼 Design and Color Inspiration
- Nautical: Navy and white stripes with rope handles.
- Boho: Multicolor yarn, fringe, and shell accents.
- Minimalist: Neutral tones like sand, ivory, and taupe.
- Tropical: Coral, turquoise, and yellow with flower appliqués.
💡 Pro Tips
- Avoid Stretchy Yarn: Stick with cotton to avoid droopy bags.
- Block Your Bag: After finishing, dampen the bag and shape it properly. Let it air dry to set the shape.
- Reinforce the Bottom: You can insert a plastic canvas or cardboard (covered in fabric) inside the base for extra structure.
- Washable Materials: Make sure your yarn and lining are machine washable.
🏝️ Uses Beyond the Beach
Your DIY crochet beach bag isn’t just for the sand and sea. Here are some other great uses:
- Farmers’ market tote
- Everyday shoulder bag
- Picnic or gym bag
- Project bag for yarn lovers!

❤️ Final Thoughts
Crocheting your own beach bag is more than just a crafty project—it’s a way to express your personal style, reduce waste, and carry a little piece of summer wherever you go. Whether you keep it classic or make it whimsical, your bag will be a one-of-a-kind creation you’ll love showing off.
So grab your favorite yarn, find a sunny spot, and let your creativity flow. This summer, make your beach trips even more special with a bag made by you.
Video tutorial:


