
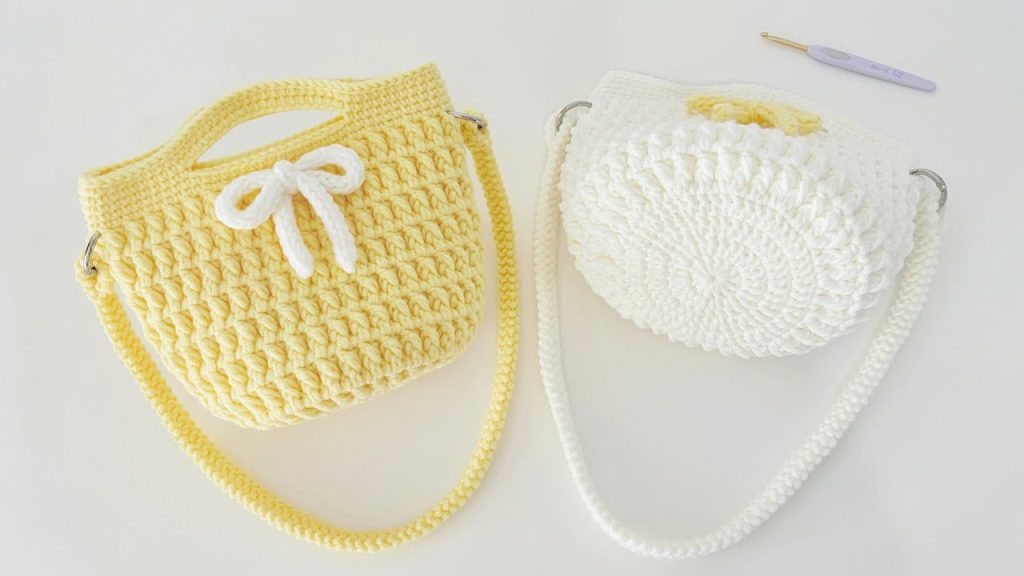
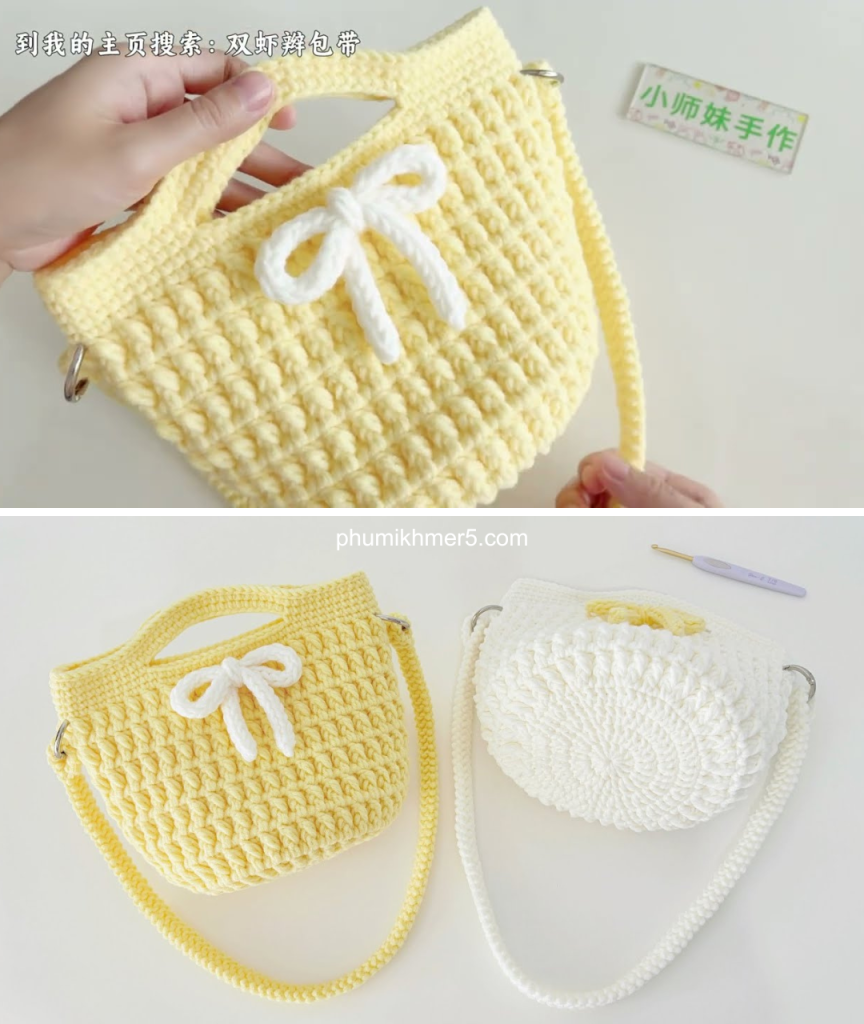
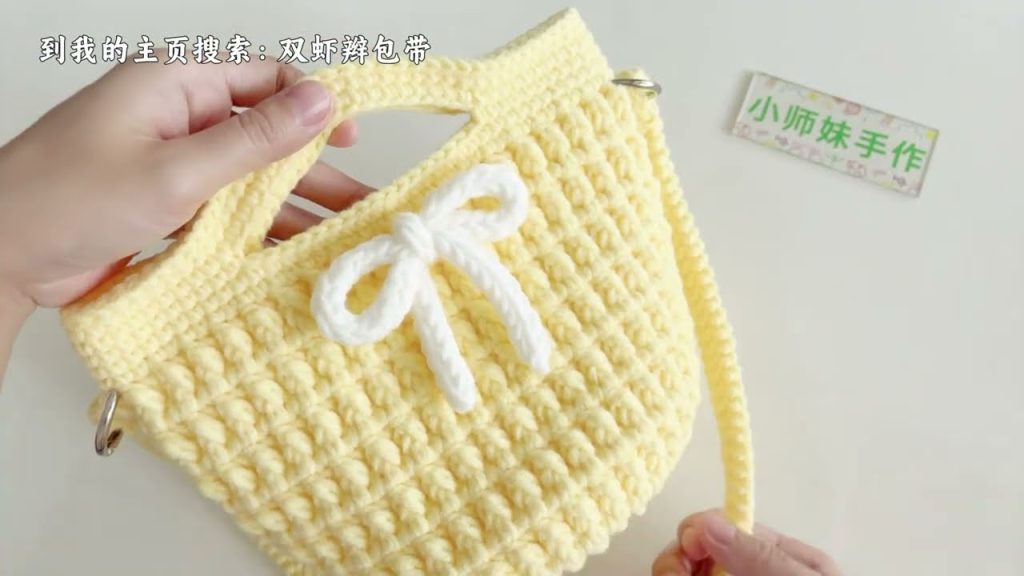
Hello, fellow makers! Ready to crochet a bag that’s as charming as it is practical? I’m excited to share this pattern for the Whipped Cream Satchel—an enlarged, updated version of a popular crochet mini-bag. This design offers a greater capacity, making it perfect for daily essentials, and its clever construction allows it to be used as both a chic handbag and a functional shoulder bag.
The heart of this design is the beautiful, textured stitch used for the body, which gives the bag its signature “creamy” look. We’ll start with a circular base, build up the sturdy body, and finish with a smooth handle and optional long strap attachment points.
Let’s grab our yarn and hook and create a cute and useful accessory!
Why You’ll Love Crocheting This Bag:
- Practical Size: This version is larger and more usable for everyday carry than a mini-bag.
- Versatile Wear: Can be carried by the handles or worn as a single-shoulder bag.
- Unique Texture: The body uses a combination of basic and post stitches to create a beautiful, rich texture.
- Beginner-Friendly Shaping: Starts with a simple circular base and transitions smoothly into the body.
What You’ll Need:
- Yarn: 8-ply yarn (often called “hand-knitting thread” in some markets, it is a medium-weight rope-like yarn). The video uses a 4.0mm hook with this yarn.
- Crochet Hook: 4.0 mm hook.
- Stitch Marker: To mark the beginning/end of rounds.
- Yarn Needle (Tapestry Needle): For weaving in ends.
- Scissors:
- Optional: D-rings/hardware for the shoulder strap, a matching shoulder strap, and materials for a bow decoration.
Essential Crochet Abbreviations:
- ch: chain
- st(s): stitch(es)
- sl st: slip stitch
- dc: double crochet
- sc: single crochet
- inc: increase (2 stitches in the same stitch)
- BPdc: Back Post Double Crochet (This technique is demonstrated in the video to create the textured stitch)
The Pattern: The Whipped Cream Satchel
This bag is worked from the bottom up, starting with the base in joined rounds.
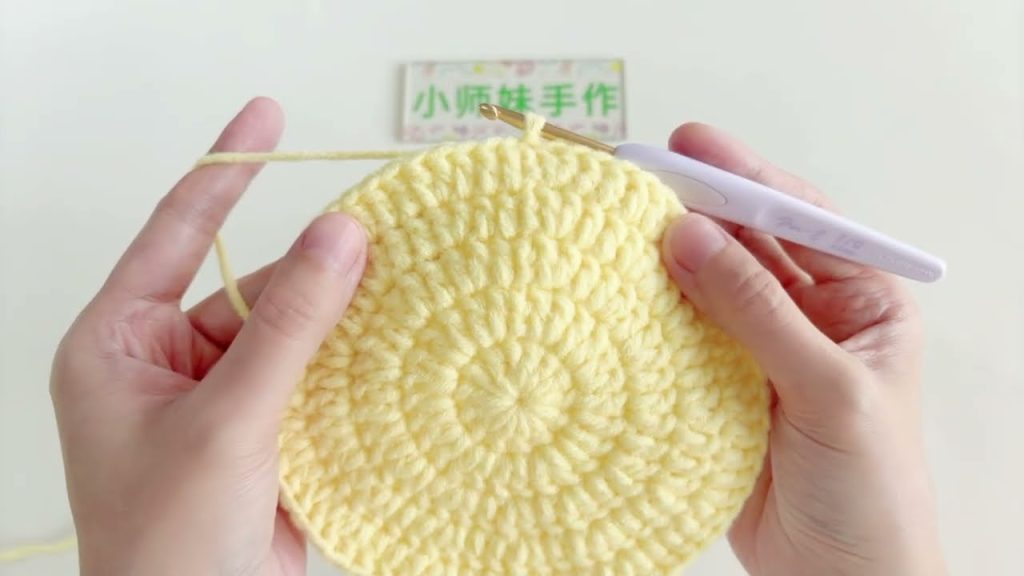
Part 1: The Circular Base
We are working in joined rounds, with a starting ch 2 that does not count as a stitch.
- Round 1: Start with a magic ring.
Ch 2. Work 13 dc into the ring. Pull the tail to close the ring.Sl stto the top of the firstdcto join. (13 dc) - Round 2 (Increase):
Ch 2. Work2 dc(inc) into every stitch around.Sl stto the top of the firstdcto join. (26 dc) - Round 3 (Increase):
Ch 2. *Work1 dcin the first stitch, theninc(2dc) in the next stitch.* Repeat from * around (13 increases total).Sl stto the top of the firstdcto join. (39 dc) - Round 4 (Increase):
Ch 2. *Work1 dcin the next 2 stitches, thenincin the next stitch.* Repeat from * around (13 increases total).Sl stto the top of the firstdcto join. (52 dc) - Round 5 (Increase):
Ch 2. *Work1 dcin the next 3 stitches, thenincin the next stitch.* Repeat from * around (13 increases total).Sl stto the top of the firstdcto join. (65 dc)
Note: The video suggests continuing to increase by 13 stitches in each subsequent round, following the pattern: Round 6 (every 4th st), Round 7 (every 5th st), etc., until the base reaches the desired diameter. The example transitions to the body after 65 stitches.
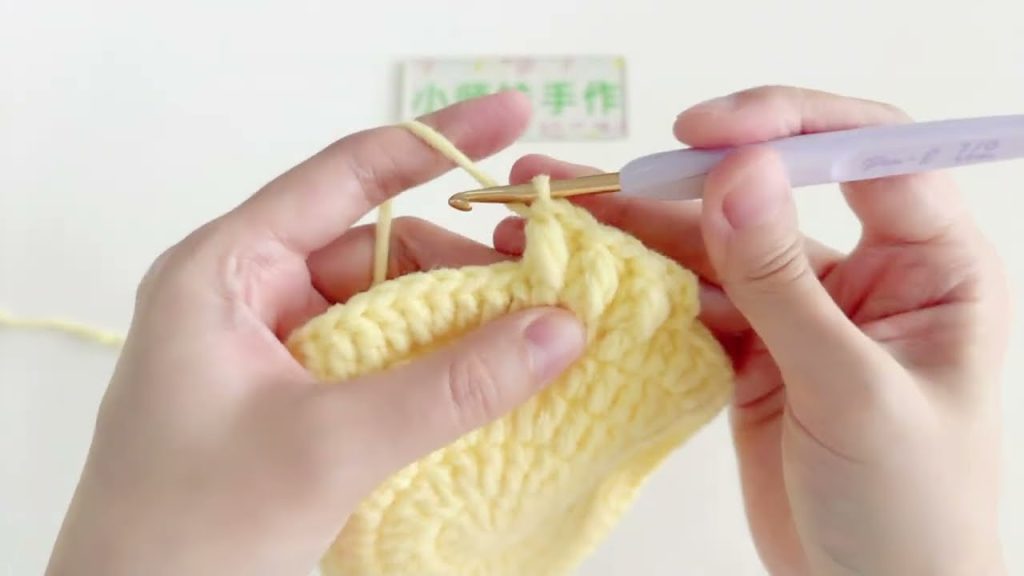
Part 2: The Bag Body (Textured Stitch)
The body is worked in alternating rows of Double Crochet (DC) and the Textured Stitch, without further increases.
- Round 6 (DC/BPdc):
Ch 2.- Work
1 dcin the first stitch. - Work
1 BPdc(Back Post Double Crochet) around the post of the next stitch. - *Work
1 dcin the next stitch. Work1 BPdcaround the post of the next stitch.* - Repeat from * around until the end of the round.
Sl stto the top of the firstdcto join. (65 sts)
- Work
- Round 7 (DC):
Ch 2. Turn the work. (We are now working on the wrong side for a standard DC round, creating the contrast.) Work1 dcin every stitch around.Sl stto the top of the firstdcto join. (65 dc) - Round 8 (DC/BPdc):
Ch 2. Turn the work. Work1 dcin the first stitch. Work1 BPdcaround the post of the next stitch. Continue the alternating pattern (1 dc, 1 BPdc) around the entire round.Sl stto the top of the firstdcto join. (65 sts) - Repeat Rounds 7 and 8 until the bag reaches your desired height. The video suggests continuing up to Round 20.
Part 3: The Handle Foundation (Single Crochet)
We will transition to single crochet for a neat edge and the handle foundation.
- Round 21 (SC Foundation):
Ch 1(does not count as a st). Work1 scin every stitch around.Sl stto the firstscto join. (78 sc)- Note: The video indicates 78 stitches here. If your previous rounds ended at 65, you will need to increase 13 stitches evenly in this round to reach 78.
- Round 22 (SC Foundation):
Ch 1. Work1 scin every stitch around.Sl stto the firstscto join. (78 sc)
Part 4: Creating the Handles
This round creates the loops that will form the handles of the bag.
- Round 23 (Handle Round):
Ch 1. Workscin the next 11 stitches. (This forms the first side segment). - First Handle Loop:
Ch 20. (This is your handle length; adjust this chain count for longer or shorter handles). - Skip: Skip the next 17 stitches of the bag body.
- Middle Segment: Work
scin the next 22 stitches. - Second Handle Loop:
Ch 20. - Skip: Skip the next 17 stitches of the bag body.
- Last Segment: Work
scin the remaining 11 stitches to the end of the round.Sl stto the firstscto join. (44 sc + 40 ch total) - Round 24 (SC over Chains):
Ch 1. Work1 scin every stitch of the side segments, and work1 scinto every chain of both handle loops. (Total stitches should be 84 sc).Sl stto the firstscto join. - Round 25 (SC Final):
Ch 1. Work1 scin every stitch around.Sl stto the firstscto join. (84 sc)
Part 5: Finishing and Decoration
- Sl St Edging: For a polished finish, work a round of slip stitch along the very top edge of the bag. This will create a neat, sturdy rim.
- Fasten Off and weave in all remaining ends securely.
Optional Decorations:
- Shoulder Strap: Attach a crocheted or leather strap to the sides of the bag (using the skip points from the handle construction as natural attachment zones).
- Bow: Crochet a small bow and sew it to the front of the bag, as demonstrated in the video.
Congratulations! You’ve finished your functional and fashionable Whipped Cream Satchel. Enjoy carrying your beautiful, handmade creation!
Video tutorial:


