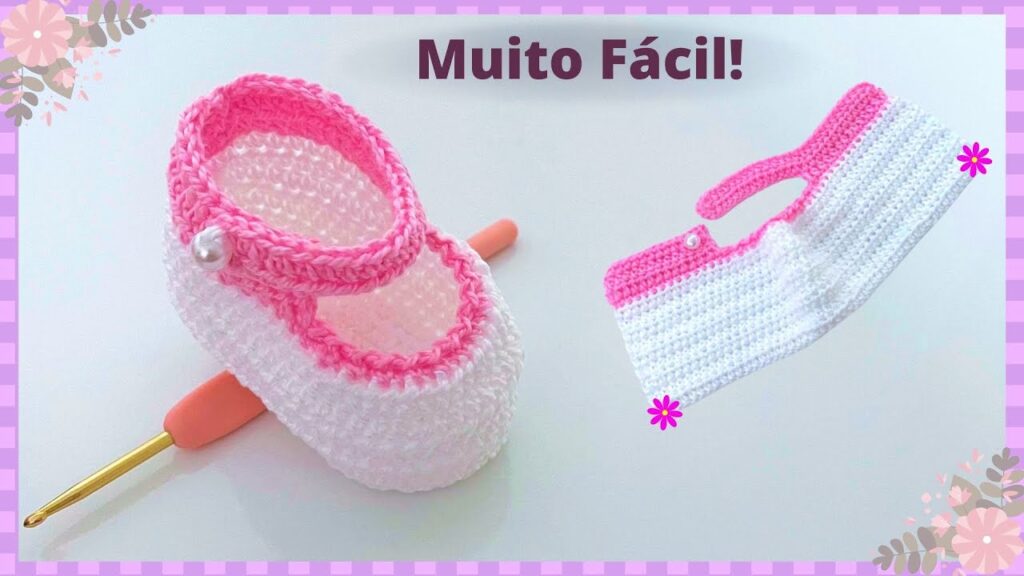
Few things are more adorable—or more satisfying to make—than a tiny pair of baby shoes. Whether you’re crafting a thoughtful baby shower gift or making something special for your little one, this easy baby shoe model is the perfect project for beginners. It’s simple, quick to crochet or sew, and requires minimal materials.
In this article, we’ll walk you through how to make a basic baby shoe using crochet (with notes for a sewn fabric version), including all the steps, tools, and tips you’ll need to create a cozy, stylish pair in no time.

🧶 Materials You’ll Need
For a Crochet Baby Shoe:
- Yarn: Soft baby yarn or DK weight yarn (cotton or cotton blend preferred)
- Crochet Hook: 3.5 mm (E) or size recommended for your yarn
- Yarn Needle: For sewing parts together
- Scissors
- Stitch Markers (optional, but helpful)
- Buttons or ribbon (for decoration or straps – optional)
For a Sewn Fabric Shoe (Alternative):
- Soft fabric (cotton, fleece, or flannel)
- Fusible interfacing (optional, for structure)
- Needle and thread or sewing machine
- Elastic or Velcro (for closure)
- Pattern template (can be hand-drawn or printed)
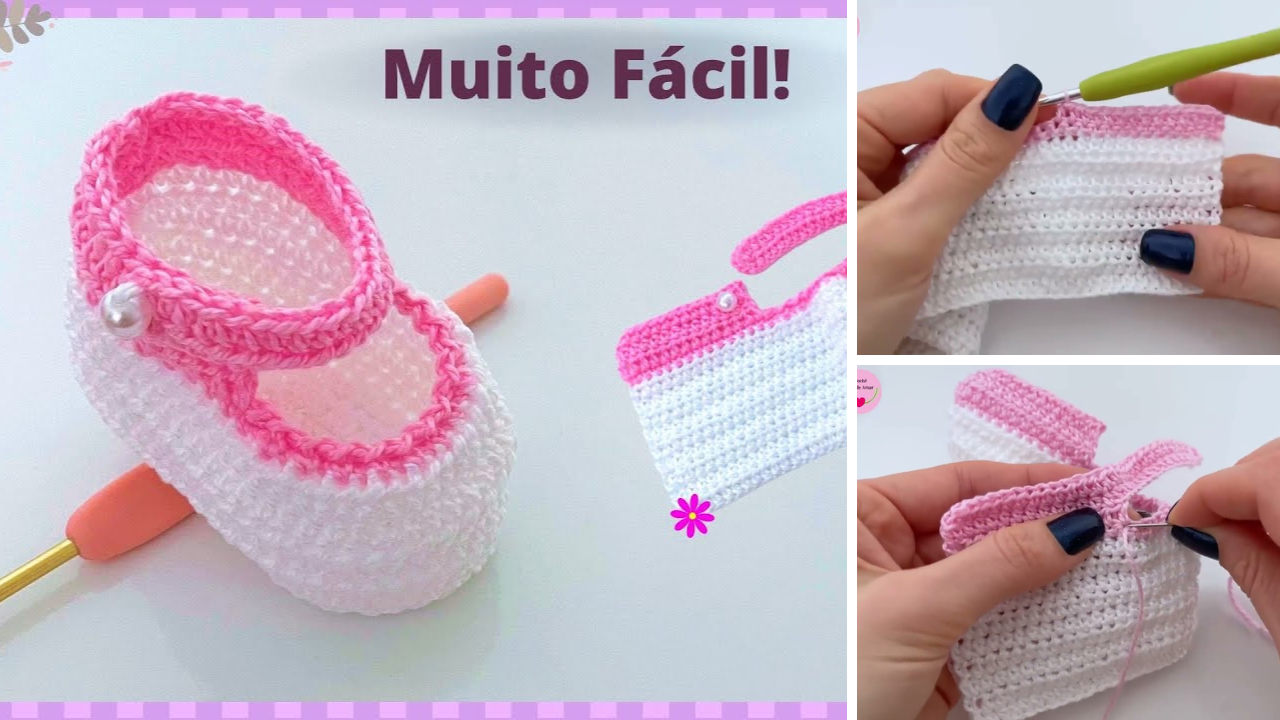
🧵 Basic Crochet Baby Shoe Pattern (Beginner-Friendly)
This model is for a classic bootie-style baby shoe, worked in rounds and simple rows.
🟢 STEP 1: Crochet the Sole
- Chain 10 (for newborn size – adjust for larger sizes).
- Round 1: Work 2 single crochets (sc) in the second chain from hook, 1 sc in next 7 chains, 4 sc in last chain. Now working on the other side of the chain, 1 sc in next 7, 2 sc in last. (Total: 22 stitches)
- Round 2: Increase around using single crochets to create an oval sole. You should end with about 28–30 stitches.
- Round 3 (Optional): Continue increasing slightly if you want a thicker or longer sole.
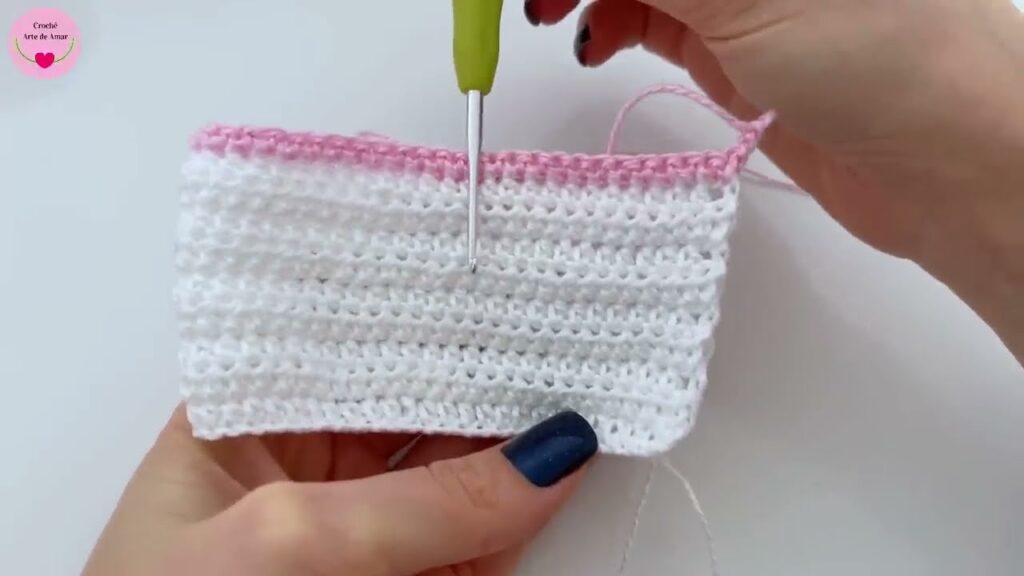
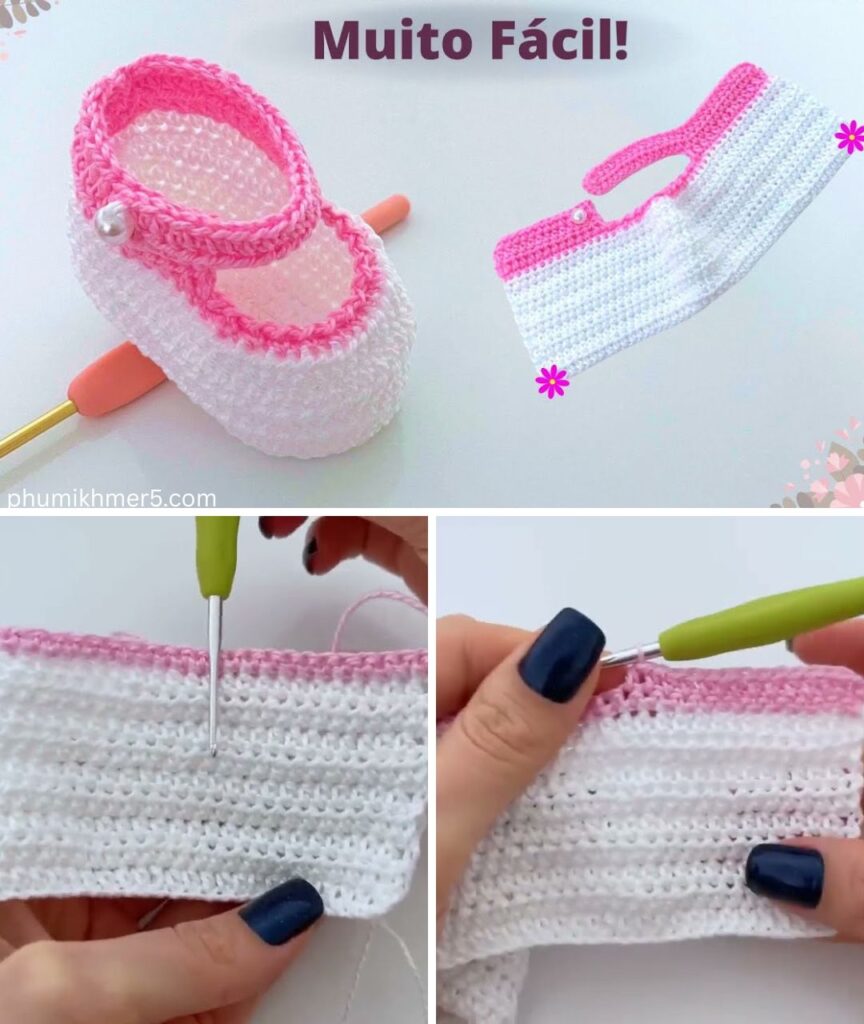
🟢 STEP 2: Build the Sides
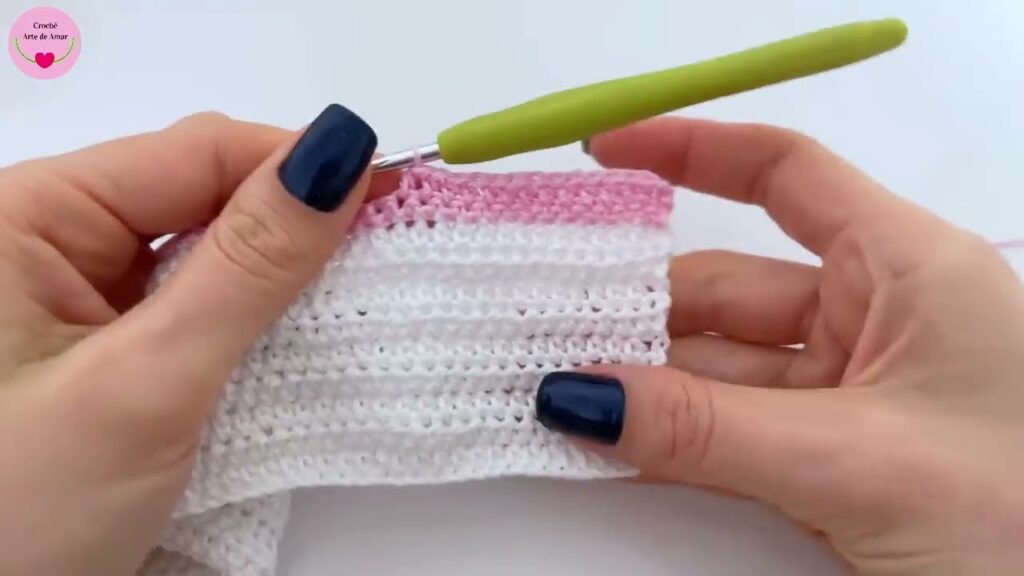
- Work in back loops only around the sole using single crochet or half-double crochet to create the shoe walls.
- Continue for 2-3 rounds to build height.
🟢 STEP 3: Shape the Toe
- Mark the center front of the shoe.
- Work a decrease (sc2tog) on either side of the front for 1-2 rows to shape the toe.
- You can stop here for a slip-on, or continue to build a front flap.
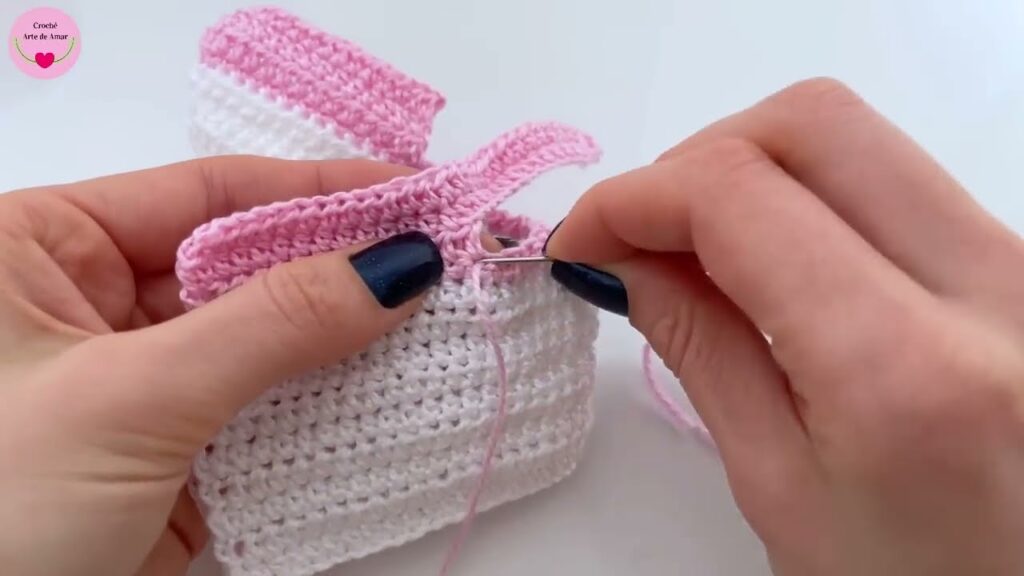
🟢 STEP 4: Add a Strap or Upper Closure
- Chain 8–10 and attach with a slip stitch to the opposite side for a Mary Jane-style strap.
- Add a small button or Velcro to fasten.
- Optional: Work a small tongue and upper piece to mimic sneaker-style shoes.
🧵 Basic Sewn Fabric Baby Shoe (Alternative Method)
If you prefer sewing over crocheting, here’s a simplified process:
✂️ STEP 1: Cut Your Pieces
- 2 soles
- 2 upper pieces (toe cap)
- 2 heel pieces
Use a soft cotton or fleece and trace a template (many are available online for free).
🧵 STEP 2: Sew the Upper
- Sew the heel and toe pieces together along the sides to form a U-shape.
- Sew the U-shaped upper to the sole, right sides together.
- Turn right side out.
🧵 STEP 3: Add Finishing Touches
- Add an elastic band or Velcro strap for closure.
- Topstitch around edges for durability.
- Decorate with bows, buttons, or lace.

📏 Sizing Guide
| Baby Age | Sole Length |
|---|---|
| 0–3 months | 3.5″ / 9 cm |
| 3–6 months | 4″ / 10 cm |
| 6–12 months | 4.5″ / 11.5 cm |
| 12–18 months | 5″ / 12.5 cm |
Always measure baby’s foot or check standard charts for the most accurate sizing.
✨ Tips for Success
- Use soft, breathable yarn or fabric: Babies have sensitive skin.
- Avoid small parts (like loose buttons) if shoes are for infants—opt for sewn or embroidered details instead.
- Make them snug, not tight: A well-fitted baby shoe should stay on but allow for wiggle room.
- Washable materials are a must—babies are messy!
🎨 Customization Ideas
- 🌈 Color-block the yarn for fun contrast.
- 🐰 Add ears or animal faces to the toe section for themed shoes.
- 👟 Make baby sneakers by adjusting the toe and tongue design.
- 💖 Match a set with a crocheted hat or dress for a complete baby gift.
🎁 Great for Gifting
These easy baby shoes are:
- Ideal for baby showers
- Thoughtful for first birthdays
- Perfect for handmade holiday gifts
- Adorable in newborn photoshoots
You can make a pair in under two hours—even faster with practice!
🧷 Final Thoughts
Making your own baby shoes is one of the most heartwarming and rewarding projects you can tackle, even as a beginner. This easy baby shoe model proves you don’t need advanced skills or fancy tools to create something beautiful and functional. With just a few basic stitches (or sewing lines), some soft yarn or fabric, and a little creativity, you’ll have a pair of precious, handmade baby shoes ready to warm tiny toes.
Video tutorial:


