
Crocheting baby shoes is one of the most delightful and rewarding projects for beginners and seasoned crafters alike. These tiny treasures are not only incredibly cute, but they also make thoughtful, handmade gifts for baby showers, birthdays, or newborn photo sessions. In this step-by-step guide, you’ll learn how to make a basic crochet baby shoe from start to finish—even if you’re a beginner.
🧶 Materials You’ll Need
Before we dive into the instructions, gather your materials. This project uses basic supplies you likely already have in your craft basket.
Materials:
- Yarn: Soft baby yarn, cotton, or acrylic (DK or light worsted weight recommended)
- Crochet hook: 3.5 mm (E) or 4 mm (G), depending on yarn
- Yarn needle: For sewing and weaving in ends
- Scissors
- Stitch markers (optional)
- Buttons, ribbon, or Velcro (optional for fastening or decoration)
📏 Baby Shoe Sizing (Approximate)
| Age Range | Sole Length |
|---|---|
| 0–3 months | 3.5 inches / 9 cm |
| 3–6 months | 4 inches / 10 cm |
| 6–12 months | 4.5 inches / 11.5 cm |
| 12–18 months | 5 inches / 12.5 cm |
Tip: Adjust the starting chain or increase rounds to make the shoes larger or smaller.
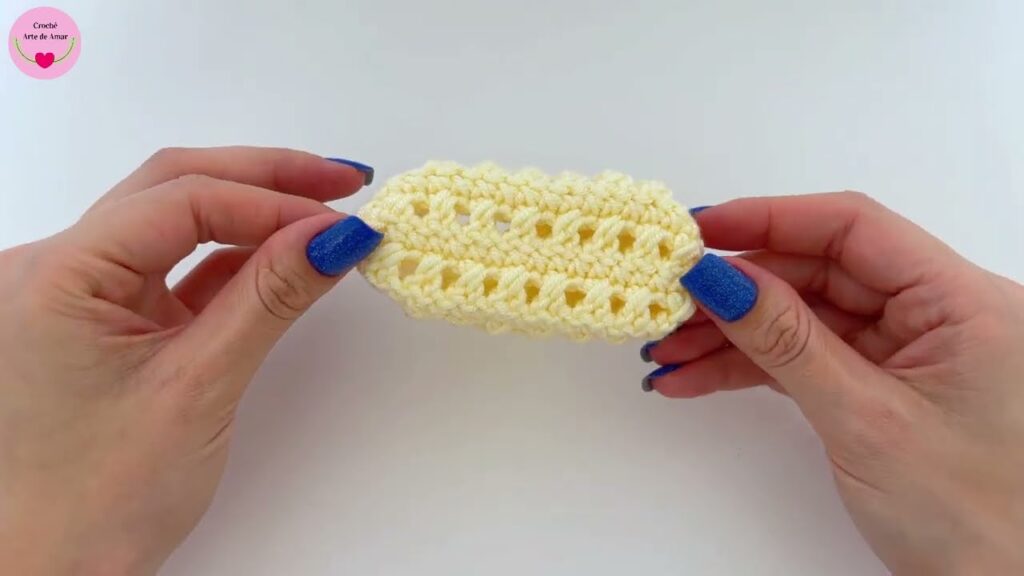
🧵 Crochet Baby Shoes Step by Step
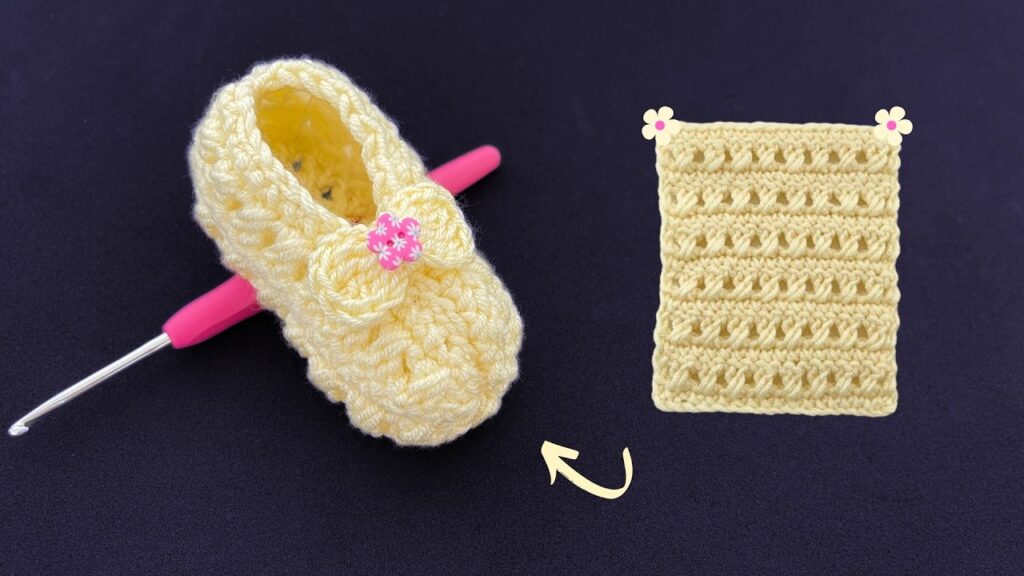
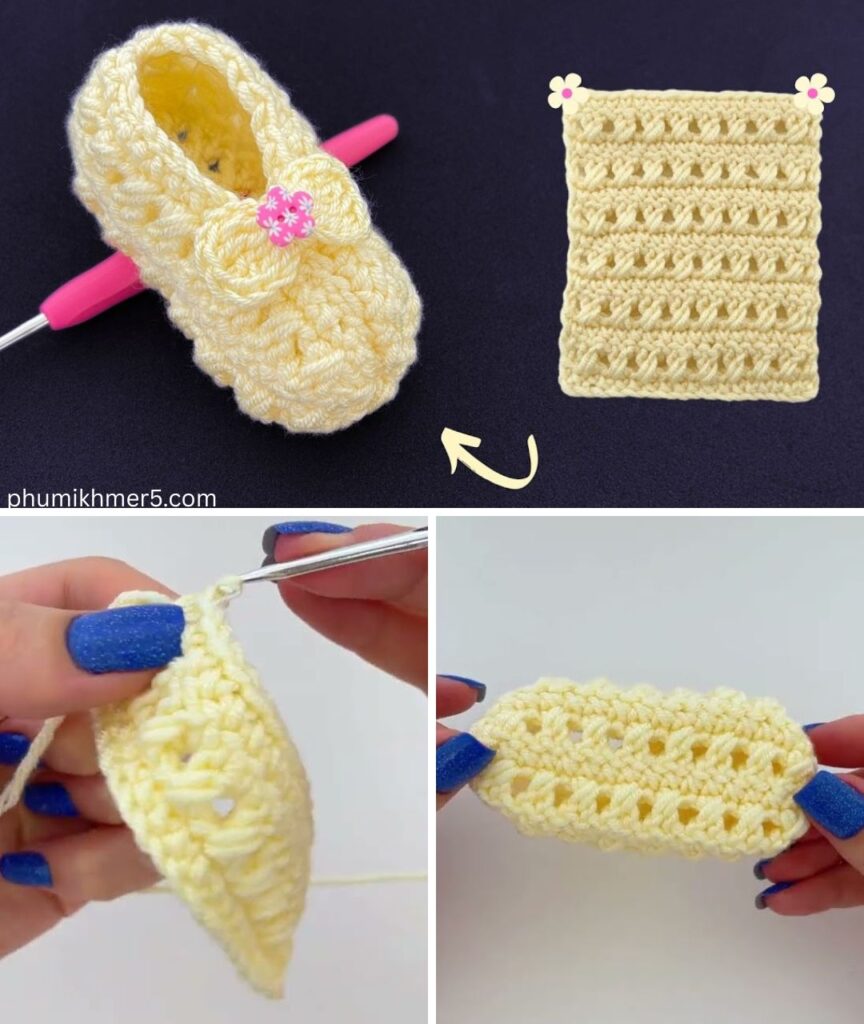
We’ll make a simple slip-on bootie style shoe, perfect for any occasion and easily customizable.
🟡 Step 1: Crochet the Sole
This creates the foundation of your baby shoe.
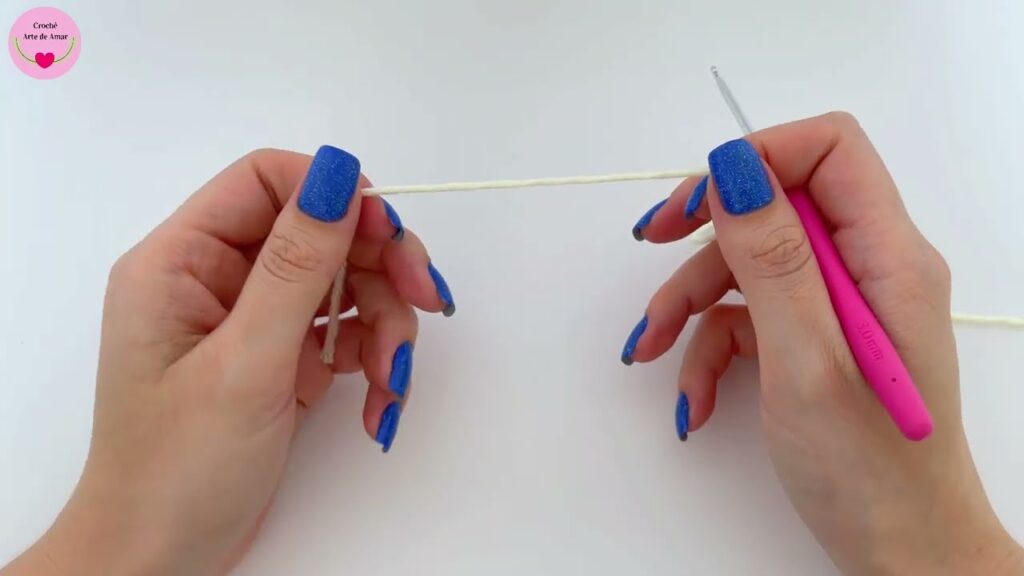
1. Chain 10 (for 0–3 month size).
2. Round 1:
   - Work 2 single crochets (sc) in the 2nd chain from the hook.
   - Sc in next 7 chains.
   - Work 4 sc in the last chain.
   - Now working on the other side of the chain: sc in next 7, 2 sc in the last stitch.
   - Join with a slip stitch. (Total: 22 stitches)

3. Round 2:
   - Chain 1.
   - 2 sc in first 2 stitches.
   - Sc in next 7 stitches.
   - 2 sc in next 4 stitches (curve of heel).
   - Sc in next 7.
   - 2 sc in last 2 stitches.
   - Join with slip stitch. (Total: 30 stitches)

4. Round 3 (Optional, for larger sole):
   - Repeat similar increases around the ends and sides to expand the sole evenly.
🟡 Step 2: Build the Shoe Walls
This gives the shoe its depth and shape.
1. Chain 1.
2. Work 1 sc in the back loop only of each stitch around the sole. (This creates a neat edge.)
3. Join with a slip stitch. Do not turn.
4. Continue working sc or half double crochet (hdc) in both loops around for 1–2 more rounds depending on the height you want.
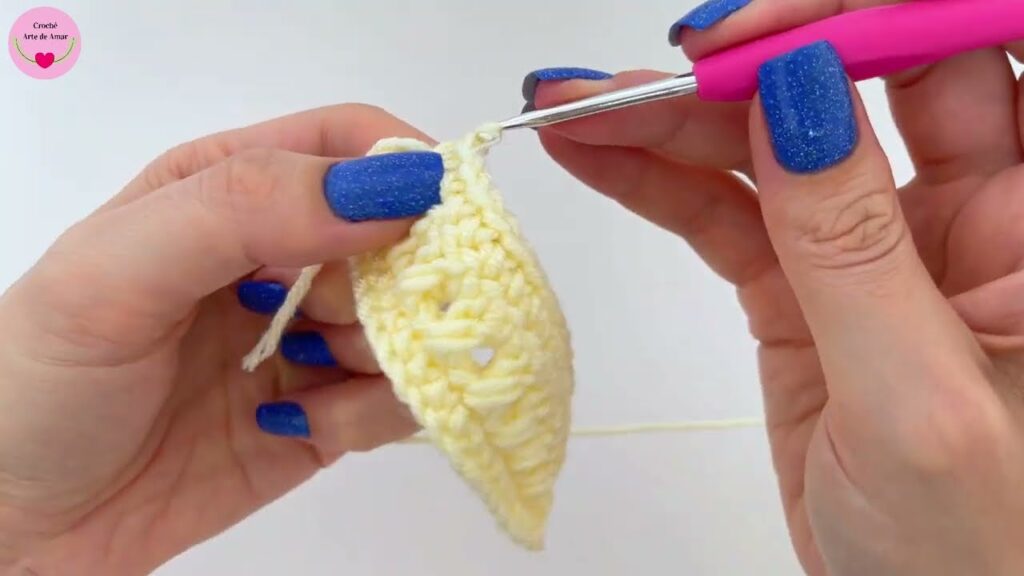
🟡 Step 3: Shape the Toe
Now we start to close up the front of the shoe.
1. Mark the center 10 stitches of the front toe with stitch markers.
2. Chain 1 and sc around until you reach the first marker.
3. Work decreases across the 10 front stitches:
   - (sc2tog) across the 10 center stitches to shape the toe.
4. Continue sc around the rest of the shoe.
5. Repeat 1 more round of decreases over the toe section if needed.
🟡 Step 4: Finish the Top (Optional Strap or Decoration)
You can leave the shoe as a slip-on or add straps, bows, or buttons.
For a Mary Jane Strap:
1. Attach yarn to the side of the shoe near the ankle.
2. Chain 10 (or as needed to cross the top of the foot).
3. Attach to the other side with a slip stitch.
4. Fasten off and weave in ends.
5. Sew on a button (or use Velcro) for a functioning strap.
🟢 Final Touches
- Use your yarn needle to weave in all ends neatly.
- Add optional embellishments like:
- Crochet flowers
- Pom-poms
- Animal ears or faces (for themed booties)
🎨 Customization Ideas
- 🌈 Multicolor shoes: Use self-striping yarn or switch colors mid-project.
- 💖 Themed designs: Add tiny ears and a face for bunny or bear shoes.
- ✨ Holiday versions: Red and white for Christmas, pastel for Easter, etc.
- 🐣 Matching accessories: Create a set with a hat, blanket, or bib.
✅ Pro Tips for Success
- Always count your stitches at the end of each round.
- Use stitch markers to keep track of your toe shaping.
- Try on as you go (if possible) to check fit.
- Make both shoes at the same time (alternating rounds) to keep them symmetrical.
🧸 Perfect for Gifting
Crochet baby shoes are a hit at:
- Baby showers
- Newborn photo shoots
- Christenings and birthdays
- Handmade gift baskets
They’re quick to make and full of love!
Video tutorial:
🧾 Conclusion
Making your own pair of crochet baby shoes step by step is not just a fun and fulfilling project—it’s a heartfelt way to give comfort, warmth, and a little handmade charm. Whether you’re a total beginner or a skilled hook wielder, this basic pattern gives you the foundation to create many different designs.
So grab your yarn, hook, and a cup of tea—your next adorable baby gift is just a few stitches away.


