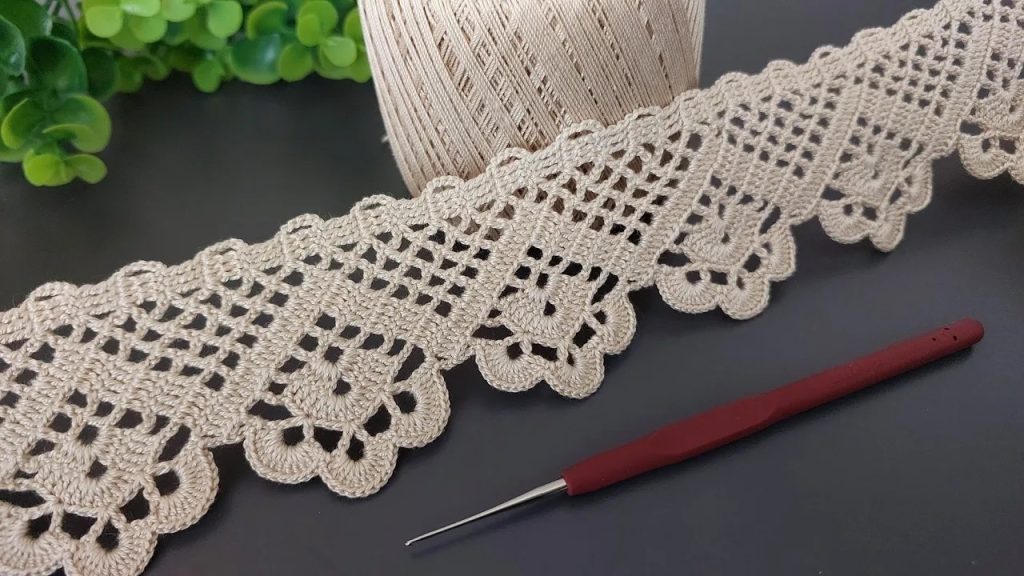
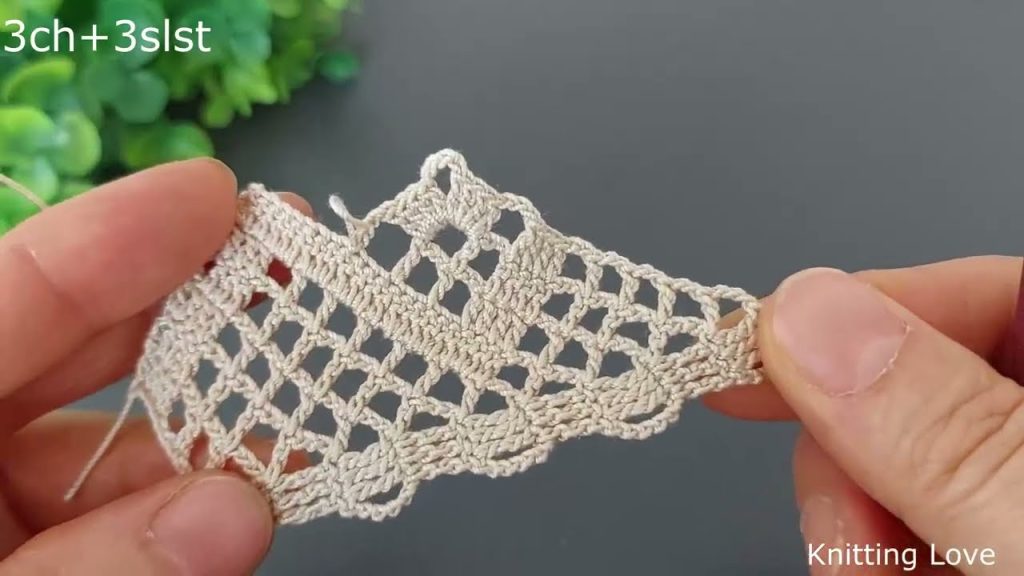
Inspired by the beautiful and easy lace edging showcased by Knitting Love 💗 , this pattern is an original, unique, and detailed guide to creating the “Regal Fan” Edging. This versatile border is perfect for adding a touch of classic elegance to baby blankets, shawls, scarves, towels, or any finished textile.
The design utilizes a simple two-row repeat, making it surprisingly accessible for beginners while achieving a sophisticated, delicate lace appearance.
🌸 Project Overview & Stitch Glossary
- Skill Level: Advanced Beginner / Intermediate
- Gauge/Tension: Not critical, but maintain consistent tension for a straight edge.
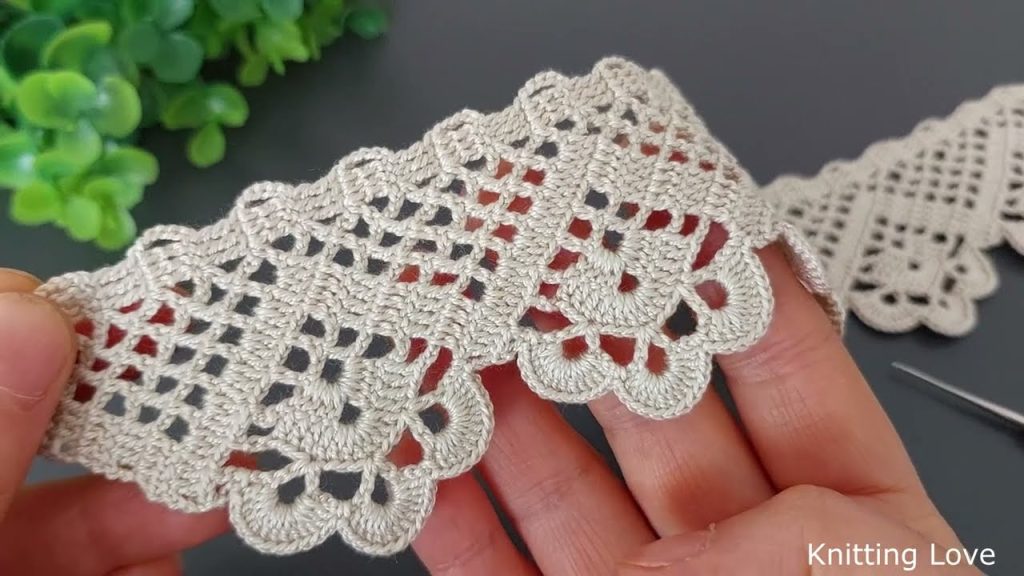
- Finished Look: A delicate, scalloped lace with a soft, fan-like drape.
- Repeat: Works over a multiple of 6 stitches for the final row.
🧶 Abbreviations (US Terms)
| Abbreviation | Stitch Name | Description |
| ch | Chain | |
| sl st | Slip Stitch | |
| sc | Single Crochet | |
| dc | Double Crochet | |
| tc | Treble Crochet | Yarn over 2 times. |
| picot | Picot Stitch | Ch 3, sl st into the first chain made. |
| st(s) | Stitch(es) | |
| sk | Skip | |
| sp | Space | |
| ch-sp | Chain space |
Tools & Materials
- Yarn: Any weight yarn you choose (e.g., fingering weight for delicate lace, worsted weight for a thick border).
- Hook: Recommended size for your chosen yarn weight.
- Yarn Needle and Scissors.
📝 Step-by-Step Pattern Instructions
Part 1: Foundation Row (Setting the Base)
Before starting the lace, you must establish an even, flat base row of single crochet around the edge of your project.
Foundation Row (Base):
- Join yarn with a sc in any corner or desired starting point.
- Work a row of sc evenly around the entire edge of the item.
- Along straight edges (crochet): Work 1 sc in each st.
- Along side edges (turning chains): Work 2 sc per dc row end, or 3 sc per tc row end.
- In corners: Work
sc, ch 1, scin each corner space to keep the edge flat.
- Sl st to the first sc to join.
- CRITICAL STEP: Your total stitch count around the entire piece must be a multiple of 6. Adjust your final few stitches as needed to meet this requirement.
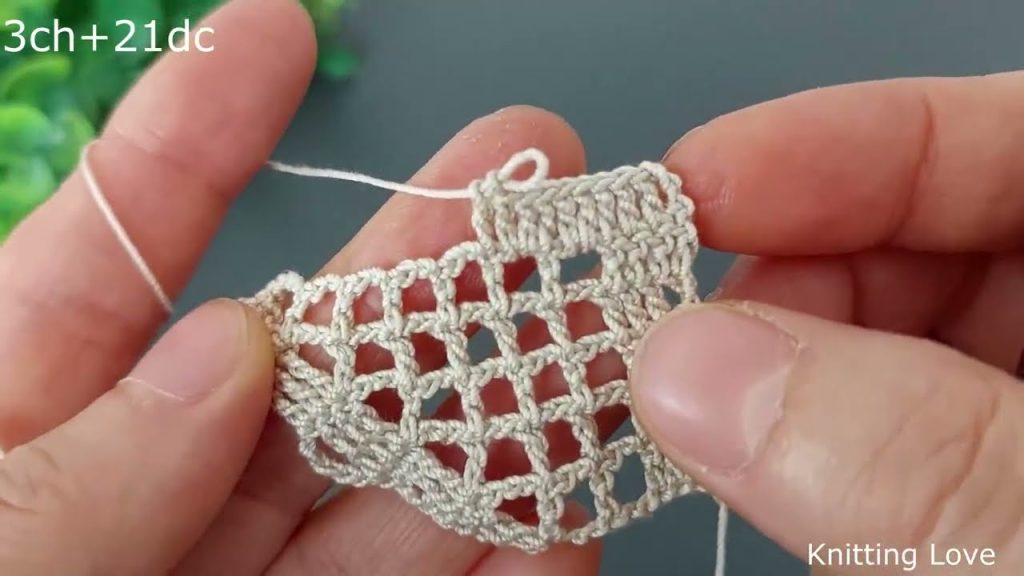
Part 2: Row 1 – The Arch Foundation
This row creates the scallop shapes that define the space for the main lace pattern.
Row 1:
- Ch 1, sc in the same st.
- Ch 5.
- Sk 2 sts. sc in the next st. (This anchors the first arch).
- Ch 3.
- Sk 2 sts. sc in the next st. (This anchors the second, smaller arch).
- Ch 5.
- Sk 2 sts. sc in the next st. (This completes the repeat of the 6 stitches).
- Repeat the sequence [Ch 5, sk 2, sc, ch 3, sk 2, sc] all the way around the edge.
- Corner Adjustment: When reaching a corner, ensure your Ch-5 arch falls exactly over the corner stitch(es) to allow space for the lace. If necessary, work
Ch 6instead ofCh 5directly across the corner.
- Corner Adjustment: When reaching a corner, ensure your Ch-5 arch falls exactly over the corner stitch(es) to allow space for the lace. If necessary, work
- Sl st to the first sc to join.
Part 3: Row 2 – The Regal Fan Lace
This is the main decorative row, where the intricate fan motif is constructed into the chain spaces created in Row 1.
Row 2:
- Ch 3 (counts as 1 dc). dc in the next st (the ch-5 anchor).
- Sk the Ch-5 sp and the next sc.
- In the Ch-3 sp (the smaller arch), work the Regal Fan Shell:
[2 dc, 1 tc, 1 picot, 1 tc, 2 dc]all into the Ch-3 sp.- (This creates a beautiful symmetrical fan with a pointed tip).
- Sk the next sc and the next Ch-5 sp.
- dc in the next st (the anchor st of the next Ch-5 sp). dc in the next st (the following anchor st). (This creates a flat base segment to transition to the next fan).
- Repeat the sequence [Skip to the next Ch-3 sp and work the Regal Fan Shell, skip to the next two anchor sts and work 1 dc in each] all the way around.
- Sl st to the 3rd ch of the starting ch 3 to join.
Part 4: Finishing the Edging
This optional final step tightens the edges and adds a delicate frame around the fans.
Row 3 (Optional Picot Trim):
- Ch 1, sc in the same st.
- Work sc in the next dc.
- Work sc in the first dc of the Regal Fan Shell.
- Work picot (Ch 3, sl st into the first ch) in the next dc.
- Work picot in the next tc.
- Work sc in the central picot (the tip of the fan).
- Work picot in the next tc.
- Work picot in the next dc.
- sc in the last dc of the fan.
- Repeat the sequence [sc in the next 2 dc (the flat base segment), then work the picot sequence across the next fan] all the way around.
- Sl st to the first sc to join.
- FO and weave in all ends securely.
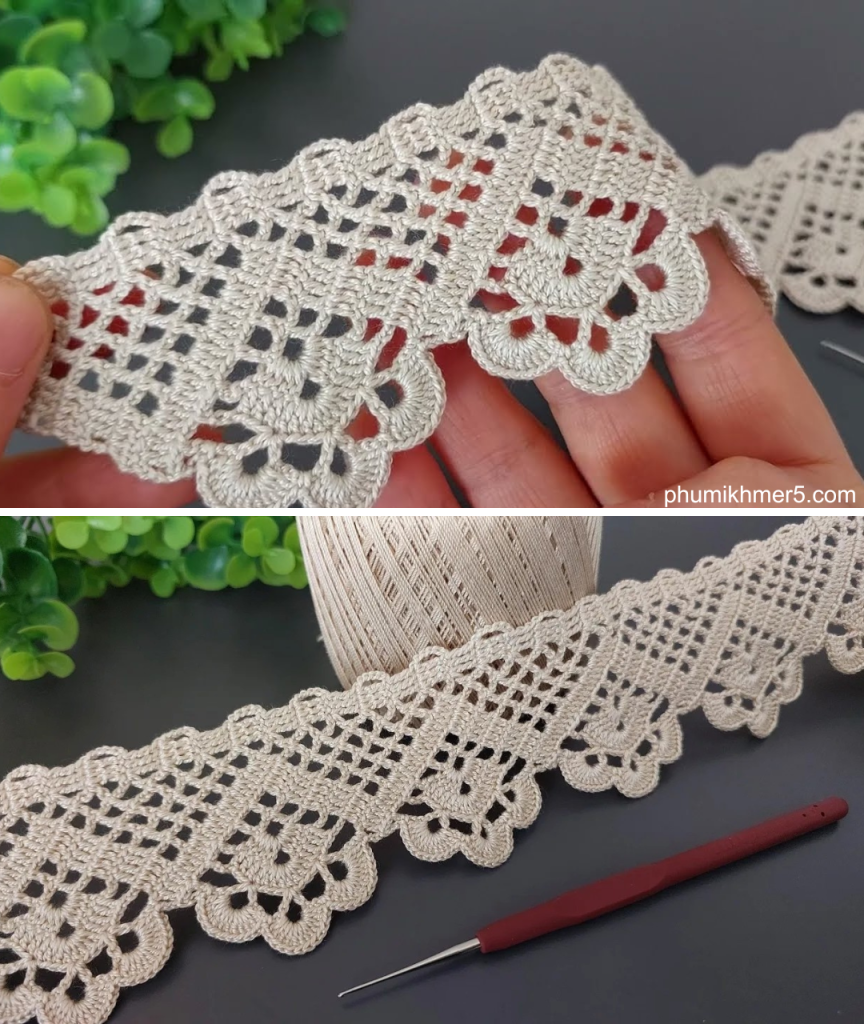
✨ Creative Uses for the Regal Fan Edging
This pattern is highly adaptable and can be used on almost any textile or crochet project:
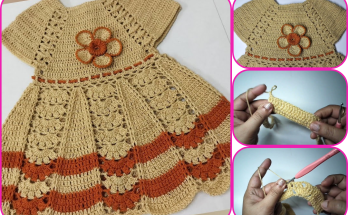
- Baby Items: Use a soft, light-weight yarn to border baby blankets, bonnets, or little cardigans.
- Home Décor: Apply the edging to dish towels, pillowcases, placemats, or curtains for a vintage, elegant look.
- Accessories: Finish the ends of a rectangular shawl or the bottom edge of a crochet vest.
Enjoy creating this timeless and beautiful border!
Video tutorial: