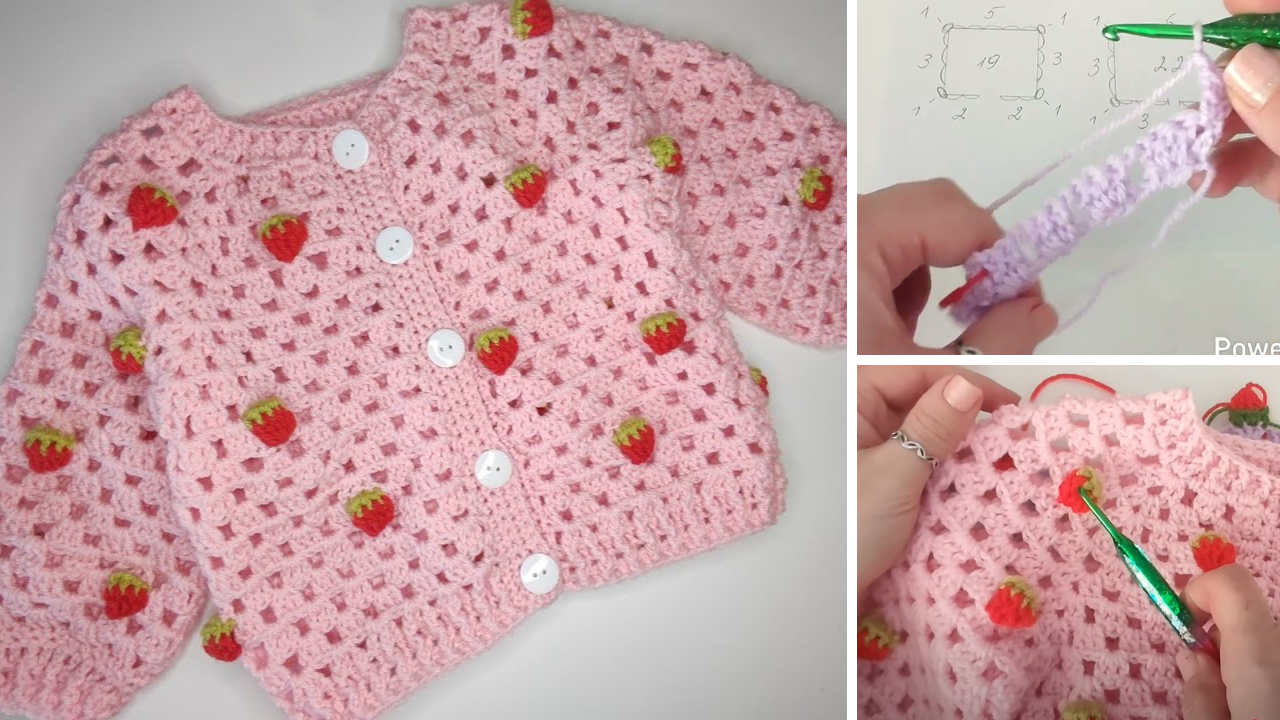
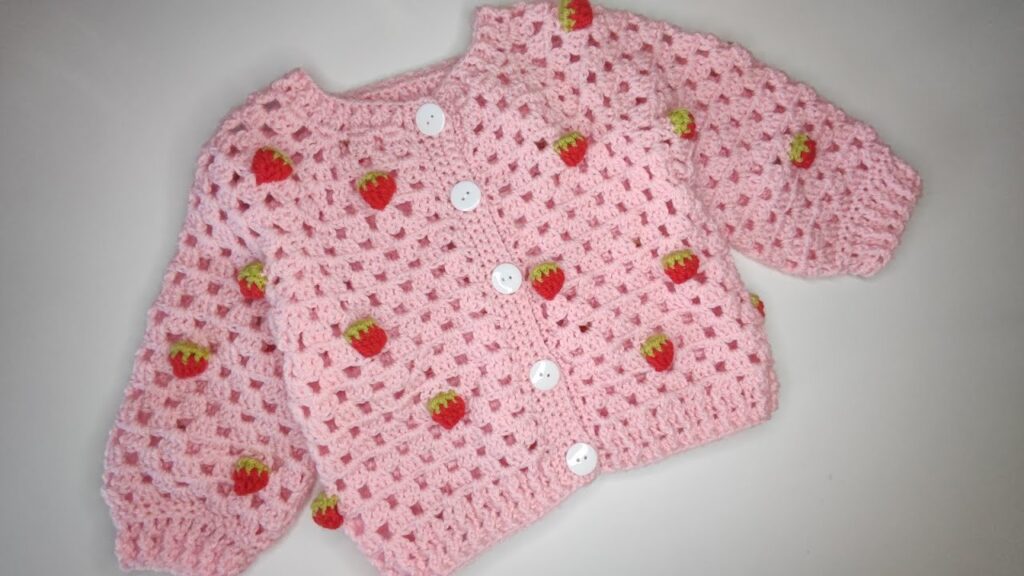
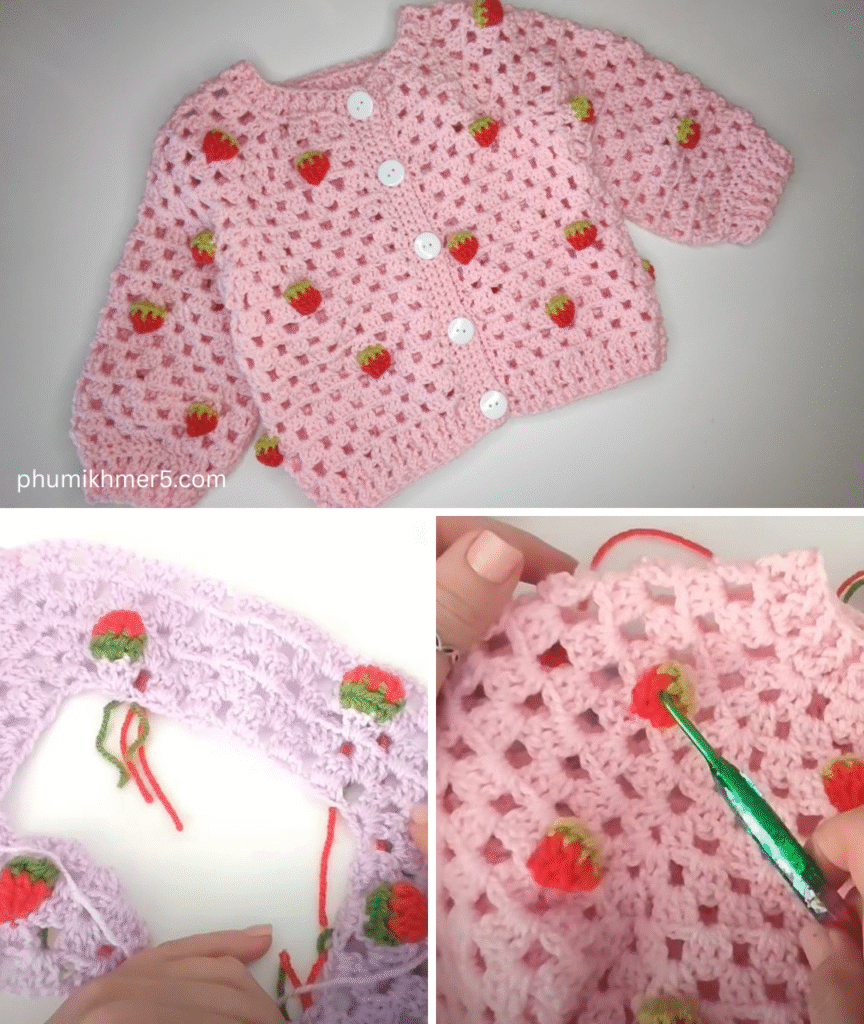
This whimsical and fruity design is perfect for toddlers and preschoolers, combining cozy comfort with playful strawberry-themed motifs. Whether you’re a beginner or experienced crocheter, this guide will walk you through the entire process.
🍓 How to Crochet a “Strawberry” Cardigan (1–5 Years)
🧶 Overview:
- Skill Level: Advanced beginner to intermediate
- Style: Strawberry-themed with red “berry” body, yellow “seeds,” and green leafy accents
- Construction: Made with granny squares and joined for a seamless look
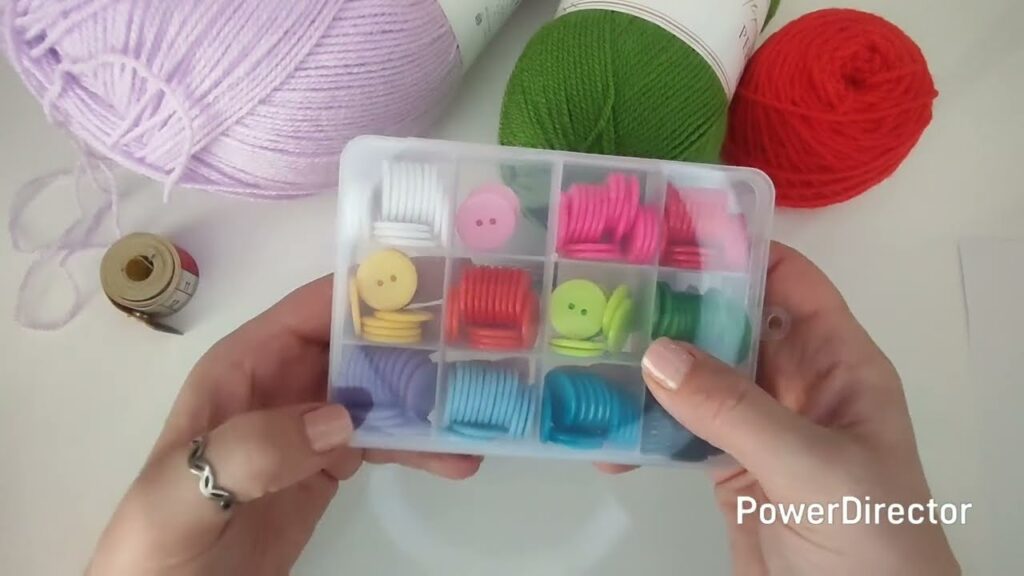
🧵 Materials Needed:
| Item | Description |
|---|---|
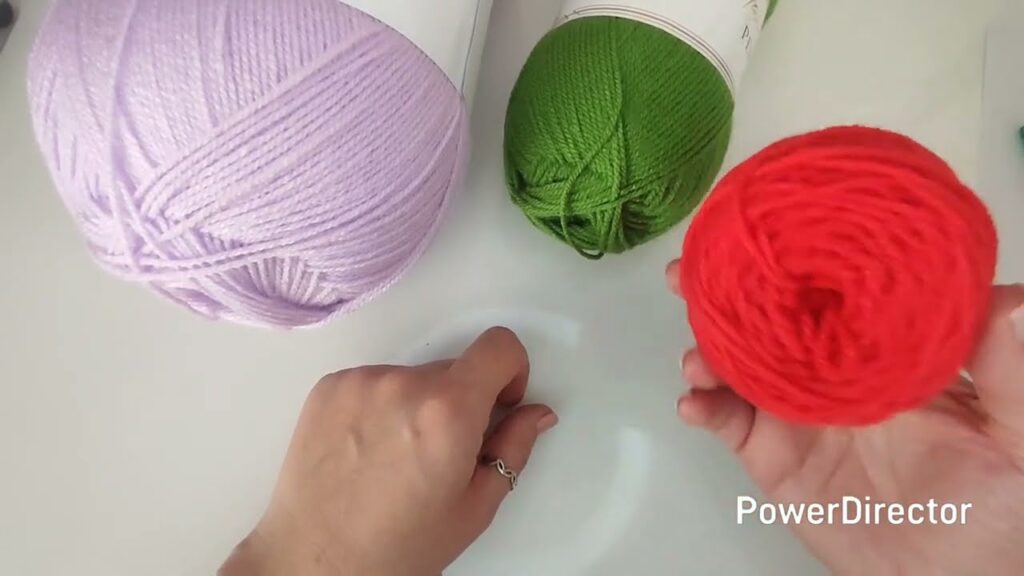
| Yarn | Worsted weight yarn (Category 4): |
| – Red (berry color) – ~300–500g (depending on size) | |
| – Green (leaf accents) – ~100g | |
| – Yellow or cream (seed details) – ~50g | |
| Hook Size | 4.5 mm crochet hook (or size needed to meet gauge) |
| Other Tools | Yarn needle, scissors, stitch markers, measuring tape |
| Buttons | 4–5 buttons (strawberry-themed, red, or yellow) |
📏 Size Guide (1–5 Years):
| Age | Chest Circumference | Number of Squares | Approx. Length |
|---|---|---|---|
| 1–2 yrs | ~50–53 cm | 3×3 back + 2×3 front + 2×2 sleeves | ~30 cm |
| 3–4 yrs | ~54–57 cm | 4×3 back + 2×3 front + 2×2 sleeves | ~35 cm |
| 5 yrs | ~58–61 cm | 4×4 back + 2×4 front + 2×3 sleeves | ~40 cm |
Adjust the square size or number to change fit.

🧩 Step-by-Step Instructions:
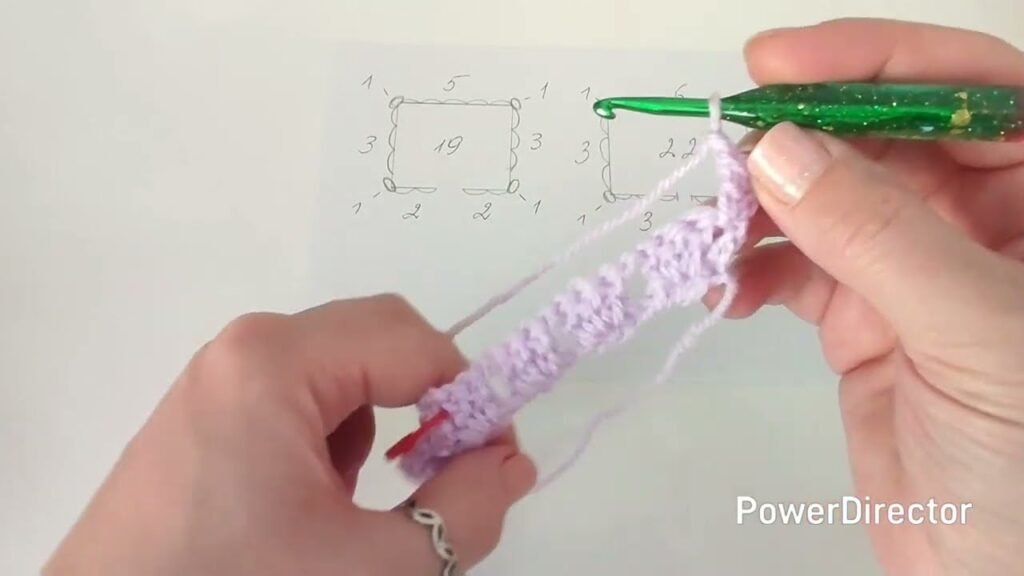
🟩 Step 1: Make Granny Squares
Granny squares form the main body. You’ll need 20–30 squares depending on size.
Basic Granny Square Pattern (Berry Red):
- Start: Magic ring or ch 4 and sl st to form a ring.
- Round 1: Ch 3 (counts as dc), 2 dc, ch 2 – repeat 3 more times (4 clusters total), sl st to top of ch 3.
- Round 2+: In each ch-2 space, (3 dc, ch 2, 3 dc); on each side, place 3 dc in spaces between clusters.
- Repeat rounds until square is approx. 10×10 cm (4×4 in).
Strawberry “Seeds” (Yellow Detail):
- In some squares, swap one dc cluster with yellow yarn.
- Or embroider small V-shapes or French knots in yellow on finished red squares.
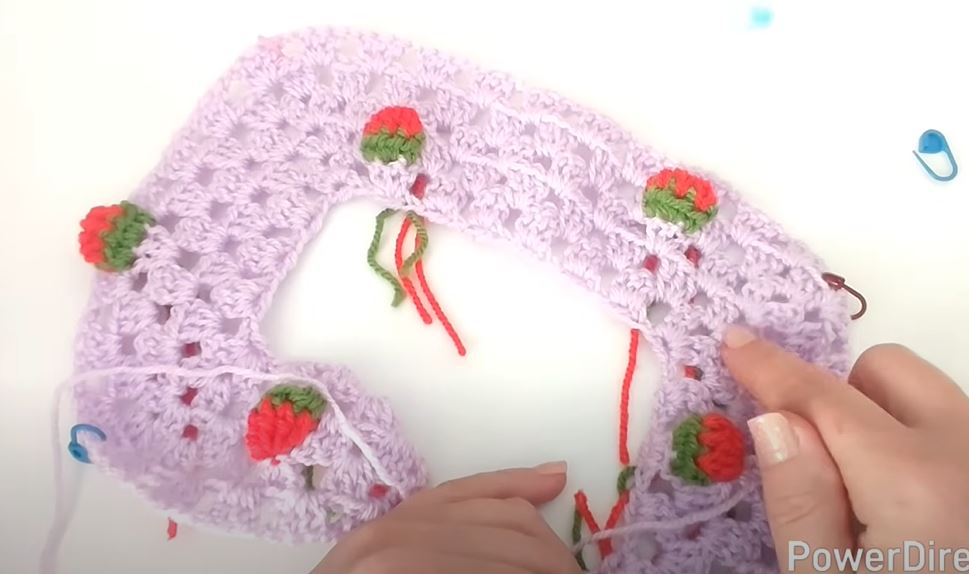
🧵 Step 2: Join the Squares
Layout:
- Arrange squares for back, front panels, and sleeves.
- Use slip stitch or whip stitch to join squares.
Join-as-you-go method:
- On final round of each square, slip stitch to adjacent square edges for seamless look.
Note: Match the seed placements for a more balanced design.
🌿 Step 3: Add Leafy Borders (Green Yarn)
- Bottom Hem, Sleeves, and Neckline:
- Attach green yarn.
- Work 1–2 rows of single crochet or half double crochet.
- Optional Leaf Trim:
- Ch 6, sl st in 2nd ch from hook, sc, hdc, dc, tr in next 4 sts.
- Sl st into next stitch of main work and repeat for leafy edging.
🧥 Step 4: Sleeves and Shaping
- Join two squares for each sleeve.
- Optionally, add rows of red yarn in the round to extend sleeve length.
- Decrease evenly to taper sleeves slightly, or keep wide for bell sleeves.
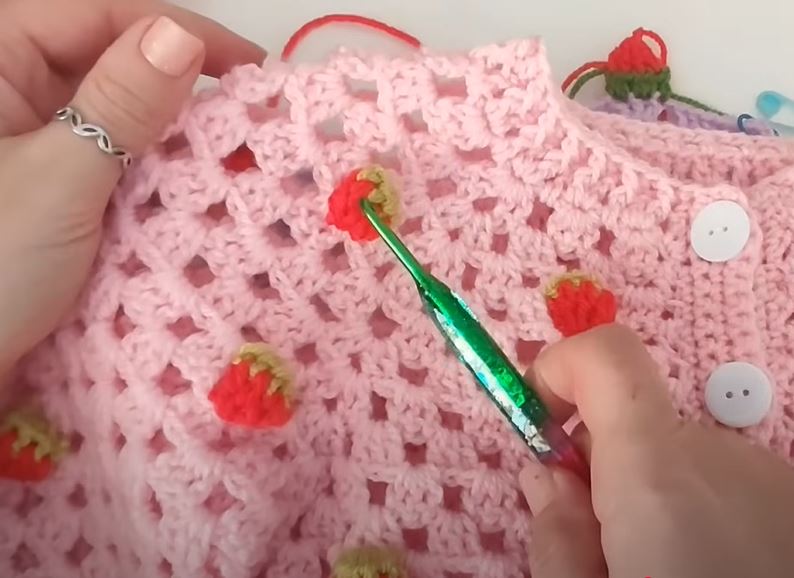
🔘 Step 5: Button Band
- Attach green yarn along front opening.
- Work 2–3 rows of single crochet.
- On one side, evenly space buttonholes (e.g., ch 2, skip 2 sts).
- On the other side, sew buttons to match.
🍓 Optional Embellishments:
- Strawberry Appliqués:
- Small red oval (magic ring, increase, then decrease).
- Green leaves on top.
- Sew onto pockets, sleeves, or chest.
- Pockets:
- Make 1 or 2 mini granny squares.
- Attach to lower front panels.
- Add green trim to match cardigan border.
💧 Finishing Touches:
- Weave in all ends with a yarn needle.
- Block the cardigan gently to shape and size.
- Sew on buttons securely.
- Try it on the child for final fitting!
🪡 Tips for Success:
- Use soft cotton or acrylic blends for easy washing.
- Try color pooling with variegated red yarn for natural berry texture.
- Add a hood using granny rows or rows of dc with green leafy trim.
- Involve kids by letting them choose button styles or seed placements!
🎉 Final Thoughts
Creating a strawberry cardigan for a child aged 1–5 is both a rewarding and joyful project. With its cheerful colors, cute motifs, and practical warmth, it makes a perfect gift or handmade wardrobe staple. The beauty of granny squares is their modularity—start with one square at a time, and before you know it, you’ll have a berry sweet cardigan ready to wear!
Video tutorial:


