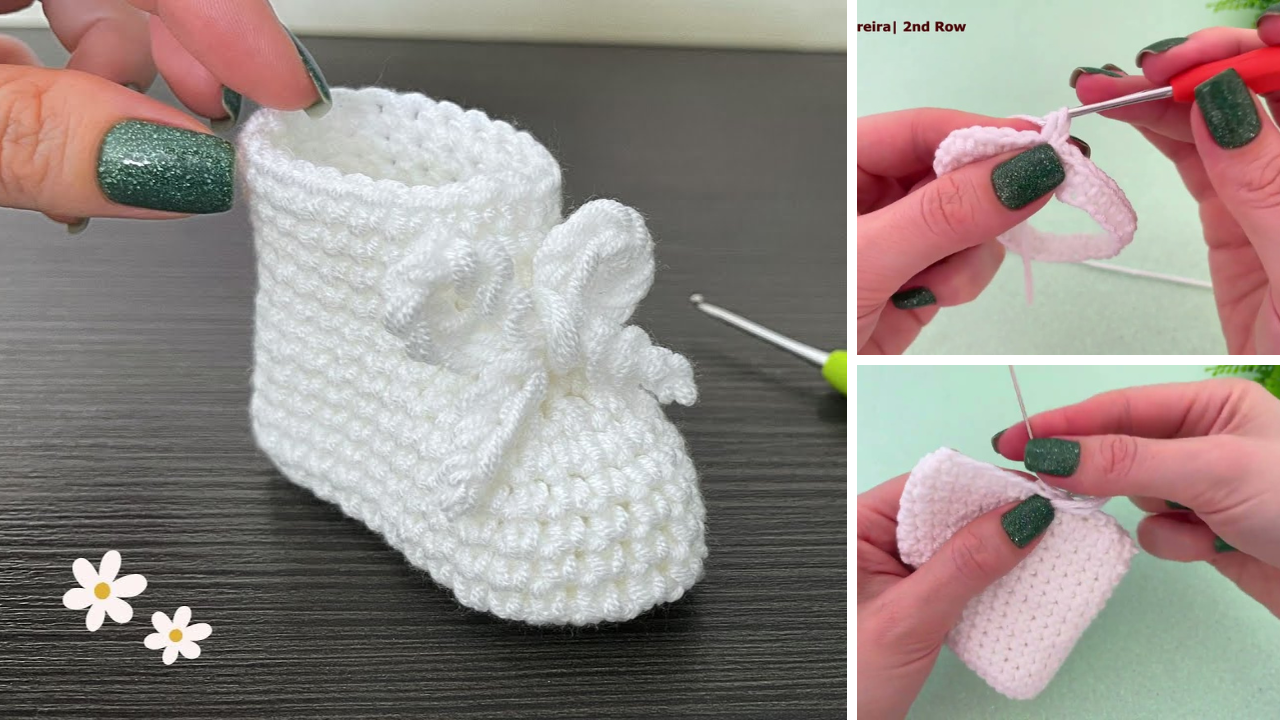
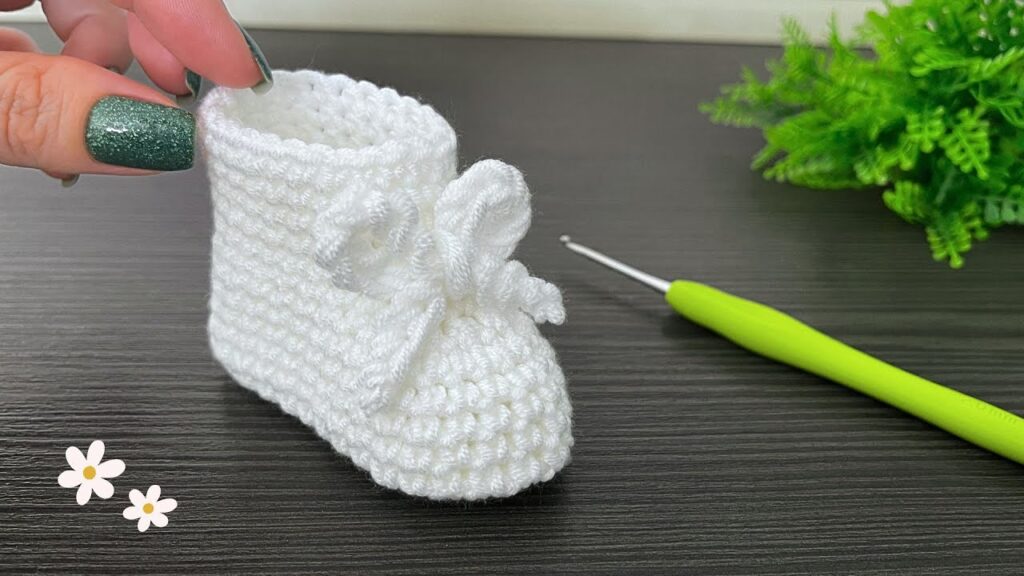
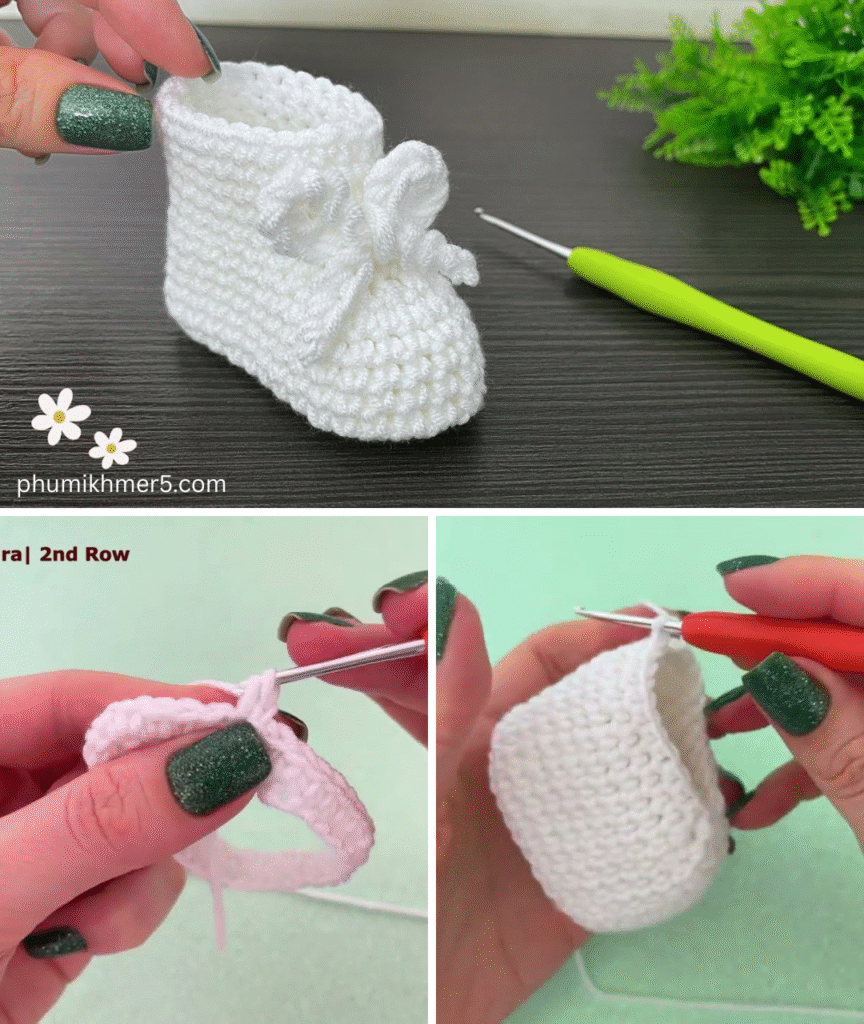
The Perfect Crochet Shoe for Baby: Comfort, Fit, and Adorable Style
Crocheting shoes for a baby is one of the most delightful projects you can undertake. Not only are they incredibly adorable, but a well-made pair of crochet baby shoes offers warmth, comfort, and a touch of handmade love for tiny feet. The “perfect” crochet shoe balances snug fit, soft materials, and practical design with irresistible cuteness.
This detailed guide will walk you through the key elements of creating a fantastic pair of crochet baby shoes, focusing on a popular and relatively easy design that ensures a good fit and stays on those wiggly little feet!
Why Crochet the “Perfect” Baby Shoe?
- Custom Comfort: You control the softness and flexibility, ensuring no pinching or rubbing.
- Ideal for Growth: While babies grow fast, handmade shoes can often accommodate slightly longer due to their inherent stretch.
- Thoughtful Gift: Nothing says “I care” like a handcrafted item for a new arrival.
- Yarn Buster: Many patterns use minimal yarn, making them great for using up scraps.
- Adorable Photo Props: They just look incredibly cute in baby photos!
1. Planning Your Perfect Baby Shoe: Size & Materials
Careful planning is crucial for a well-fitting and comfortable baby shoe.
- Sizing (Crucial!): Baby foot sizes vary widely, even within age ranges.Always measure the baby’s foot length if possible, or refer to a reliable size chart.
- Newborn (0-3 Months): Sole length typically 3.5 – 3.75 inches (9-9.5 cm).
- 3-6 Months: Sole length typically 4 – 4.25 inches (10-10.8 cm).
- 6-12 Months: Sole length typically 4.5 – 4.75 inches (11.5-12 cm).
- This tutorial will focus on 0-3 Months (Newborn), with notes for adjusting the sole for larger sizes.
- Yarn Choice (Key for Baby Comfort!):
- Fiber: Opt for super soft, hypoallergenic, and machine-washable yarn.
- Baby-specific Acrylic: Often labeled “baby yarn,” these are designed to be extra soft, durable, and easy to care for.
- Superwash Merino Wool: Incredibly soft and breathable, but often more expensive. Ensure it’s truly superwash for easy cleaning.
- Cotton or Cotton Blends: Good for warmer climates, but ensure it’s a soft variety, as some cotton can be stiff.
- Weight: DK (Light Worsted / #3) or Worsted Weight (#4) are most common. DK creates a daintier shoe, while Worsted makes a cozier, faster-to-make one. This tutorial uses DK weight.
- Quantity: Very little! Usually less than 50-70 yards (45-65 meters) per pair.
- Fiber: Opt for super soft, hypoallergenic, and machine-washable yarn.
- Style: We’ll make a classic bootie-style shoe, which tends to stay on better.

2. Materials You’ll Need
- Yarn: Approximately 50-70 yards (45-65 meters) of DK (Light Worsted / #3) soft baby yarn.
- Crochet Hook: 3.5 mm (E-4 US). (Or the size needed to obtain your gauge for a snug but not stiff fabric.)
- Scissors: For cutting yarn.
- Yarn Needle (Tapestry Needle): A blunt-tipped needle for weaving in ends.
- Stitch Markers (Optional but Recommended): At least 2, for marking beginning of rounds or specific stitches.
3. Essential Crochet Stitches (Review for Confidence)
Ensure you’re comfortable with these fundamental stitches:
- Slip Knot
- Chain (ch)
- Slip Stitch (sl st): For joining rounds or moving without adding height.
- Single Crochet (sc): Creates a short, dense stitch, often used for edgings.
- Half Double Crochet (hdc): Our primary stitch for the shoe’s body – it works up quickly and creates a good fabric.
- To make a HDC: Yarn over (YO), insert hook into stitch, YO, pull up a loop (3 loops on hook), YO, pull through all 3 loops on hook.
- Double Crochet (dc): Used for some variations or specific parts.
- Increase (inc): Working more than one stitch into the same stitch (e.g., 2 sc in next st).
- Decrease (hdc2tog): Working two stitches together to reduce the stitch count.
- To make a hdc2tog (half double crochet 2 together): YO, insert hook into first st, YO, pull up a loop (3 loops on hook). YO, insert hook into next st, YO, pull up a loop (4 loops on hook). YO, pull through all 4 loops on hook.
4. Gauge Swatch (Do Not Skip for Perfect Fit!)
Gauge is paramount for baby shoes to ensure they fit tiny feet correctly. A small difference in gauge can result in a shoe that’s too big or too small.
- Chain 12.
- Row 1: HDC in the 3rd ch from the hook, HDC in each ch across. (10 HDC)
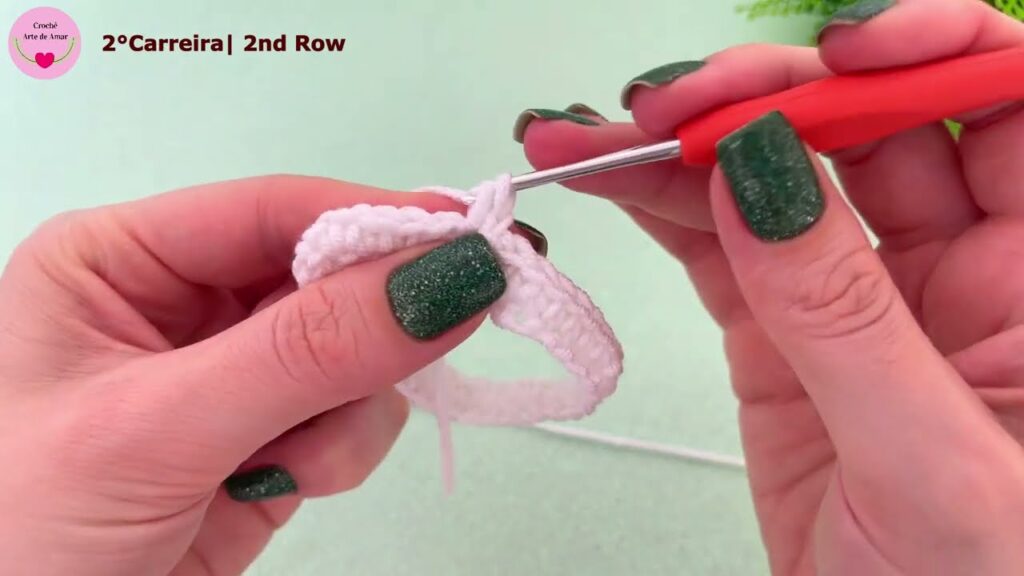
- Row 2: Ch 2 (does NOT count as a stitch), turn. HDC in each HDC across. (10 HDC)
- Repeat Row 2 until your swatch is about 2-3 inches (5-7.5 cm) tall.
- Measure: You should have approximately 8-9 HDC stitches in 2 inches (5 cm) and 6-7 rows in 2 inches (5 cm).
- Adjust:
- If you have more stitches/rows per 2 inches, your tension is too tight; go up a hook size.
- If you have fewer stitches/rows per 2 inches, your tension is too loose; go down a hook size.
- Remake your swatch until you match the target gauge as closely as possible.
5. Let’s Crochet Your Perfect Baby Shoe! (Step-by-Step)
We’ll start by creating the sole of the shoe, then build up the sides, shape the toe, and finish with the ankle cuff.
Part 1: The Bootie Sole (0-3 Months)
The sole is worked in oval rounds, increasing at the ends to create the foot shape.
- Foundation Chain: Ch 10.
- For 3-6 Months: Ch 12 (adds length)
- For 6-12 Months: Ch 14 (adds more length)
- Rnd 1 (Working around the chain):
- Close-up: Work into the back bumps of the chain for a neater, smoother starting edge (optional but recommended). Otherwise, work into the top loop.
- 2 hdc in the 2nd ch from the hook. (This is your first increase for the heel end).
- Hdc in the next 7 chs. (Or 9 chs for 3-6m, 11 chs for 6-12m).
- 5 hdc in the last ch. (This is your increase for the toe end, pivoting around).
- Now, you’ll work along the other side of the foundation chain. Hdc in the next 7 chs (working into the unworked loop of each chain). (Or 9 chs for 3-6m, 11 chs for 6-12m).
- 3 hdc in the very last ch (the same one where you worked your initial 2 hdc).
- Join with a sl st to the top of the first hdc.
- [24 hdc for 0-3 Months]
- [30 hdc for 3-6 Months]
- [36 hdc for 6-12 Months]
- Place a stitch marker in the first hdc of the round to help you keep track.
- Rnd 2: Ch 2 (does NOT count as a st).
- 2 hdc in the same st (the first st of the round).
- 2 hdc in the next st. (2 increases at the heel end).
- Hdc in the next 7 sts. (Or 9 for 3-6m, 11 for 6-12m).
- (2 hdc in next st) 5 times. (5 increases at the toe end).
- Hdc in the next 7 sts. (Or 9 for 3-6m, 11 for 6-12m).
- (2 hdc in next st) 2 times. (2 increases at the heel end).
- Join with a sl st to the top of the first hdc.
- [33 hdc for 0-3 Months]
- [41 hdc for 3-6 Months]
- [49 hdc for 6-12 Months]
- Rnd 3 (Optional for larger sizes/wider sole): For 0-3 months, this sole is often sufficient. For larger sizes, or if your gauge is tighter, you might add one more round of increases.
- Ch 2 (does NOT count as a st).
- Hdc in the same st.
- (2 hdc in next st, hdc in next st) 2 times. (Pattern of increases for the heel curve).
- Hdc in the next 7 sts.
- (Hdc in next st, 2 hdc in next st) 5 times. (Pattern of increases for the toe curve).
- Hdc in the next 7 sts.
- (Hdc in next st, 2 hdc in next st) 2 times.
- Join with a sl st to the top of the first hdc.
- [For 0-3 months, this round would result in 41 hdc. For larger sizes, you’d continue the increase pattern appropriately.]
- Your sole should now be a nice oval shape. It should measure approximately 3.5 – 3.75 inches (9-9.5 cm) long for 0-3 months.
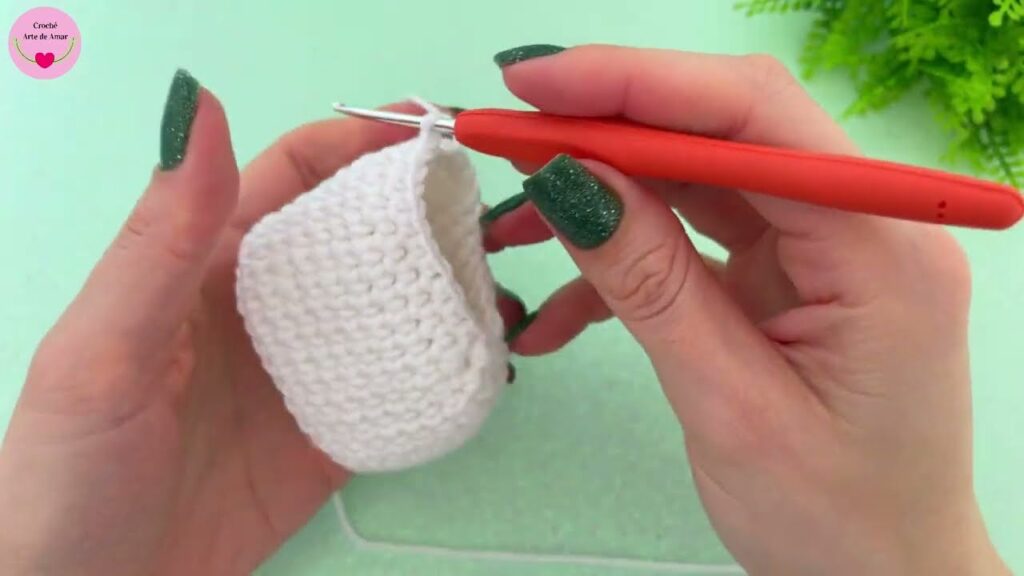
Part 2: Building the Sides (The Body of the Shoe)
Now we’ll stop increasing and create the vertical sides of the shoe.
- Rnd 4 (First Wall Round): Ch 1 (does NOT count as a st).
- Close-up: Work this entire round in sc in the back loop only (BLO) of each stitch around. This creates a neat ridge that defines the sole from the shoe’s side and helps the shoe stand up.
- Sc in BLO of each of the 33 (41, 49) sts around. Join with a sl st to the first sc.
- [33 sc for 0-3 Months] (stitch count remains the same as the last sole round).
- Rnd 5: Ch 1 (does NOT count as a st). Sc in each sc around. Join with a sl st to the first sc.
- [33 sc]
- Rnd 6: Ch 1 (does NOT count as a st). Sc in each sc around. Join with a sl st to the first sc.
- [33 sc]

Part 3: Shaping the Top (Toe and Ankle Opening)
This section creates the curve over the toes and the opening for the ankle.
- Rnd 7 (Toe Shaping): Ch 1 (does NOT count as a st).
- Sc in the first 12 (15, 18) sts. (This covers the heel and side).
- Close-up: Now we’ll start decreasing for the toe. Hdc2tog over the next 2 sts. Repeat hdc2tog a total of 9 times.
- Sc in the remaining 12 (15, 18) sts.
- Join with a sl st to the first sc.
- [24 sts for 0-3 Months]
- The front of your shoe should now be curving in significantly.
- Rnd 8 (Ankle Opening): Ch 1 (does NOT count as a st).
- Sc in the first 9 (12, 15) sts. (Still covering heel and side).
- Close-up: Now we’ll decrease more sharply for the toe point. Hdc2tog over the next 2 sts. Repeat hdc2tog a total of 4 times.
- Sc in the remaining 7 (10, 13) sts.
- Join with a sl st to the first sc.
- [20 sts for 0-3 Months]
- Your shoe should now clearly have a defined foot and an opening for the ankle.
Part 4: Finishing the Ankle Cuff
This adds a neat, finished edge to the top of the shoe and helps it stay on.
- Rnd 9 (Cuff): Ch 2 (counts as first dc).
- Dc in each of the 20 (approximate, count your sts) sts around.
- Join with a sl st to the top of the beginning ch 2.
- [20 dc for 0-3 Months]
- Fasten Off, leaving a 6-inch (15 cm) tail.
6. Assembly & Final Touches
- Weave in Ends: Use your yarn needle to neatly weave in all loose yarn tails. For baby items, make sure they are very secure and won’t unravel or pose a choking hazard.
- Repeat for Second Shoe: Follow all steps exactly to create an identical second shoe.
- Add Drawstring Ribbon/Chain (Optional but Recommended!):
- Cut a piece of coordinating ribbon (about 18-20 inches / 45-50 cm) or crochet a simple chain (Ch 50-60).
- Weave the ribbon/chain through the DC stitches of Rnd 9 (the cuff), going over one DC and under the next, all the way around.
- Tie a bow at the front. This not only looks adorable but also helps the booties stay on baby’s feet! This is a key feature for the “perfect” baby shoe.
- Add a Tiny Bow/Button (Optional Embellishment): You can sew a tiny satin bow or a decorative button (securely!) to the front top of the shoe. Ensure buttons are extremely well-secured and large enough not to be a choking hazard if they were to come off.
7. Care for Your Crocheted Baby Shoes
Always refer to your yarn label for specific care instructions. For most baby-friendly yarns:
- Machine Washable: Usually machine wash on a gentle cycle in cool water. Place them in a mesh laundry bag to prevent snagging or damage.
- Drying: Tumble dry on low heat or, ideally, lay flat to air dry to help maintain their shape.
- Avoid Bleach: Do not use bleach unless specifically instructed by the yarn label.
Congratulations! You’ve just crocheted a beautiful, comfortable, and perfectly fitting pair of baby shoes. These little treasures are soft, cozy, and made with love – truly the perfect handmade gift for any precious little one.
Video tutorial:


