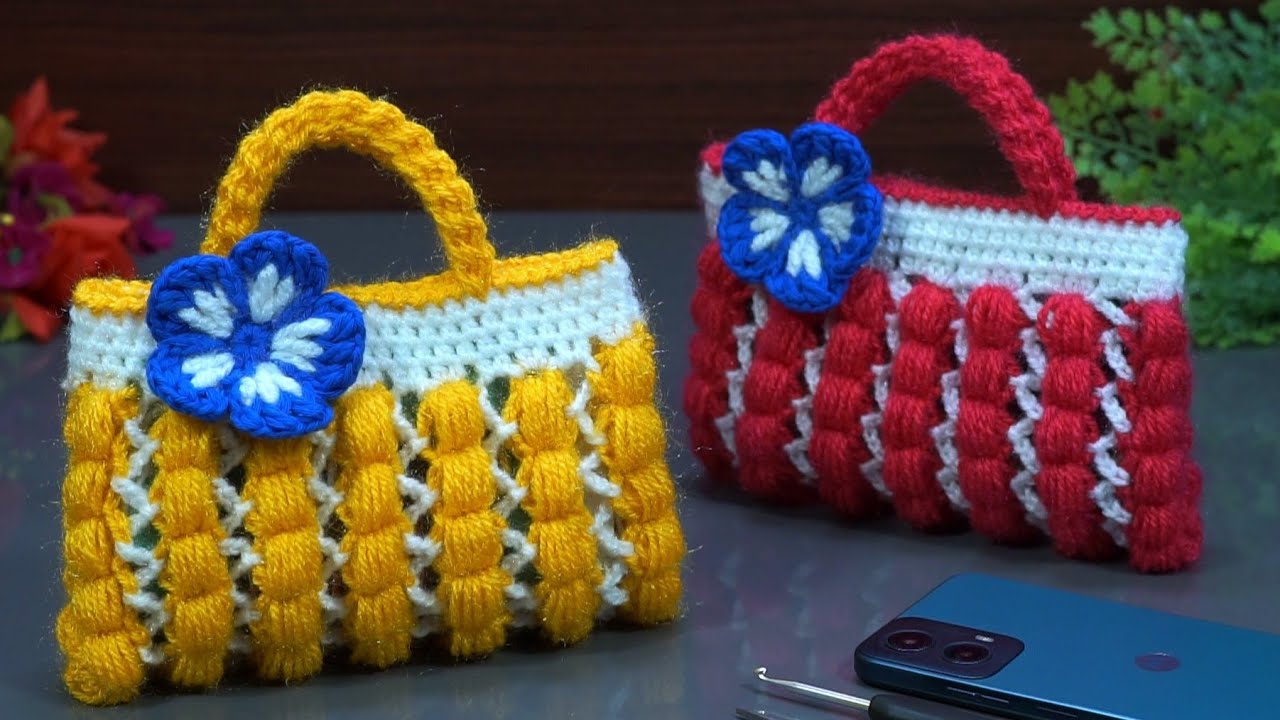
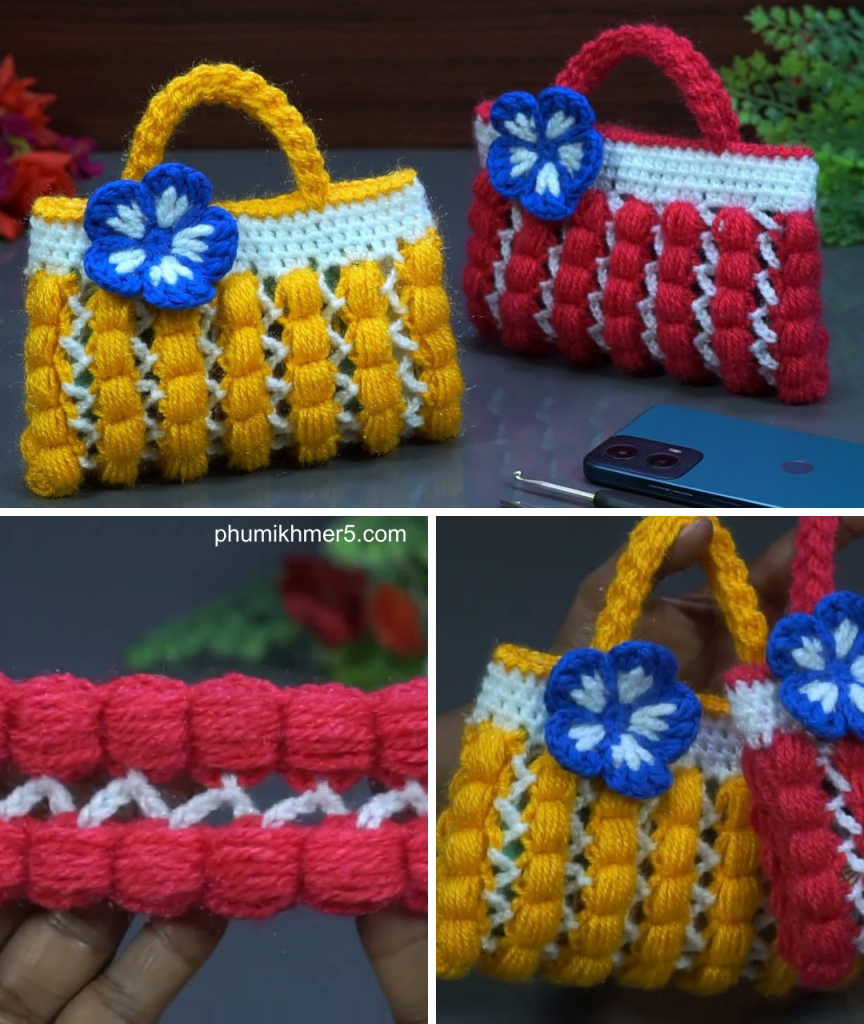
Hello, fellow makers! Are you looking for a fun and unique project that’s bursting with texture and color? I’m excited to share this detailed pattern for the Sunset Ripple Pouch, a small and stylish crochet bag that’s perfect for carrying your essentials. The star of this pattern is the beautiful puff stitch, which creates a rich, textured fabric that is both eye-catching and sturdy.
This pouch is a fantastic way to play with two contrasting yarn colors to create a striking “ripple” effect. We’ll start with a simple base, work up the body with alternating puff stitch rows, and then add a clean, finished top edge. The handles are also customizable, so you can choose a style that’s perfect for you. Let’s grab our hooks and yarn and get ready to create something beautiful!

Why You’ll Love Crocheting This Bag:
- Stunning Texture: The puff stitch creates a beautiful, tactile fabric that feels great to the touch.
- Beginner-Friendly: The pattern is a simple two-row repeat once you get the hang of the puff stitch.
- Customizable: Easily change the yarn colors, handle style, and add embellishments to personalize your pouch.
- Perfect for Gifting: A handmade pouch is a thoughtful and unique gift for friends and family.
What You’ll Need:
- Yarn:
- Color A: Main color (red in the video)
- Color B: Contrasting color (white in the video)
- Crochet Hook: A 3.5mm (E/4) hook, or the size recommended for your yarn.
- Yarn Needle (Tapestry Needle): For weaving in all those ends and attaching the handles.
- Scissors:
Essential Crochet Abbreviations:
- ch: chain
- sl st: slip stitch
- hdc: half-double crochet
- puff st: puff stitch
- st(s): stitch(es)
- FO: fasten off
The Pattern: The Sunset Ripple Pouch
This pattern is worked in rows, starting with a foundation chain.
Part 1: The Base
- Starting Chain (Color A):
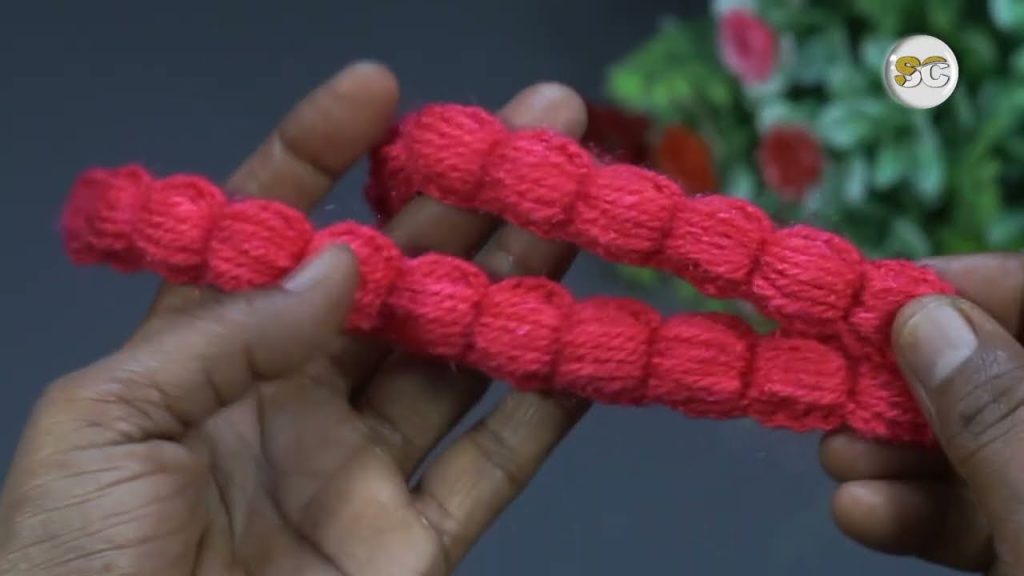
Ch 21. - Row 1 (Puff Stitches):
- In the 4th
chfrom the hook, make a puff st. A puff st is made bych 3, yarn over, insert hook into the stitch, pull up a loop (6 times), yarn over and pull through all 13 loops on the hook, thench 1to secure. - Work 10 more puff stitches along the chain.
- At the end of the chain,
ch 3andsl stto the laststto turn and begin working on the other side. - Repeat the puff stitch process on the other side of the chain to create the base.
- In the 4th
Part 2: The Body (Building the Bag)
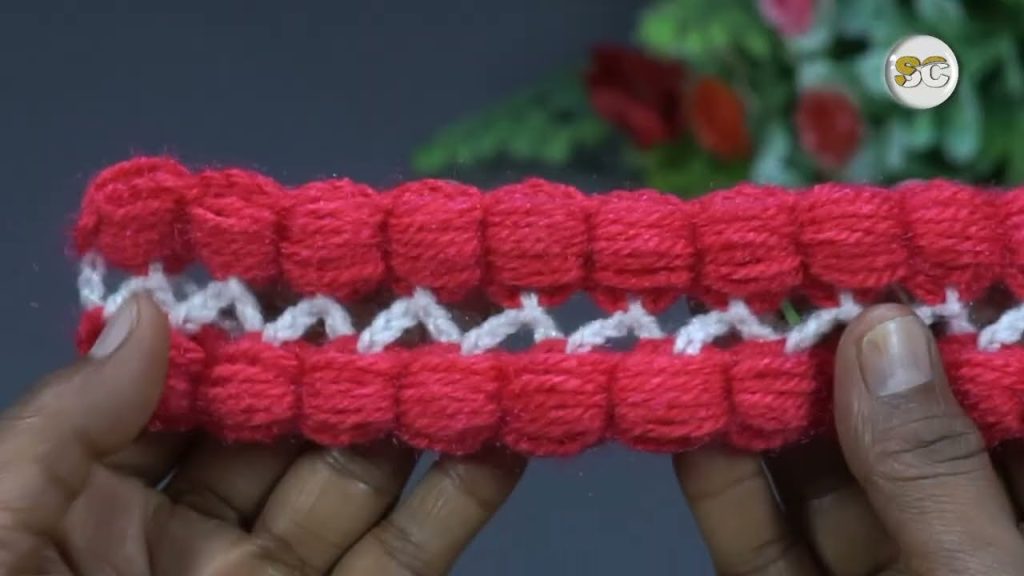
- Row 2 (Color B):
- Attach Color B yarn.
Ch 3.Sl stinto the first space between the puff stitches from the previous row. Repeatch 3andsl stin each space between puff stitches around the base. This will create a wavy, decorative row.
- Row 3 (Color A):
- Attach Color A yarn in one of the
ch 3spaces from the previous row. Ch 3. Make a puff st in the same space.- Make a puff st in the middle of each ‘V’ shape formed by the white yarn, working around the bag.
- Attach Color A yarn in one of the
- Repeat Rows 2 and 3, alternating colors, until the bag reaches your desired height.
Part 3: The Top Edge
- White Border (Color B): After completing the body, switch to Color B to create the top border.
Ch 2.2 hdcin each stitch along the top edge. Join with asl st.- Second Row:
Ch 2.Hdcin eachstaround. Join with asl st. - Slip Stitch Border (Color A): Join Color A and
sl stin eachstaround the top for a clean, finished edge.
Part 4: The Handles
- Thick Handles:
- With Color A,
cha desired length for your handle. - Work
2 hdcin eachchback down the chain to create a thick, sturdy handle.
- With Color A,
- Thin Handles:
- With Color A, simply
cha desired length for a thin, simple handle.
- With Color A, simply
- FO, leaving a long tail for sewing.

Part 5: Assembly and Finishing
- Attach the Handles: Use your yarn needle and the long yarn tails to sew the handles securely to the inside of the bag.
- Weave in All Ends: Weave in any remaining loose ends for a clean, finished look.
- Decorate (Optional): Add a crocheted flower or other embellishments to the front of the bag for a personal touch.
Congratulations, you’ve created a beautiful and unique Sunset Ripple Pouch! Happy hooking!
Video tutorial: