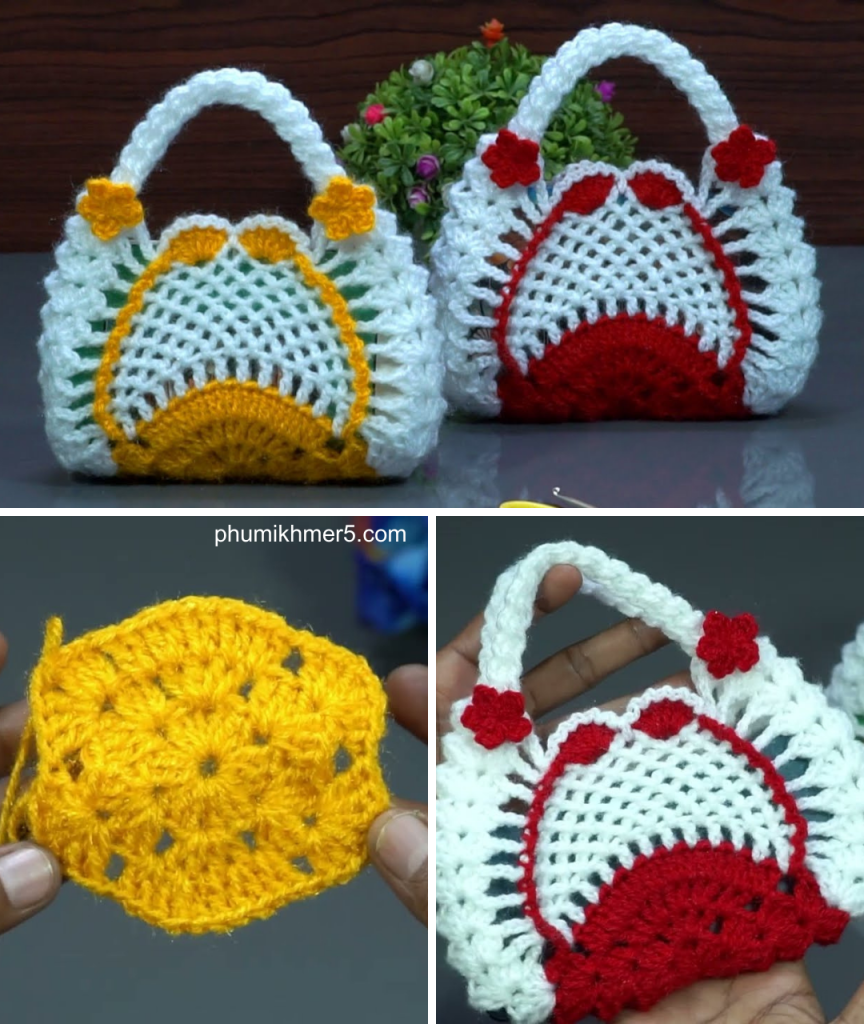
Hello, fellow makers! Are you looking for a stylish and practical project that you can create in a weekend? I’m excited to share this detailed pattern for the Sunset Striped Pouch, a cute and functional crochet bag perfect for carrying your essentials. With its classic oval base, bold stripes, and simple flap closure, this bag is a fantastic accessory for a day out, a festival, or just for adding a touch of handmade style to your everyday look.
The pattern is designed to be a great project for all skill levels. We’ll start with a simple oval base, work our way up in a seamless round, and then add a separate flap and strap for a polished finish. The design is a fun way to play with two different yarn colors to create a beautiful striped effect. Let’s grab our hooks and yarn and get ready to create something beautiful!
Why You’ll Love Crocheting This Bag:
- Quick to Make: The simple construction means you can finish this bag in a single weekend.
- Beginner-Friendly: The pattern primarily uses single crochet stitches, making it easy to master.
- Customizable: Easily change the yarn colors to create a bag that matches your unique style.
- Practical: The finished bag is perfect for carrying your phone, wallet, keys, and other small items.
What You’ll Need:
- Yarn: Two different colors of fine, two-ply yarn.
- Color A: Main color (green in the video)
- Color B: Contrasting color (pink in the video)
- Crochet Hook: A size appropriate for your yarn.
- Yarn Needle (Tapestry Needle): For weaving in all those ends and attaching the flap.
- Scissors:
- Stitch Marker: To mark the beginning of each round.
- Button or Closure (optional): To secure the flap.
Essential Crochet Abbreviations:
- ch: chain
- sl st: slip stitch
- sc: single crochet
- st(s): stitch(es)
- inc: increase (2 single crochet stitches in the same space)
- FO: fasten off
The Pattern: The Sunset Striped Pouch
This pattern is worked in rounds, starting with the base.
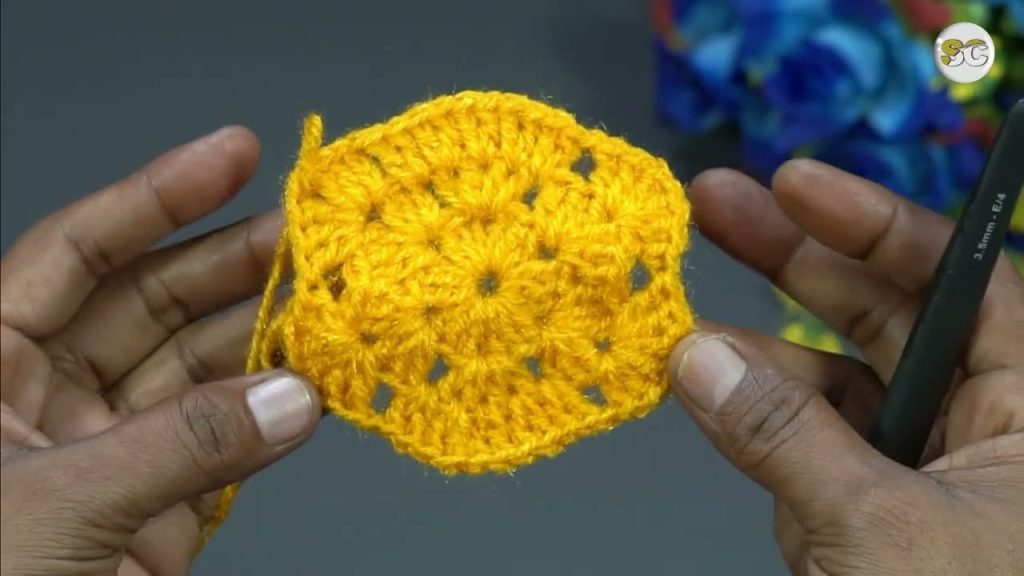
Part 1: The Base (Color A)
- Starting Chain:
Ch 26. - Round 1:
Scin the 2ndchfrom the hook and in each of the next 24 chains. In the lastch, make3 sc. Working on the other side of the chain,scin each of the next 24 stitches. In the last st, make2 sc. Join with asl stto the firstscto close the round. (Total: 51 sts) - Round 2:
Ch 1(does not count as a stitch).Scin each of the next 24 sts. Make3 scin the next 3 sts.Scin each of the next 24 sts. Make2 scin the next st. Join with asl stto the firstsc. (Total: 55 sts) - Round 3:
Ch 1.Scin each of the next 24 sts. Make3 scin the next 3 sts.Scin each of the next 24 sts. Make3 scin the next 3 sts. Join with asl stto the firstsc. (Total: 59 sts) - FO and weave in the end.
Part 2: The Body (Building the Sides)
- Switch to Color B: Join your new color in any stitch.
Ch 1.Scin each st around. Join with asl stto the firstsc. - Round 5:
Ch 1.Scin each st around. Join with asl stto the firstsc. - Switch to Color A:
Ch 1.Scin each st around. Join with asl stto the firstsc. - Repeat these two-round color changes until the bag reaches your desired height. The video shows a total of 10 to 12 rounds of the main body.
- Top Edge (Color B): Join Color B and work two to three rounds of
scto create a clean, contrasting top edge.
Part 3: The Flap
- Start the Flap (Color B):
Ch 26. - Row 1:
Scin the 2ndchfrom the hook and in eachchacross. (25 sc) - Rows 2-8:
Ch 1, turn.Scin each st across. - Shaping the Flap (Decrease Rows):
- Row 9:
Ch 1, turn.Sc decover the first two sts.Scin each st until you reach the last two sts.Sc decover the last two sts. - Repeat Row 9 for a few more rows until the flap is the desired shape.
- Row 9:
- FO, leaving a long tail for sewing.
Part 4: The Strap
- Chain:
Chapproximately 150 stitches for a comfortable crossbody strap, or a shorter chain for a shoulder bag. Scin the 2ndchfrom the hook and in eachchacross.- FO, leaving a long tail for sewing.
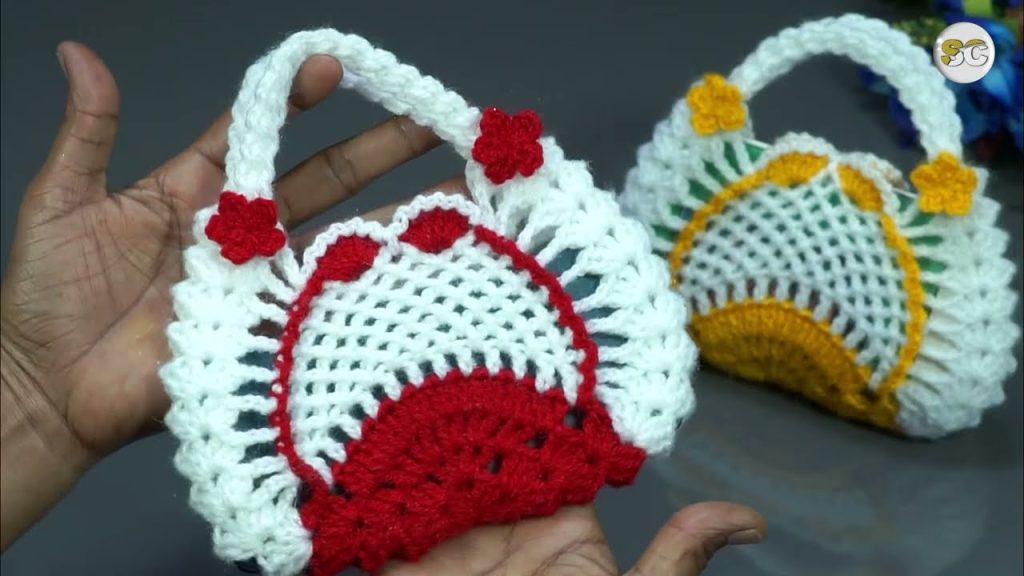
Part 5: Assembly and Finishing
- Attach the Flap: Use the long yarn tail and your yarn needle to sew the flap to the back of the bag, aligning it with the center.
- Attach the Strap: Use the long yarn tails from the strap to sew one end to each side of the bag, securing them tightly.
- Weave in All Ends: Use your yarn needle to weave in all loose ends securely.
Congratulations, you’ve created a beautiful and unique Sunset Striped Pouch! Happy hooking!

Video tutorial: