Knitting a jumper (also known as a sweater in many parts of the world) for a child aged 9 to 10 years old is a meaningful and enjoyable project. Not only does it result in a cozy, handmade garment, but it also allows you to tailor the design, size, color, and texture exactly to your liking—or to the preferences of the young boy you’re knitting for.
In this article, we will walk you through the complete process of knitting a basic, seamless pullover sweater for boys aged 9 to 10, using worsted-weight yarn. We’ll use the top-down raglan method, which is a great beginner-friendly construction that also allows you to try the sweater on as you go.
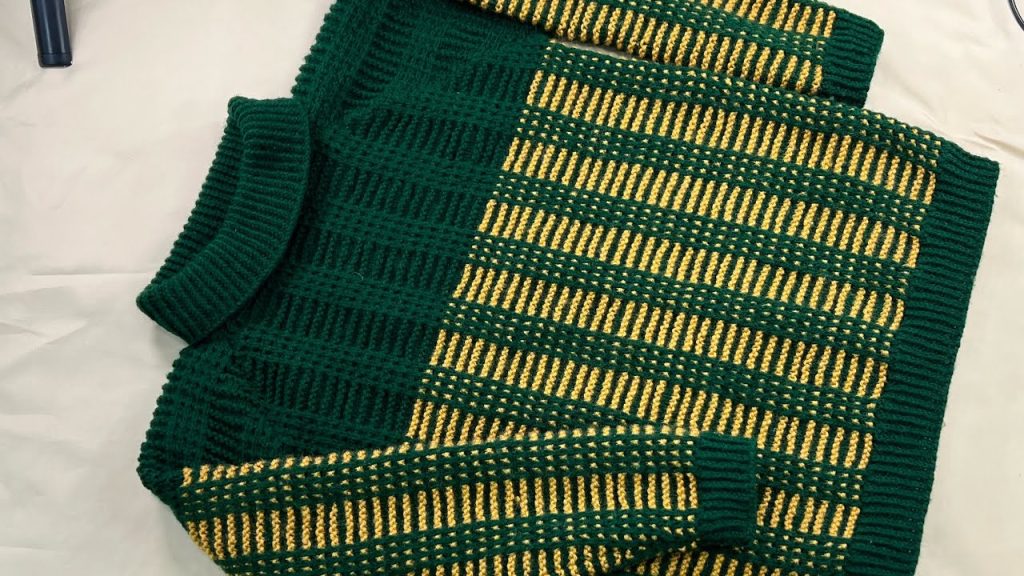
Table of Contents
- Introduction
- Sizing Information
- Materials Needed
- Stitch Glossary
- Knitting Techniques Used
- Construction Overview
- Step-by-Step Instructions
- 7.1. Neckline & Yoke
- 7.2. Splitting for Body & Sleeves
- 7.3. Knitting the Body
- 7.4. Knitting the Sleeves
- 7.5. Finishing
- Optional Embellishments
- Washing & Care Instructions
- Final Thoughts
1. Introduction
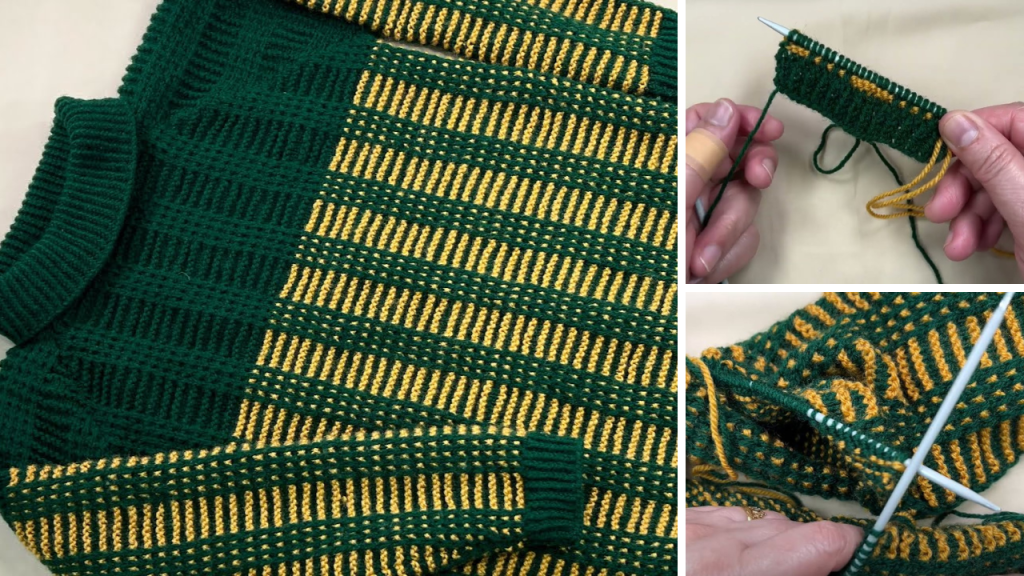
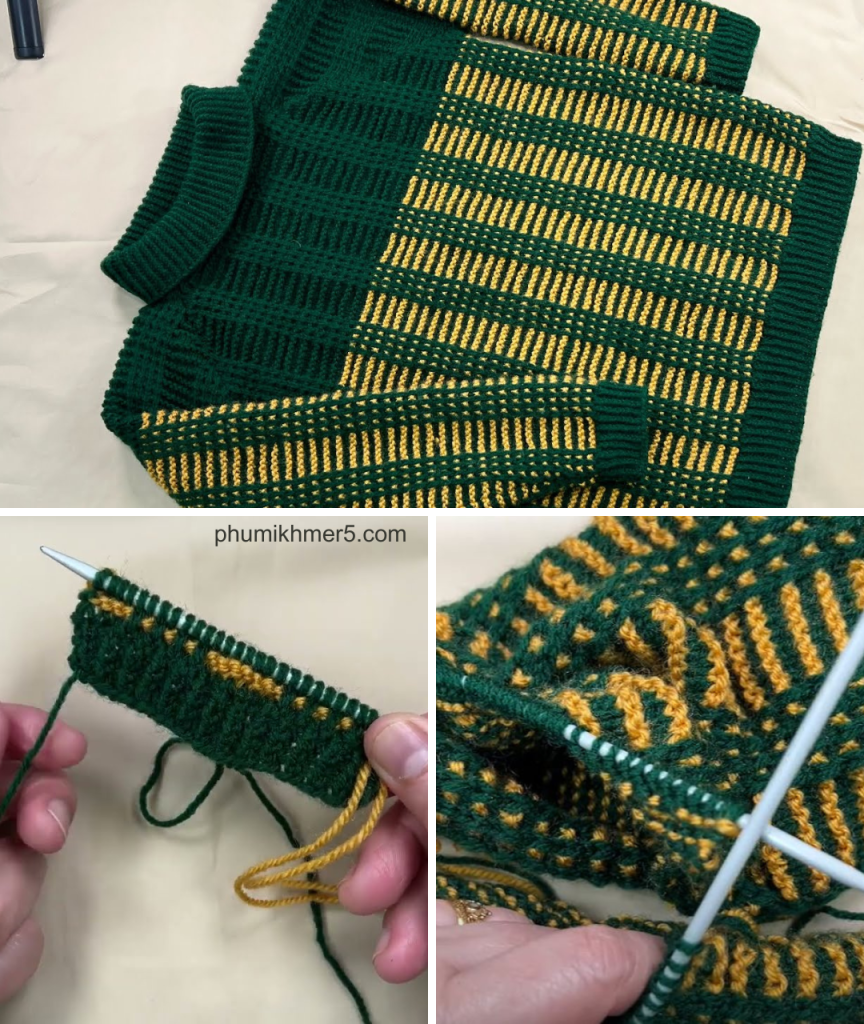
A handmade jumper is a timeless garment that offers warmth, style, and durability. This top-down raglan sweater pattern is designed with growing boys in mind—cozy enough for cold days, roomy enough for layering, and stylish enough for everyday wear. You can knit it plain or add stripes, textures, or colorwork to personalize it.
2. Sizing Information
Target Age: 9 to 10 years
Chest Circumference: 28–30 inches (71–76 cm)
Finished Chest Size: 31–32 inches (78–81 cm)
(A little positive ease allows for comfort and layering.)
Approximate Measurements:
- Sweater Length (shoulder to hem): 19–21 inches (48–53 cm)
- Sleeve Length: 16–17 inches (41–43 cm)
3. Materials Needed
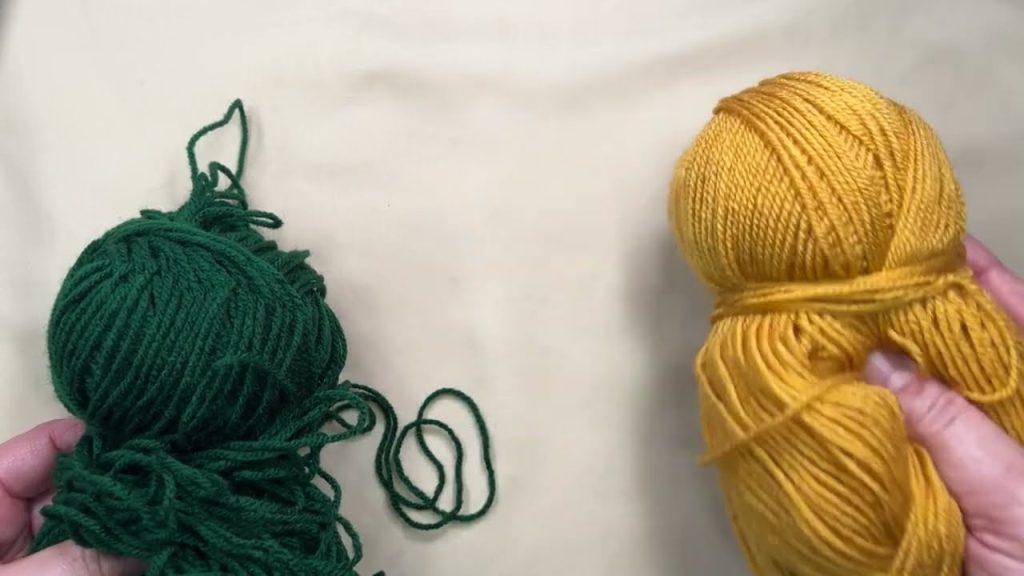
- Yarn: Worsted weight yarn (Category 4) – approx. 600–700 grams
- Suggested fiber: Soft wool or acrylic blend (machine washable for easy care)
- Solid, striped, or heathered yarn can all work beautifully
- Knitting needles:
- Circular needles 4.5 mm (US 7) and 5 mm (US 8), 24″–32″ length
- Double-pointed needles or short circulars for sleeves (optional)
- Stitch markers
- Tapestry needle
- Scissors
- Measuring tape
- Scrap yarn or stitch holders
4. Stitch Glossary
- K (Knit)
- P (Purl)
- KFB (Knit Front and Back) – an increase
- M1L / M1R (Make 1 Left/Right) – invisible increases
- St st (Stockinette Stitch) – knit all rounds in the round or knit/purl rows flat
- Ribbing (K2, P2 or K1, P1) – for stretchy cuffs and hem
5. Knitting Techniques Used
- Knitting in the round
- Top-down raglan shaping
- Picking up stitches
- Working increases
- Simple ribbing
- Basic garment shaping and construction
6. Construction Overview
This jumper is knit top-down in one piece, starting at the neck and working down through the yoke. The sleeves are separated and held while the body is completed. Then the sleeves are knit down from the yoke using the live stitches—no seaming required!
This construction method is ideal for beginners and produces a clean, seamless garment.
7. Step-by-Step Instructions
7.1. Neckline & Yoke
Cast-On and Ribbed Neckband:
- With smaller needles (4.5 mm), cast on 72 stitches using a stretchy cast-on method.
- Join to work in the round, being careful not to twist.
- Place a marker to indicate the beginning of the round.
- Work K2, P2 ribbing for 1.5 inches (4 cm).
Switch to larger needles (5 mm) and begin raglan increases:
We will now define the raglan structure:
- Divide the stitches as follows:
- Back: 20 sts
- Sleeve: 10 sts
- Front: 20 sts
- Sleeve: 10 sts
- Place markers between each section (4 markers total)
Raglan Increase Pattern (every other round):
Increase 1 stitch on either side of each marker using M1L / M1R or KFB.
- Work raglan increases every other round until:
- Back/front sections have 44–46 stitches each
- Sleeves have 36–38 stitches each
- This will take about 18–22 rounds depending on your gauge and size.
Try it on over the child’s head (if possible) or measure to make sure the yoke depth is around 6.5–7 inches (16–18 cm) from neckline to underarm.
7.2. Splitting for Body & Sleeves
Once the yoke is complete:
- Place sleeve stitches on waste yarn or stitch holders.
- Cast on 8–10 stitches under each arm (bridging the gap).
- Join back and front sections together and continue knitting the body in the round.
7.3. Knitting the Body
- Continue in stockinette stitch (knit all rounds) until the body measures 13–14 inches (33–36 cm) from underarm or until desired length.
- Switch to smaller needles.
- Work K2, P2 ribbing for 1.5–2 inches (4–5 cm).
- Bind off loosely using a stretchy bind-off method.
7.4. Knitting the Sleeves
- Return the held sleeve stitches to your needles.
- Pick up the 8–10 underarm stitches.
- Place marker at beginning of the round.
Work the sleeve in the round:
- Knit until the sleeve measures about 14 inches (35 cm) from underarm or desired length.
- You may choose to decrease 1 stitch every 6–8 rounds to taper the sleeve slightly.
Cuff:
- Switch to smaller needles.
- Work K2, P2 ribbing for 1.5–2 inches.
- Bind off loosely.
Repeat for second sleeve.
7.5. Finishing
- Weave in all yarn ends using a tapestry needle.
- Lightly block the sweater to even out stitches and shape the garment.
- If using wool, use a steam block or wet block. For acrylic, a gentle steam with a pressing cloth works best.
8. Optional Embellishments
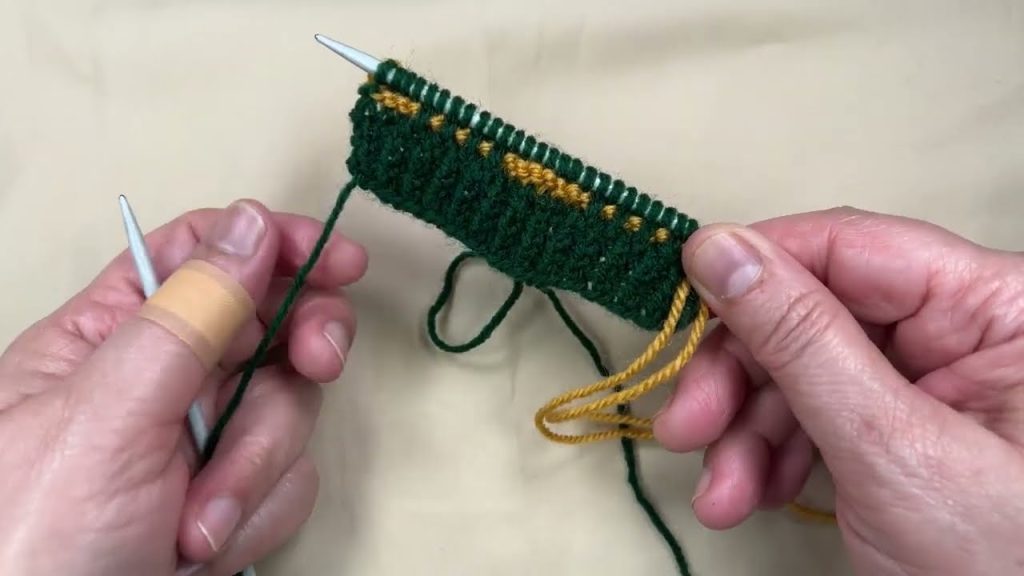
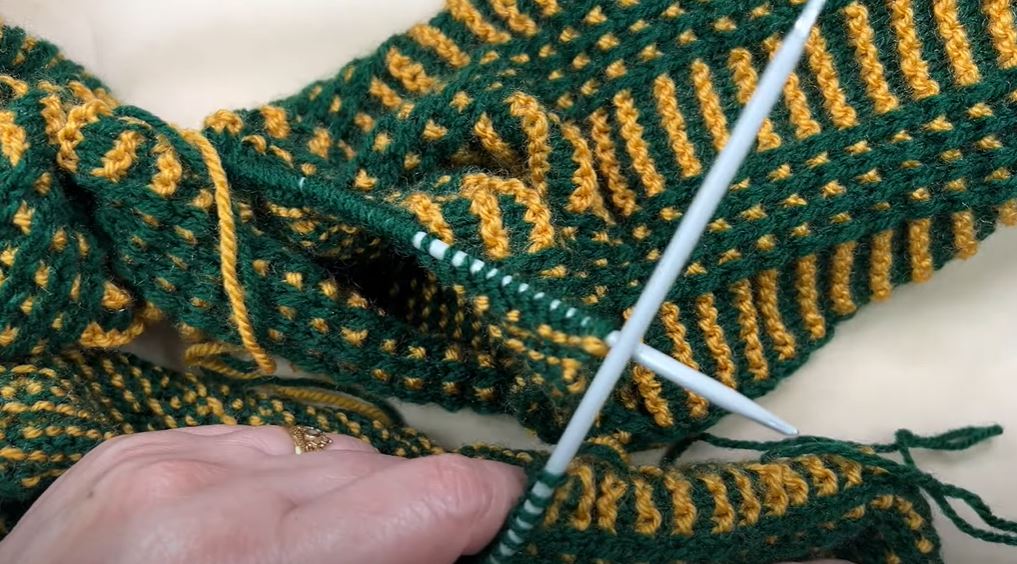
- Stripes or Color Blocks: Add in contrasting colors every few inches.
- Pockets: Knit a small square and sew it onto the front.
- Elbow Patches: Sew on suede or knit patches for durability and style.
- Appliqués: Add motifs like stars, initials, animals, or sports icons.
9. Washing & Care Instructions
- If using wool: Hand wash cold, lay flat to dry.
- If using superwash or acrylic yarn: Machine wash gentle, cold cycle. Lay flat or tumble dry on low if yarn allows.
Always check your yarn label for fiber-specific care.
10. Final Thoughts
Knitting a jumper for a 9 to 10-year-old boy is not just a rewarding project—it’s a gesture of warmth and care. Whether you’re a beginner exploring garment-making or an experienced knitter looking for a reliable pattern, this tutorial offers a customizable, practical guide.
The basic design allows for creative freedom, so don’t hesitate to personalize it with textures, colors, or motifs. And as your skills grow, you can adapt the pattern with cables, colorwork, or even hooded styles.
Happy knitting—and enjoy seeing your hand-knit creation come to life on a proud young wearer!
Video tutorial: