Knitting is a timeless craft that blends creativity, patience, and love. Whether you’re a beginner or an experienced knitter, making a hand-knitted cap (also known as a topi in South Asian countries) for a child is a rewarding project. This article will guide you step by step through creating a warm, stylish, and practical knitted cap for boys aged 9 to 10 years old.
We’ll cover everything from material selection to the final finishing touches, making this tutorial suitable for all skill levels.

Table of Contents
- Introduction
- Materials Needed
- Sizing Information
- Stitch Glossary
- Knitting Techniques Used
- Step-by-Step Instructions
- 6.1. Casting On
- 6.2. Ribbing (Brim)
- 6.3. Body of the Hat
- 6.4. Decreasing (Crown Shaping)
- 6.5. Finishing
- Optional Embellishments
- Care Instructions
- Final Thoughts
1. Introduction
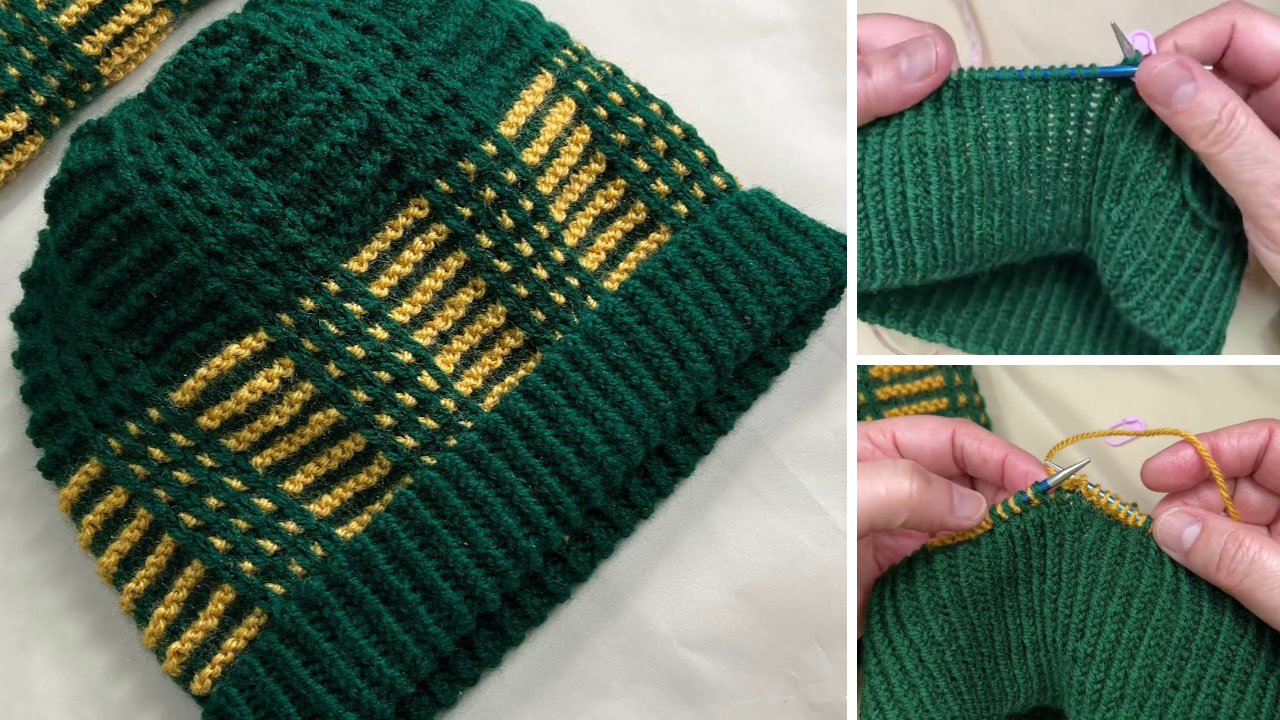
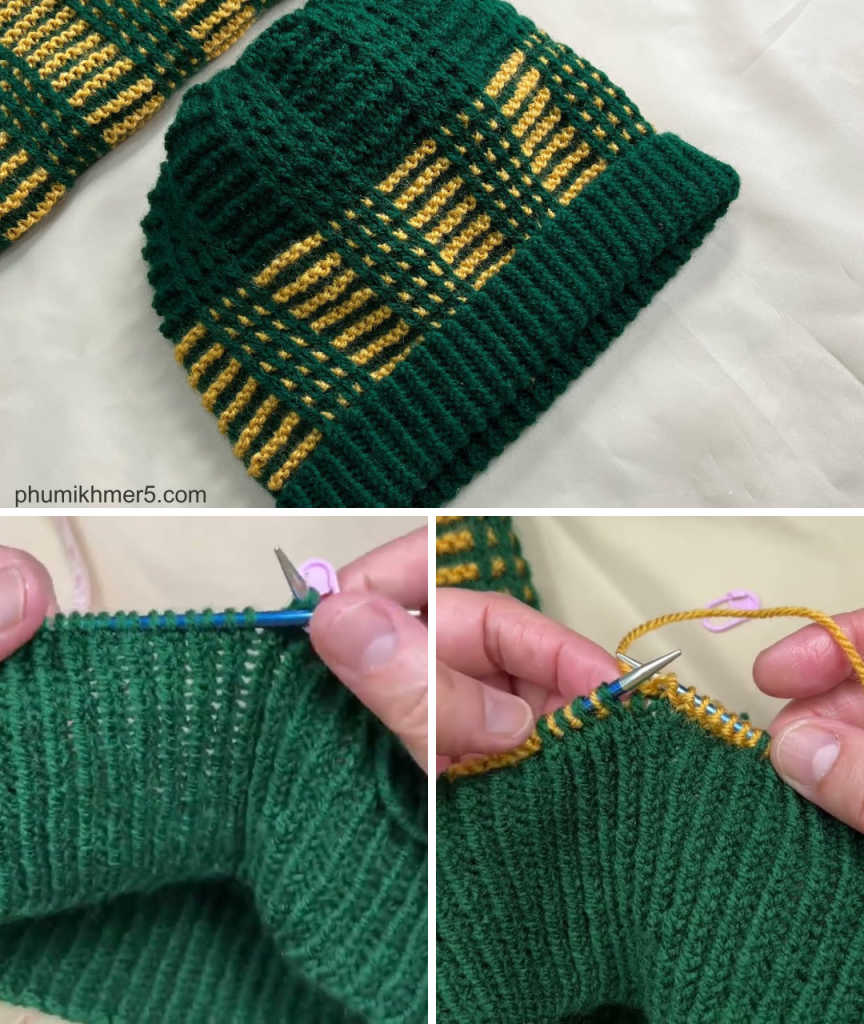
Knitted caps are excellent accessories for kids, especially during colder months. For boys aged 9 to 10, the cap must be functional—keeping their heads warm—but also stylish and comfortable. In this tutorial, we’ll create a basic beanie-style cap that you can customize with different colors, patterns, or embellishments.
2. Materials Needed
To make this cap, you’ll need the following materials:
- Yarn: Worsted weight yarn (Category 4); approximately 150 grams
- Suggested fiber: Soft wool blend or acrylic (machine washable)
- Color: Your choice (solid or multicolor)
- Knitting needles:
- Circular needles (4.5 mm, 16-inch cord)
- Double-pointed needles (4.5 mm) for crown shaping
- Stitch markers
- Tapestry needle
- Scissors
- Measuring tape
Optional:
- Pom-pom maker
- Buttons or patches for decoration
3. Sizing Information
Children aged 9 to 10 typically have a head circumference of 21 to 22 inches (53–56 cm). We will knit a hat with some negative ease so it fits snugly. The finished hat circumference will be approximately 18–19 inches (46–48 cm), which will stretch comfortably when worn.
4. Stitch Glossary
Here are the basic stitches used in this tutorial:
- K (Knit) – Insert the needle into the stitch from front to back and pull yarn through.
- P (Purl) – Insert the needle into the stitch from back to front and pull yarn through.
- K2tog (Knit Two Together) – Decrease by knitting two stitches together.
- St st (Stockinette Stitch) – Knit all rounds when working in the round.
5. Knitting Techniques Used
- Knitting in the round using circular and double-pointed needles.
- Ribbing for stretch and fit.
- Decreasing to shape the crown.
- Finishing techniques such as weaving in ends.
6. Step-by-Step Instructions
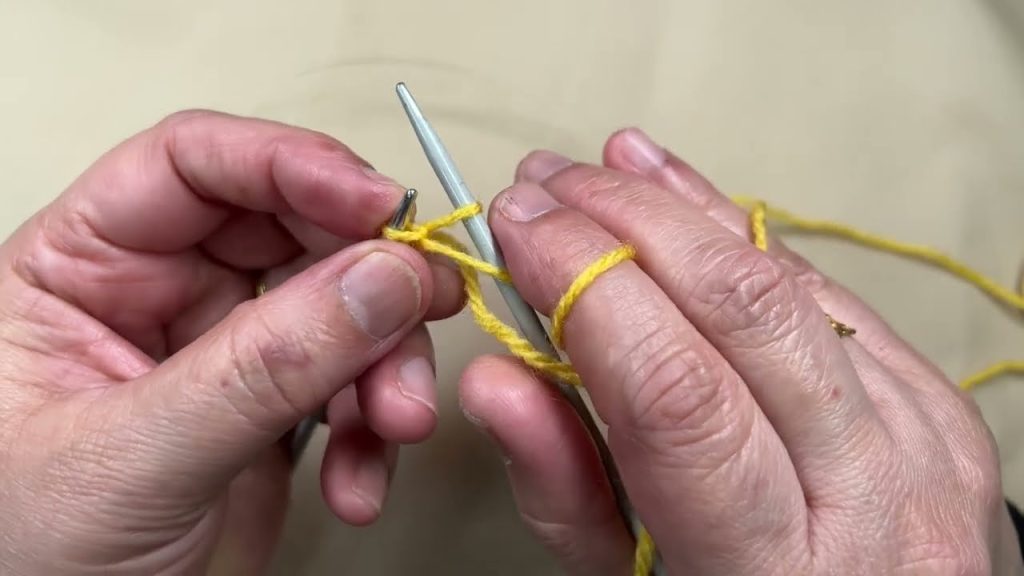
6.1. Casting On
- Cast on 80 stitches using the long-tail cast-on method.
- Join to work in the round. Be careful not to twist your stitches.
- Place a stitch marker at the beginning of the round.
Note: You can adjust the number of stitches by increments of 8 depending on the desired fit.
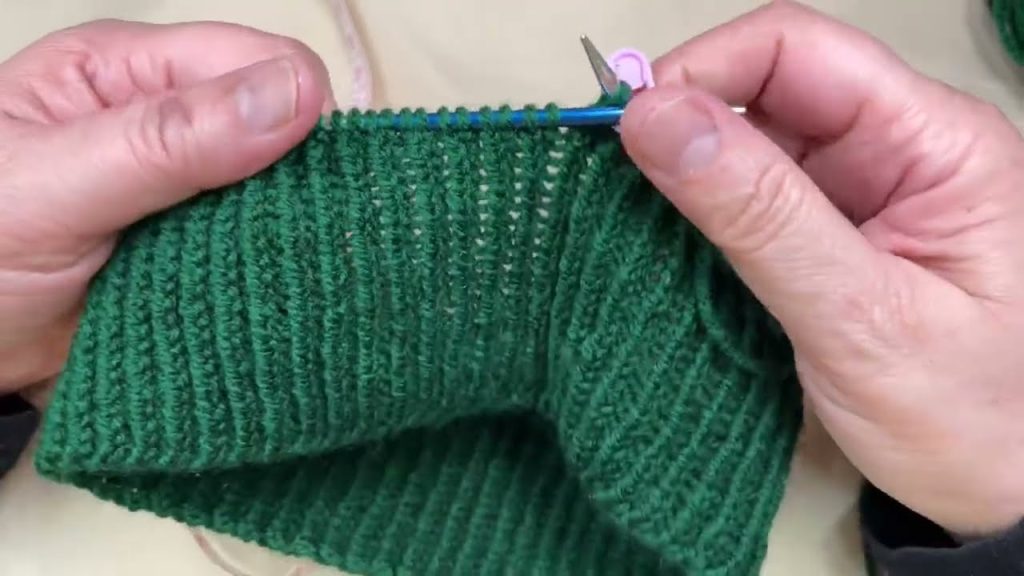
6.2. Ribbing (Brim)
The brim helps the hat stay snug around the forehead and ears.
- Work in K2, P2 ribbing for 1.5 to 2 inches (4–5 cm).
- Round 1: K2, P2 repeat to the end of the round.
- Repeat this round until you reach the desired brim length.
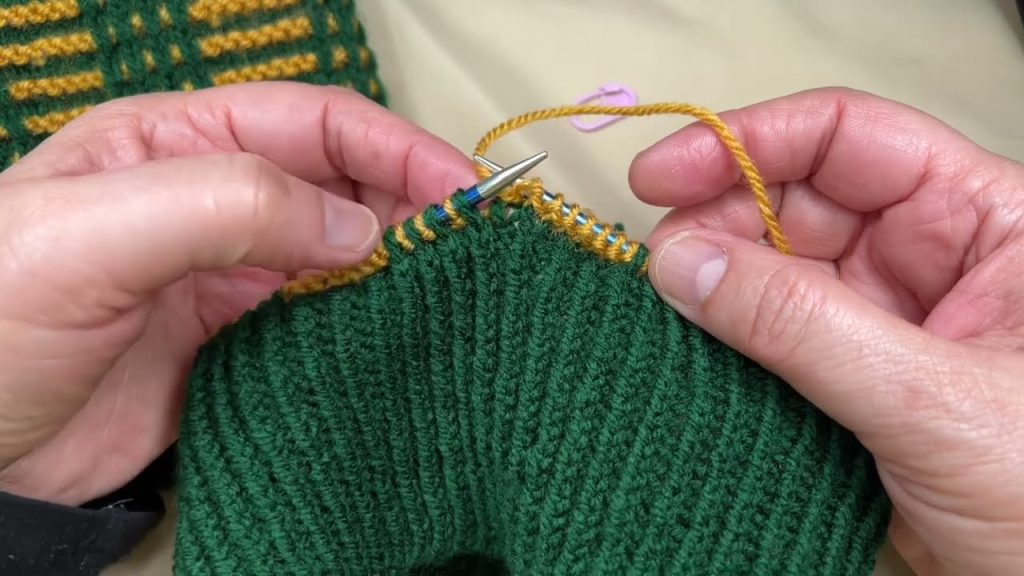
6.3. Body of the Hat
Once the ribbing is done, move on to the body of the hat.
- Switch to stockinette stitch by knitting every round.
- Continue until the body measures about 6 inches (15 cm) from the cast-on edge (including the ribbing).
You can add stripes or a simple textured pattern if you like (e.g., K4, P4 for 4 rounds, then switch).
6.4. Decreasing (Crown Shaping)
Now begin decreasing to shape the top of the hat.
You’ll switch to double-pointed needles when the stitches no longer fit comfortably on the circular needle.
Decrease Rounds:
- Round 1: K8, K2tog – repeat around (72 stitches)
- Round 2: Knit all
- Round 3: K7, K2tog – repeat around (64 stitches)
- Round 4: Knit all
- Round 5: K6, K2tog – repeat around (56 stitches)
- Round 6: Knit all
- Continue decreasing in this pattern, reducing the number before the K2tog by 1 every two rounds:
- K5, K2tog, then knit all
- K4, K2tog, then knit all
- … until you reach K1, K2tog
- Final round: K2tog around (8 stitches remain)
6.5. Finishing
- Cut the yarn, leaving a 6-inch tail.
- Thread the tail through a tapestry needle.
- Pass the needle through the remaining stitches and pull tight to close the crown.
- Weave in all ends securely on the inside of the hat.
7. Optional Embellishments
Pom-Pom
- Use a pom-pom maker or wrap yarn around your hand multiple times.
- Tie in the center, cut loops, and trim into shape.
- Sew securely to the top of the hat.
Appliqués or Patches
- Add a sports-themed patch, favorite cartoon character, or initials using felt or embroidered cloth.
- Sew them on after the hat is complete.
Colorwork
- Try fair isle or stripes to make the hat more vibrant.
- For beginners, alternate two colors every 2 rounds for easy striping.

8. Care Instructions
To keep your hand-knitted cap in good shape:
- Hand wash in cold water with mild detergent.
- Lay flat to dry.
- Avoid wringing or hanging, which may stretch the fibers.
If using machine-washable yarn, check the label for specific care instructions.
9. Final Thoughts
Creating a hand-knitted cap for a 9 to 10-year-old boy is not only a functional project but also a heartfelt gift. With the step-by-step instructions above, you can make a cozy, custom hat that will keep him warm and stylish all season long.
Don’t be afraid to experiment with color, patterns, or even matching scarves or mittens. Knitting is about expression and creativity. Whether you’re making it for your son, nephew, or as a gift, this hat is sure to be cherished.
Happy knitting!
Video tutorial: