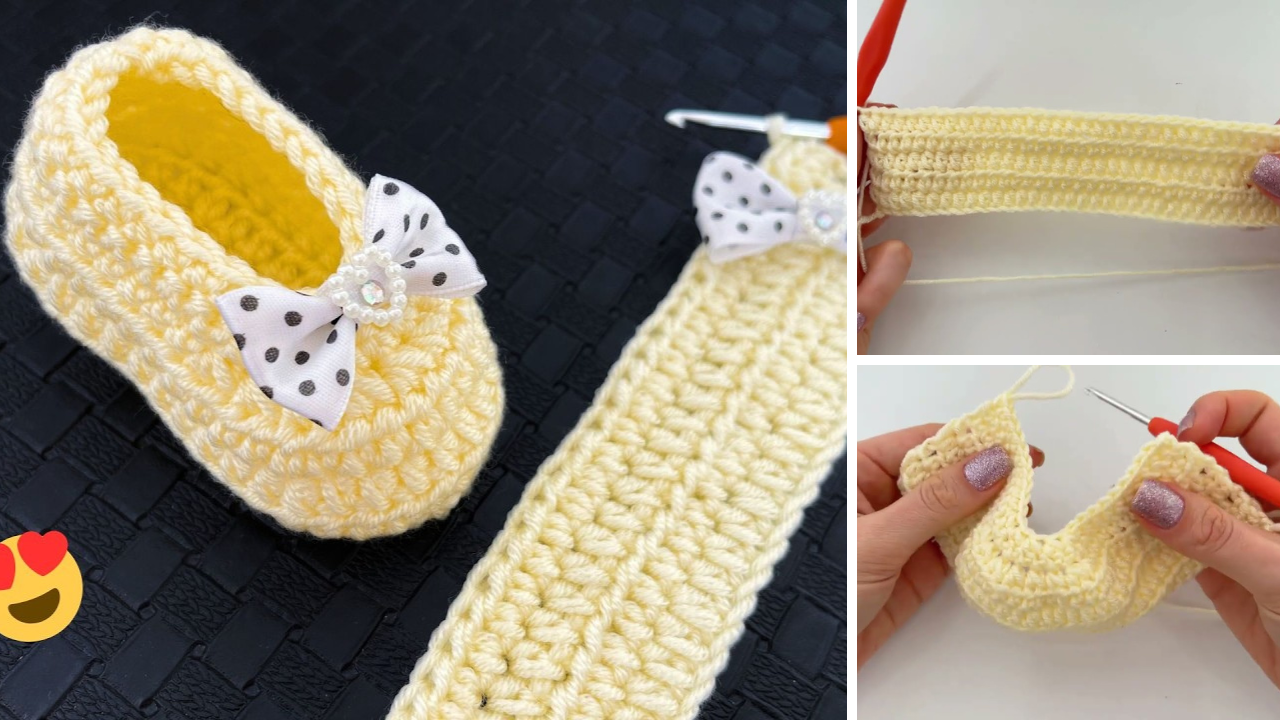
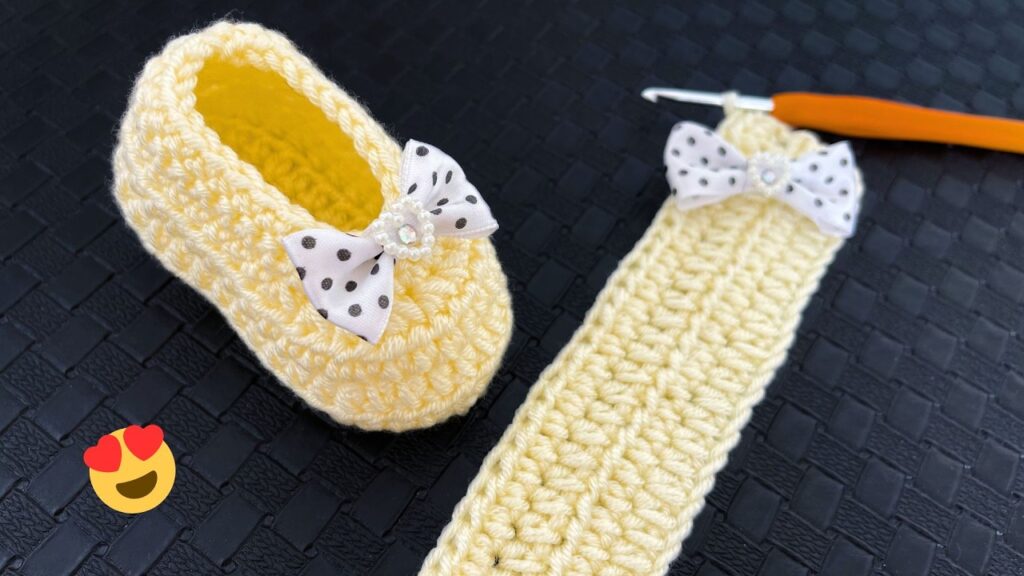
Crocheted baby booties are a classic handmade gift, offering both warmth and undeniable cuteness for little feet. They’re a joy to make, and with a relatively quick turnaround, you can whip up several pairs in a variety of colors and styles. Whether you’re a seasoned crocheter or a curious beginner, this guide will walk you through the process of creating adorable and practical booties.
Why Crochet Baby Booties?
- Thoughtful Gift: Handmade items always carry a special touch, and baby booties are no exception. They show you’ve invested time and care into creating something unique for the new arrival.
- Practical: Beyond their cuteness, booties keep tiny toes warm, especially in cooler weather or air-conditioned environments.
- Quick Project: Compared to larger crochet projects like blankets, booties work up relatively fast, making them satisfying to complete.
- Skill Builder: For beginners, booties offer a great way to practice fundamental crochet stitches and learn how to shape fabric.
- Customizable: With an endless array of yarn colors and embellishments, you can personalize each pair to match an outfit or nursery theme.
Essential Materials
Before you begin, gather your supplies:
- Yarn:
- Weight: Light worsted (DK) or sport weight yarn is ideal for baby booties. It’s soft, easy to work with, and creates a nice drape.
- Fiber: Look for soft, breathable, and washable fibers. Cotton, bamboo, or acrylic blends are excellent choices. Avoid scratchy wools that might irritate delicate baby skin.
- Quantity: One skein (typically 50-100g) is usually more than enough for a pair of booties.
- Crochet Hook: The hook size will depend on your yarn weight and your personal tension. A good starting point is a 3.5mm (E) or 4.0mm (G) hook for DK or sport weight yarn. Always check the yarn label for recommended hook sizes.
- Yarn Needle (Tapestry Needle): Essential for weaving in ends neatly.
- Scissors: For cutting yarn.
- Stitch Markers (Optional but Recommended): Helpful for marking the beginning of rounds, especially if you’re new to crocheting in the round.
- Measuring Tape: To check your gauge and the size of your booties.

Understanding Baby Booty Sizing
Baby foot sizes vary greatly, even among newborns. It’s helpful to know approximate measurements, but remember that crochet fabric has some stretch.
- Newborn (0-3 months): Sole length approximately 3.5 – 3.75 inches (9-9.5 cm)
- 3-6 months: Sole length approximately 4 – 4.25 inches (10-10.8 cm)
- 6-12 months: Sole length approximately 4.5 – 4.75 inches (11.5-12 cm)
To adjust the size, you can:
- Use a smaller or larger hook.
- Use a thinner or thicker yarn.
- Adjust the initial chain length for the sole.
Basic Crochet Stitches You’ll Need
This pattern will primarily use:
- Chain (ch): The foundation of most crochet projects.
- Slip Stitch (sl st): Used to join rounds and finish off.
- Single Crochet (sc): A compact, sturdy stitch.
- Half Double Crochet (hdc): Taller than sc, shorter than dc, creating a nice fabric.
- Double Crochet (dc): A taller stitch that works up quickly.
- Single Crochet Decrease (sc2tog): Used to shape the toe and heel. (Also known as single crochet 2 together).
Crochet Baby Booties Pattern (Newborn Size)
This pattern creates a bootie with a simple, comfortable fit. You can easily adapt it by adjusting the initial chain length for the sole.
Gauge: 5 hdc and 4 rows = 1 inch (2.5 cm) – It’s always a good idea to make a small swatch to check your gauge, but for booties, being slightly off won’t be a disaster.
Part 1: The Sole
We’ll start by creating an oval-shaped sole.
- Round 1: Ch 10.
- 2 hdc in 2nd ch from hook.
- Hdc in next 7 ch.
- 6 hdc in last ch. (This turns the corner)
- Working on the other side of the starting chain: Hdc in next 7 ch.
- 2 hdc in the last ch. (This finishes the oval)
- Join with sl st to first hdc. (24 stitches)
- Round 2: Ch 1.
- 2 sc in first 2 stitches. (4 sc)
- Sc in next 7 stitches. (7 sc)
- 2 sc in next 6 stitches. (12 sc)
- Sc in next 7 stitches. (7 sc)
- 2 sc in last 2 stitches. (4 sc)
- Join with sl st to first sc. (34 stitches)
- Round 3: Ch 1.
- Sc in first stitch. (1 sc)
- 2 sc in next stitch. (2 sc)
- Sc in next 10 stitches. (10 sc)
- (Sc in next stitch, 2 sc in next stitch) * repeat 3 times. (9 sc)
- Sc in next 10 stitches. (10 sc)
- (Sc in next stitch, 2 sc in next stitch) * repeat 2 times. (6 sc)
- Join with sl st to first sc. (40 stitches)
You should now have a nicely shaped oval sole. It should measure approximately 3.5-3.75 inches in length.
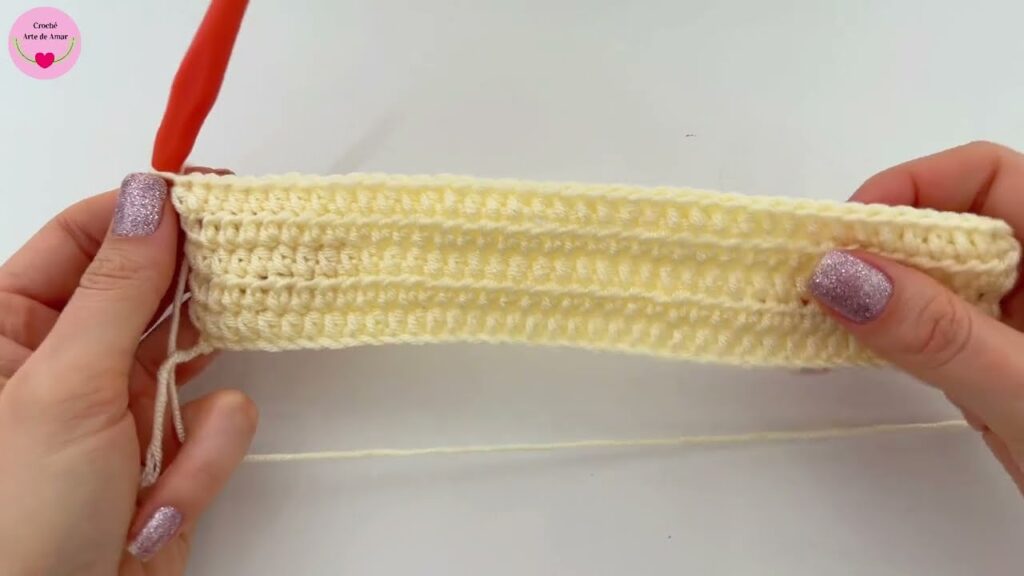
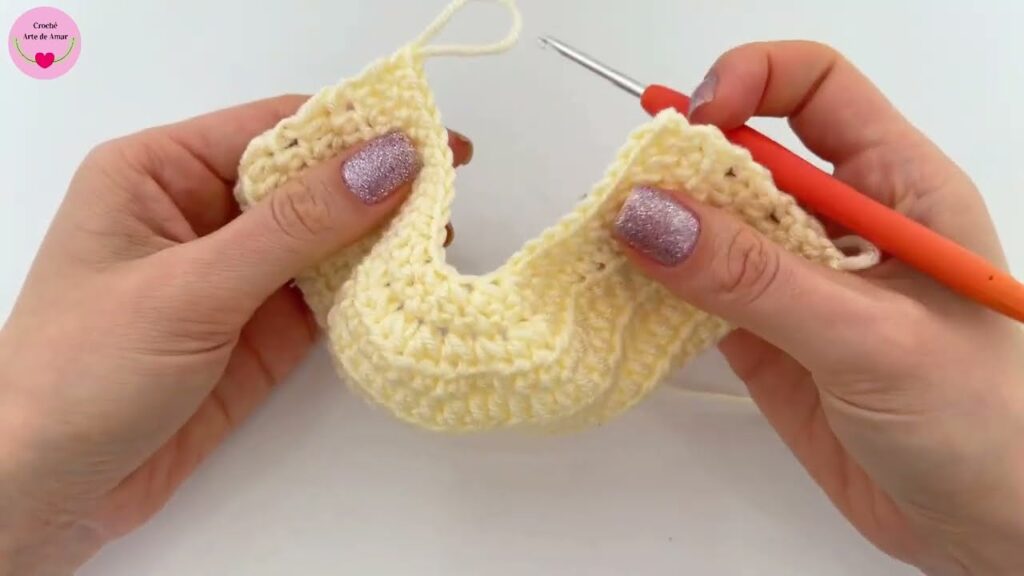
Part 2: The Sides of the Bootie
Now we’ll create the upright sides of the bootie.
- Round 4: Ch 1. Sc in each stitch around in the back loop only (BLO). Join with sl st to first sc. (40 stitches)
- Working in the BLO creates a defined edge for the sole.
- Round 5: Ch 1. Sc in each stitch around. Join with sl st to first sc. (40 stitches)
- Round 6: Ch 1. Hdc in each stitch around. Join with sl st to first hdc. (40 stitches)
- Round 7: Ch 1. Hdc in each stitch around. Join with sl st to first hdc. (40 stitches)
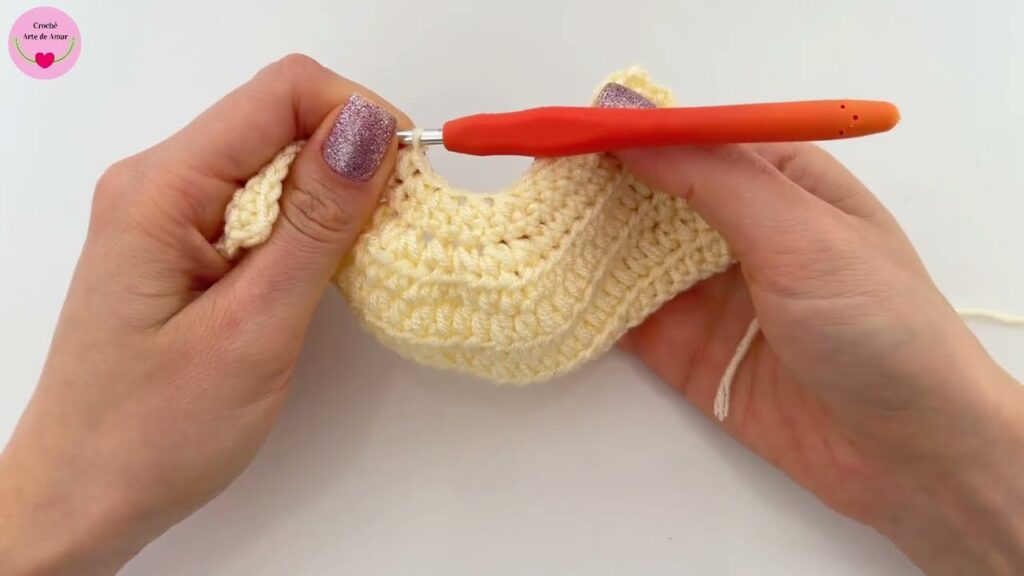
Part 3: Shaping the Toe
This section will create the curve of the toe.
- Round 8: Ch 1. Sc in next 12 stitches.
-
- (Sc2tog) * repeat 8 times. (This creates the toe shaping)
- Sc in next 12 stitches.
- Join with sl st to first sc. (32 stitches)
-
- Round 9: Ch 1. Sc in next 12 stitches.
-
- (Sc2tog) * repeat 4 times.
- Sc in next 12 stitches.
- Join with sl st to first sc. (28 stitches)
-
Part 4: The Ankle/Cuff
Now we’ll work on the top part of the bootie. You can customize this section.
- Round 10: Ch 2 (does not count as a stitch). Dc in each stitch around. Join with sl st to first dc. (28 stitches)
- Round 11: Ch 2 (does not count as a stitch). Dc in each stitch around. Join with sl st to first dc. (28 stitches)
- Round 12 (Optional – for a ruffled edge): Ch 1. * (Sc in next stitch, ch 2, sl st in same stitch) * repeat around. Sl st to first sc. Fasten off.
- Round 12 (Optional – for a plain cuff): Ch 1. Sc in each stitch around. Join with sl st to first sc. Fasten off.

Finishing:
- Weave in all loose ends securely using your yarn needle.
- Make a second bootie following the exact same instructions.
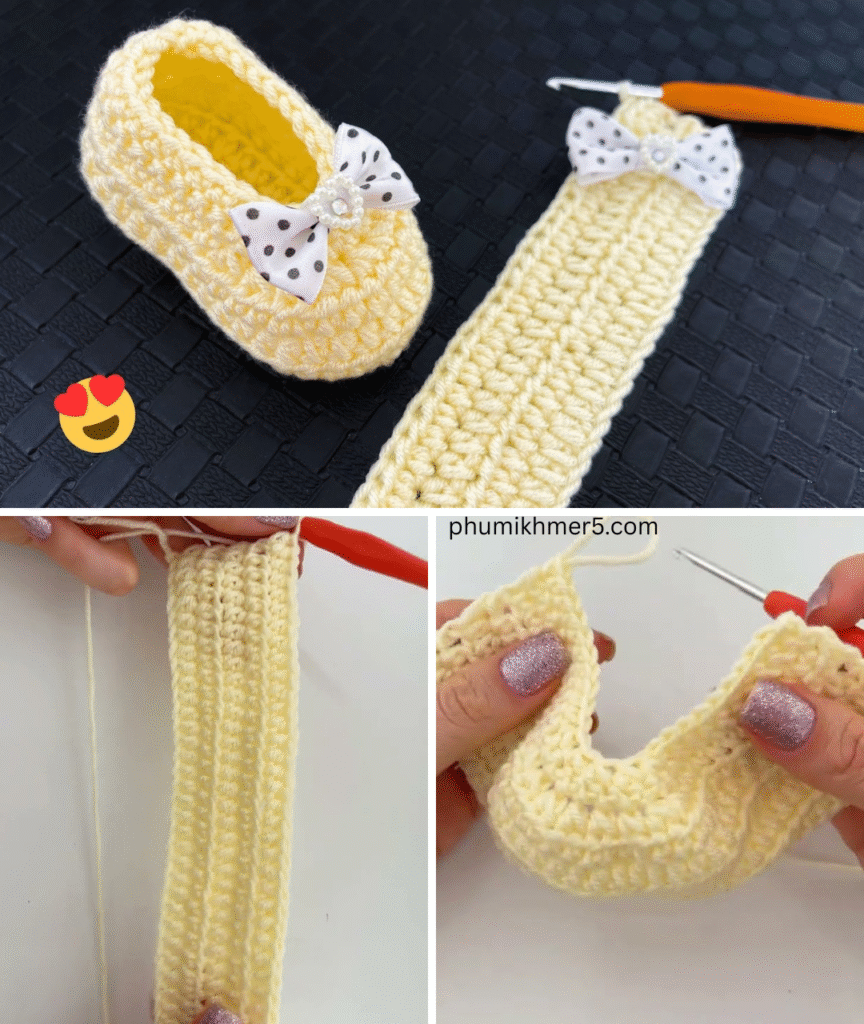
Embellishments and Personalization
Here’s where you can really make your booties unique!
- Buttons: Sew on cute decorative buttons (ensure they are securely attached and large enough not to be a choking hazard for older babies).
- Ribbon Tie: Thread a thin ribbon through the dc stitches on the ankle for a sweet tie.
- Appliques: Crochet small flowers, stars, or animal faces and sew them onto the toe.
- Embroidery: Add embroidered details like a small heart, initial, or dots.
- Color Changes: Use contrasting colors for the sole, sides, or cuff.
- Fold-over Cuff: Skip the last round and fold the cuff down for a different look.
Care Instructions
Most crocheted baby items are best cared for by:
- Machine wash gentle cycle in cold water.
- Lay flat to dry to maintain shape and prevent stretching.
- Avoid bleach.
Tips for Success
- Count your stitches! This is crucial, especially when working in the round and performing increases/decreases.
- Use stitch markers: They are your best friend, especially for marking the beginning of rounds.
- Don’t pull your yarn too tight: This can make your fabric stiff and difficult to work with. Aim for consistent, even tension.
- Practice makes perfect: If your first bootie isn’t perfect, don’t worry! Each one you make will improve your skills.
- Watch video tutorials: If you’re struggling with a specific stitch or technique, a visual guide can be incredibly helpful.
Crocheting baby booties is a rewarding experience that results in an adorable and practical item. With a little practice, you’ll be creating a whole wardrobe of cute footwear for the little ones in your life. Happy crocheting!
Video tutorial:


