Crocheting baby items is a beloved hobby for many crafters, and nothing beats the charm of a soft, handmade baby hat. Whether you’re a beginner looking for your first project or a seasoned crocheter needing a quick gift, this easy and fast crochet baby hat pattern is the perfect go-to. In this article, we’ll walk through everything you need to know—from choosing the right yarn to a simple step-by-step pattern that can be completed in under an hour.

Why Crochet a Baby Hat?
Crocheting a baby hat is more than just a creative endeavor—it’s a heartwarming way to show love and care. Here are a few reasons why this project is so rewarding:
- Quick and easy: Great for last-minute gifts or baby showers.
- Beginner-friendly: Requires basic crochet skills.
- Customizable: You can change colors, add embellishments, or adjust the size.
- Functional: Keeps little heads warm and cozy.
What You’ll Need
Before you begin, gather the following materials:
- Yarn: Choose a soft, medium-weight (worsted weight, category 4) yarn that is baby-friendly. Acrylic or cotton blends are ideal.
- Crochet hook: Size H/5.0 mm or according to yarn label recommendation.
- Scissors
- Yarn needle: For weaving in ends
- Measuring tape (optional)
Optional Add-ons
- Pom-poms
- Buttons
- Crochet flowers or bows

Basic Stitches Used
If you’re a beginner, this hat only uses a few basic stitches:
- Magic Ring (MR) or chain to start
- Double Crochet (dc)
- Slip Stitch (sl st)
- Chain (ch)
Crochet Baby Hat Pattern (0–3 Months)
This pattern fits most newborns to 3-month-old babies, with a head circumference of approximately 13–15 inches.
Round-by-Round Instructions:
- Magic Ring, or Ch 3 and join to form a ring.
- Round 1: Ch 2 (counts as first dc), work 11 dc into the ring. Join with a sl st to top of the ch 2. (12 dc)
- Round 2: Ch 2, 2 dc in each stitch around. Join. (24 dc)
- Round 3: Ch 2, 1 dc in next st, 2 dc in next st, repeat around. Join. (36 dc)
- Round 4: Ch 2, 1 dc in next 2 sts, 2 dc in next st, repeat around. Join. (48 dc)
- Rounds 5–9: Ch 2, dc in each st around. Join. (48 dc)
- Round 10 (Final Round): Ch 1, sc in each st around for a neater edge. Join and fasten off.

Finishing:
- Weave in all ends using the yarn needle.
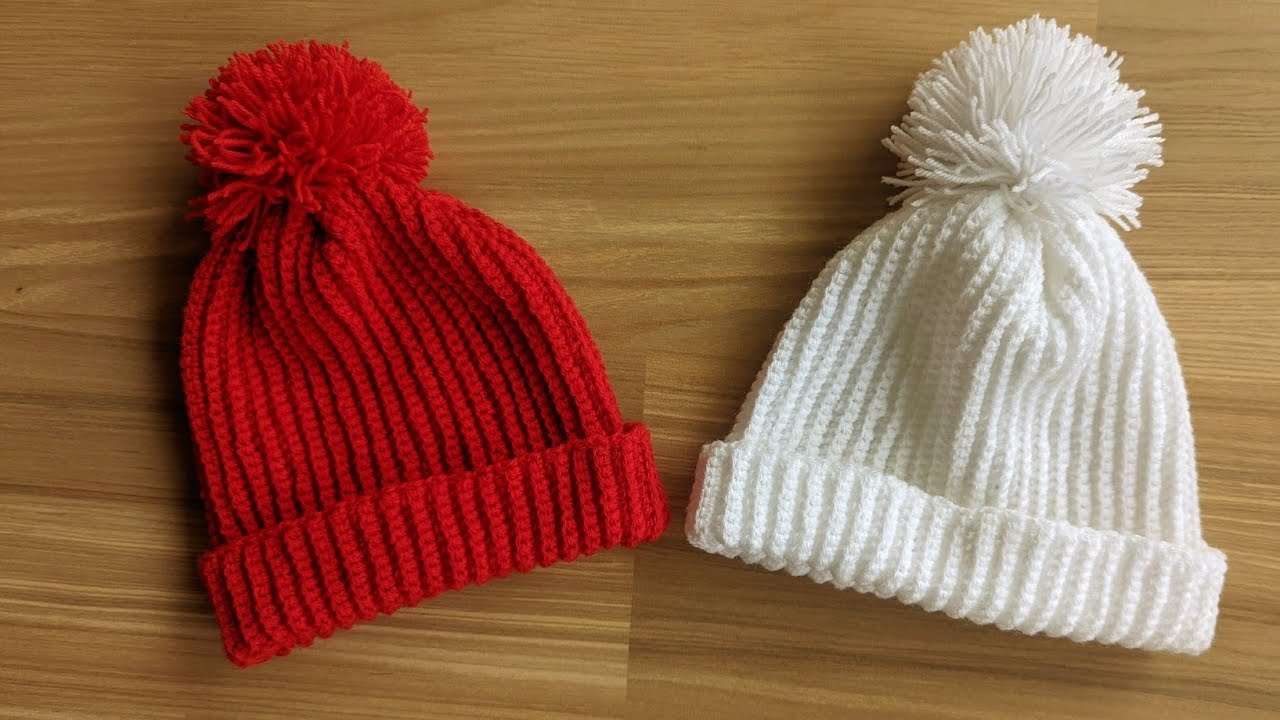
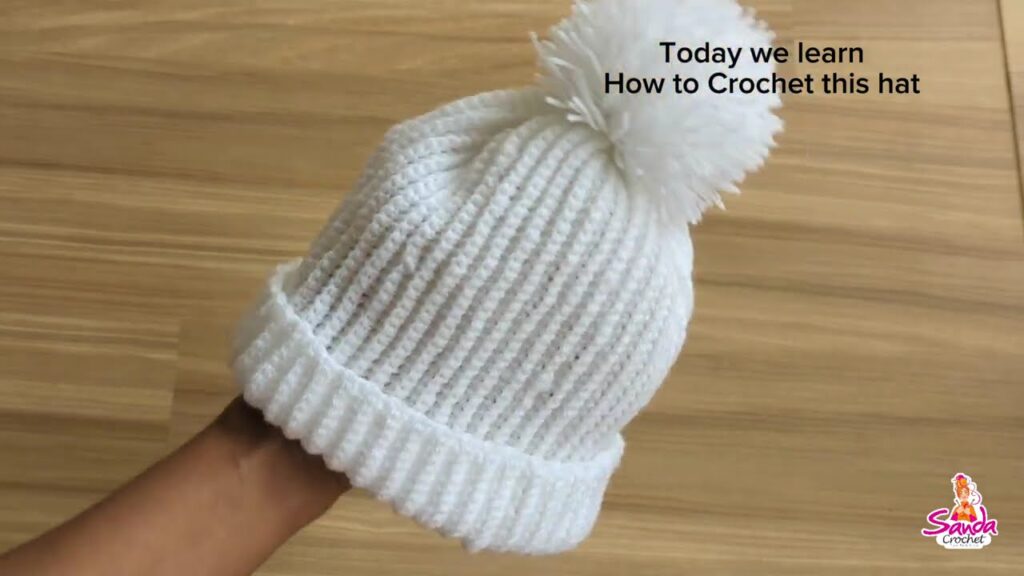
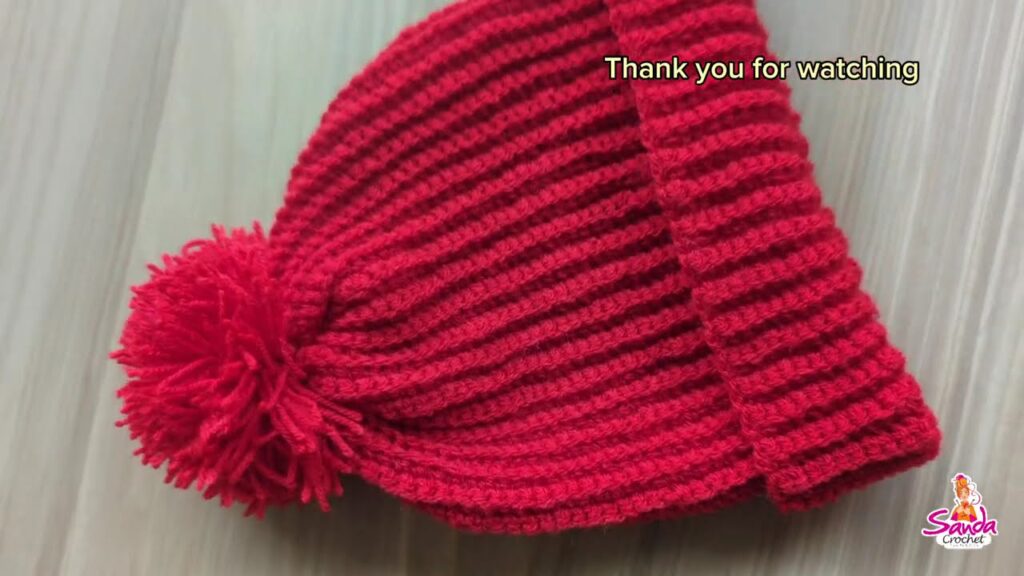
- Add a pom-pom, bow, or button for extra cuteness (optional).
Sizing Adjustments
To make a larger or smaller hat:
- Increase or decrease the number of rounds with increases.
- Adjust the number of plain rounds (no increases) to fit the depth of the baby’s head.
- Use a lighter yarn and smaller hook for preemies, or bulkier yarn and larger hook for older infants.
Tips for Success
- Always check your gauge: A quick swatch can prevent sizing issues.
- Use stitch markers to keep track of your rounds.
- Softness matters: Babies have sensitive skin, so avoid scratchy yarns or embellishments.
- Machine-washable yarn is a must for easy care.
Variations to Try
Once you’re comfortable with the basic hat, experiment with variations:
- Ribbed brim: Add a few rounds of front and back post double crochet for a stretchy edge.
- Color stripes: Change yarn colors every couple of rounds.
- Animal ears: Add bear, bunny, or cat ears for an adorable twist.
Final Thoughts
Crocheting a baby hat is one of the most satisfying and heartfelt projects you can create. With just a bit of yarn, a hook, and some spare time, you can produce a cozy, practical, and beautiful accessory that new parents will cherish. This easy and fast crochet baby hat is not only beginner-friendly but also endlessly customizable—perfect for giving your handmade gift a personal touch.
Video tutorial:


