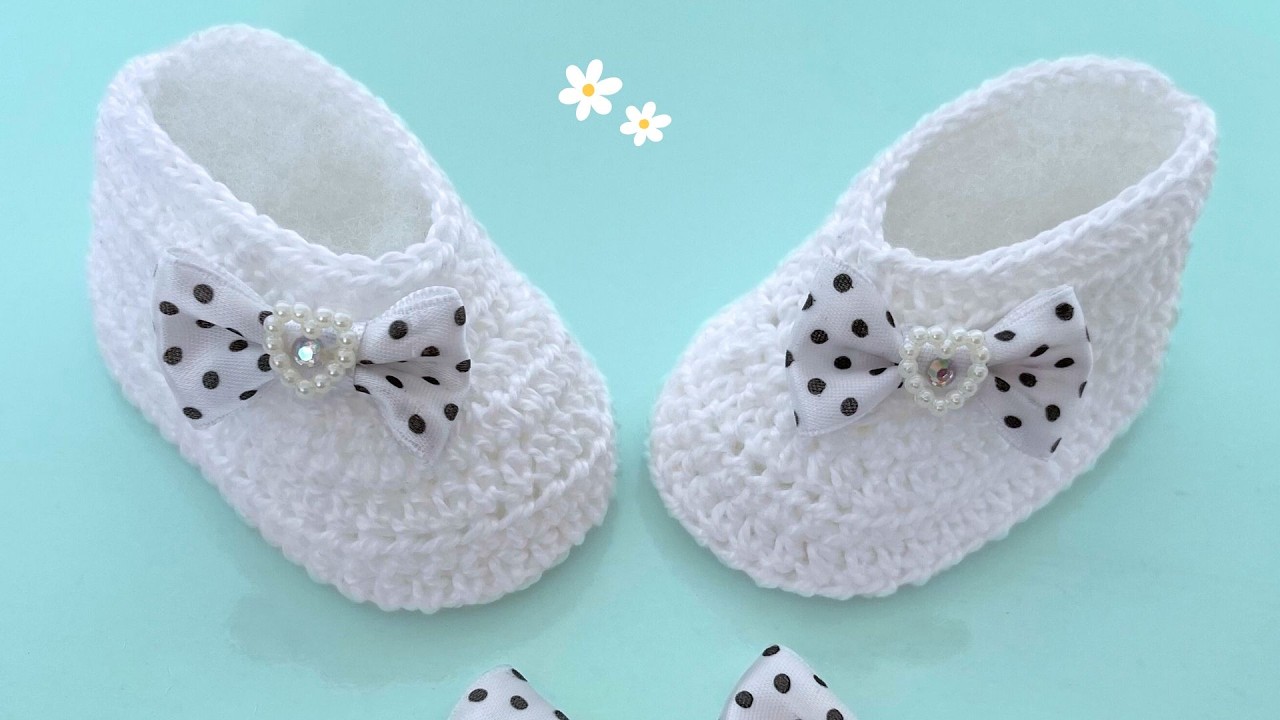
Crocheting baby booties is a heartwarming and creative way to make something both adorable and practical. Perfect as a gift for new parents or a keepsake for your own child, baby booties work up quickly and require only basic crochet skills. Whether you’re a beginner or brushing up on your skills, this tutorial will guide you through making a pair of simple yet sweet crochet baby booties.

Why Make Crochet Baby Booties?
Baby booties are:
- Fast and easy to make
- Highly customizable
- Great for using up yarn scraps
- A thoughtful handmade gift
Materials Needed
Before you begin, gather the following supplies:
- Yarn: Soft worsted weight yarn (category 4) or DK weight (category 3). Baby-friendly yarns are ideal—look for acrylic, bamboo, or cotton blends that are soft and washable.
- Crochet Hook: Size G/4.0 mm or H/5.0 mm (depending on your yarn choice)
- Yarn Needle: For sewing and weaving in ends
- Scissors
- Measuring Tape (optional)
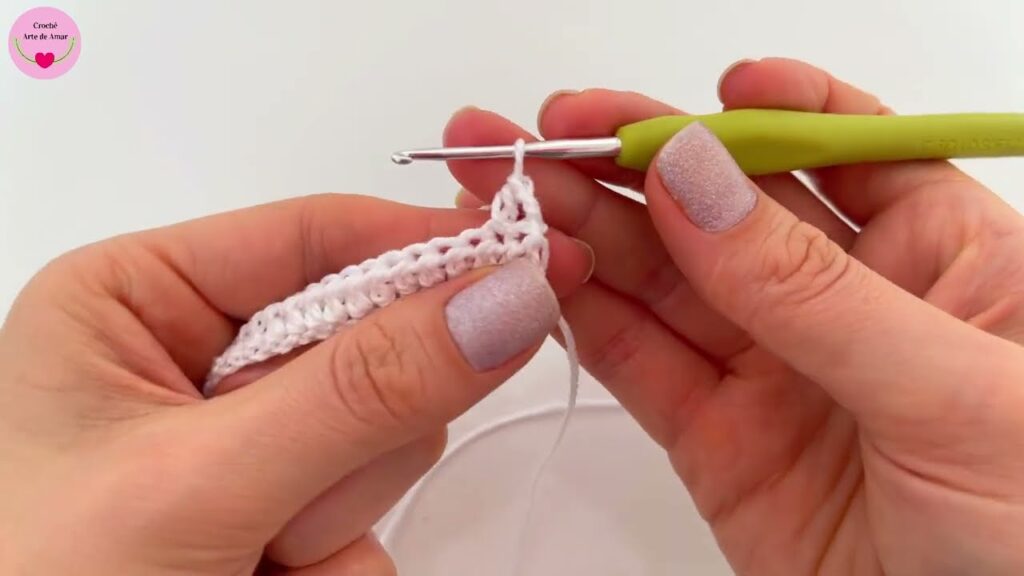
Basic Crochet Stitches You’ll Use
Don’t worry if you’re a beginner. This pattern uses simple stitches:
- Chain (ch)
- Single crochet (sc)
- Half double crochet (hdc)
- Double crochet (dc)
- Slip stitch (sl st)
Finished Size
This pattern fits newborns to 3-month-olds. Finished sole length is approximately 3.5–4 inches (9–10 cm).
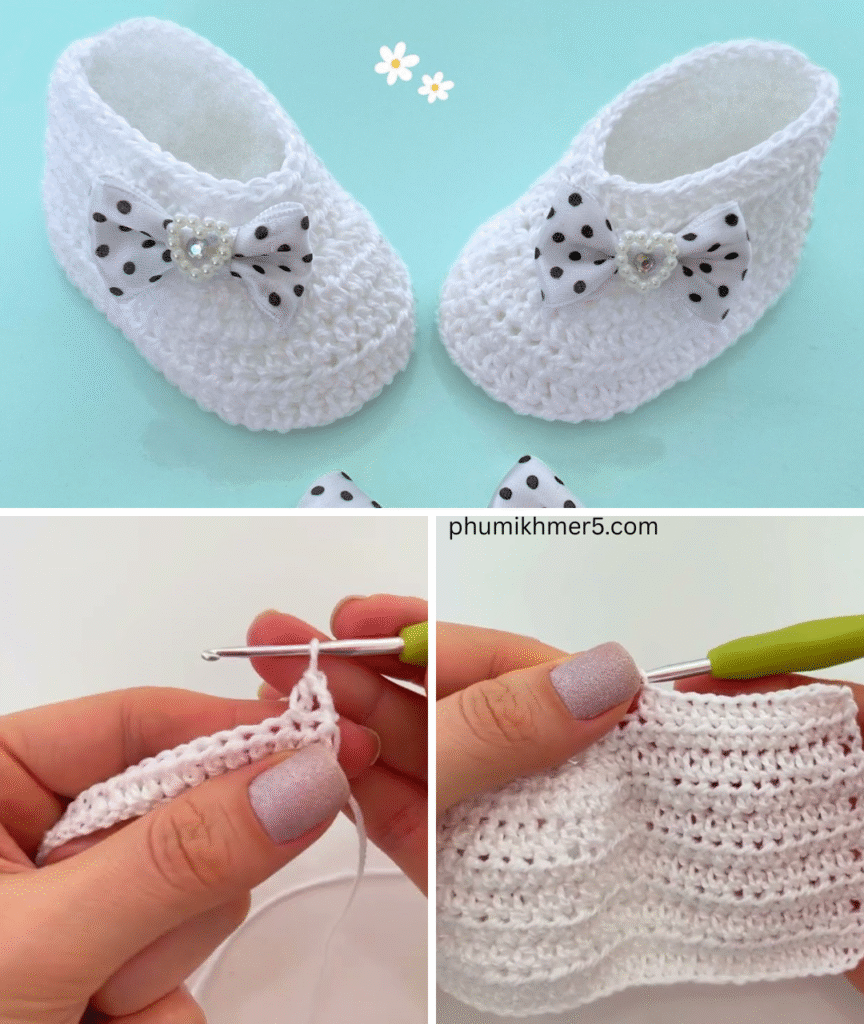
Crochet Baby Booties Pattern (0–3 Months)
We’ll break the pattern into three parts: the sole, the upper, and the cuff.
🧶 Part 1: Sole of the Bootie
Round 1:
Ch 10.
In 2nd ch from hook, work 2 sc.
Sc in next 6 ch, hdc in next ch, 5 hdc in last ch.
Now work on the opposite side of the foundation chain:
Hdc in next ch, sc in next 6 ch, 2 sc in last ch.
Join with sl st to first sc. (22 sts)
Round 2:
Ch 1, 2 sc in first st, sc in next 6 sts, 2 hdc in next 2 sts, 2 dc in next 3 sts, 2 hdc in next 2 sts, sc in next 6 sts, 2 sc in last st. Join. (30 sts)
Round 3:
Ch 1, sc in next 8 sts, hdc in next 2, dc in next 10 sts, hdc in next 2, sc in last 8 sts. Join. (30 sts)
You’ve now completed the sole of the bootie!
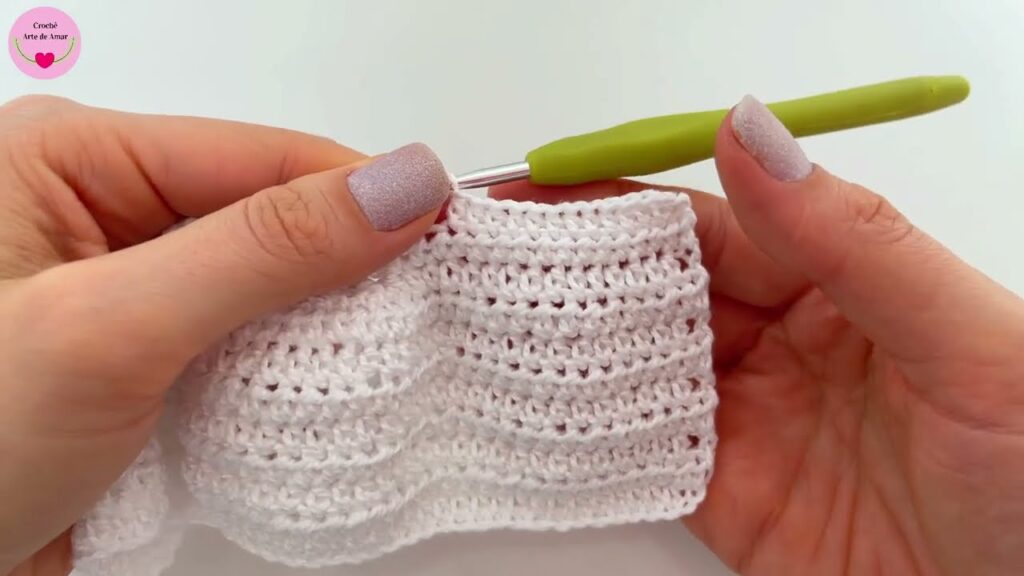
🧶 Part 2: Sides (Upper Foot)
Round 4:
Ch 1, working in back loops only, sc in each st around. Join. (30 sts)
This creates a neat edge that turns the sole into a bootie shape.
Round 5:
Ch 1, sc in next 10 sts, hdc in next 10 sts, sc in last 10 sts. Join. (30 sts)
🧶 Part 3: Top of the Bootie
Round 6 (Toe shaping):
Ch 1, sc in next 10 sts, sc2tog 5 times over next 10 sts, sc in last 10 sts. Join. (25 sts)
Round 7:
Ch 1, sc in next 10 sts, sc2tog 2 times, sc in last 11 sts. Join. (23 sts)
Round 8:
Ch 1, sc in each st around. Join. (23 sts)
🧶 Part 4: Cuff (Optional but cute!)
Round 9:
Ch 2 (counts as hdc), hdc in each st around. Join. (23 sts)
Round 10–12:
Repeat Round 9 for 2 more rounds, or until cuff is desired height. Fasten off.
Weave in ends with a yarn needle.
Optional Additions
- Ribbon tie or button strap: Thread a ribbon through the cuff or add a decorative button.
- Edging: Add a round of contrasting color single crochet for a stylish finish.
- Pom-poms: Sew a tiny pom-pom to the toe area for extra cuteness.
Tips for Success
- Use soft yarn: Babies have sensitive skin. Avoid wool blends unless you’re sure they’re non-irritating.
- Check your gauge if sizing is important.
- Make both booties at once: Work them side-by-side so they match perfectly.
- Add grip: If baby is standing or walking, sew on non-slip fabric dots or paint the soles with puffy paint.
Customization Ideas
- Color Block Booties: Use different colors for the sole, body, and cuff.
- Animal Faces: Add small ears or eyes for bears, bunnies, or kittens.
- Holiday Booties: Use seasonal yarn colors and embellishments for gifts.
Final Thoughts
Learning how to crochet baby booties is a rewarding and beginner-friendly project. With just a bit of yarn and some basic crochet skills, you can create a pair of booties that are not only practical but also full of charm and love. Whether you’re making a set for your own baby or a handmade gift, these booties are sure to be treasured.
Video tutorial:


