
Is there anything cozier than a pair of handmade slippers? This project is the perfect blend of style, comfort, and sustainable crafting. Inspired by a fantastic video tutorial, this guide will walk you through creating a unique pair of granny square slippers. It’s a rewarding project that works up quickly and results in a beautiful, personalized item that’s perfect for keeping your feet warm or for gifting to a loved one.
Why Crocheting Slippers is a Must-Try Project
- Quick to Finish: This pattern is designed to work up quickly, giving you a beautiful, finished product in a short amount of time.
- A Skill-Building Project: It’s a great way to practice or learn basic crochet stitches, color changes, and simple construction techniques.
- Customizable: You can easily adapt the colors and size to create a pair of slippers that are perfectly suited to your taste or the recipient’s.
- Minimal Materials: You only need a small amount of yarn, making it a perfect project for using up scraps from your stash.
What You’ll Need: Gathering Your Materials
The video tutorial specifies the exact materials used, making it easy to follow along.
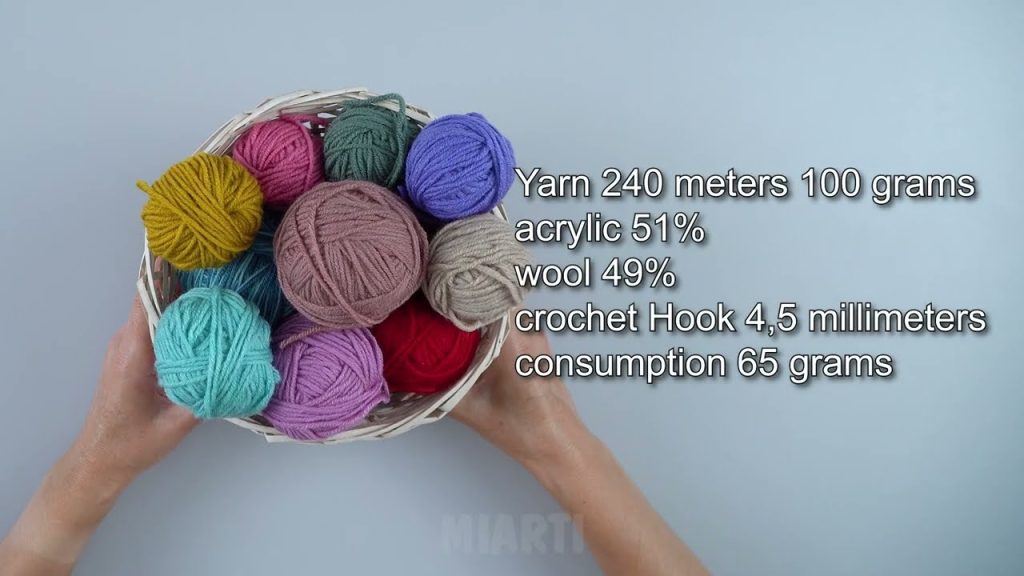
- Yarn: Approximately 65 grams of a yarn blend (the video uses a blend of 51% acrylic and 49% wool). This type of yarn provides both warmth and durability.
- Crochet Hook: A 4.5 mm crochet hook.
- Scissors
- Yarn Needle: For weaving in ends and seaming the slipper.
The Heart of the Project: Crocheting the Granny Square
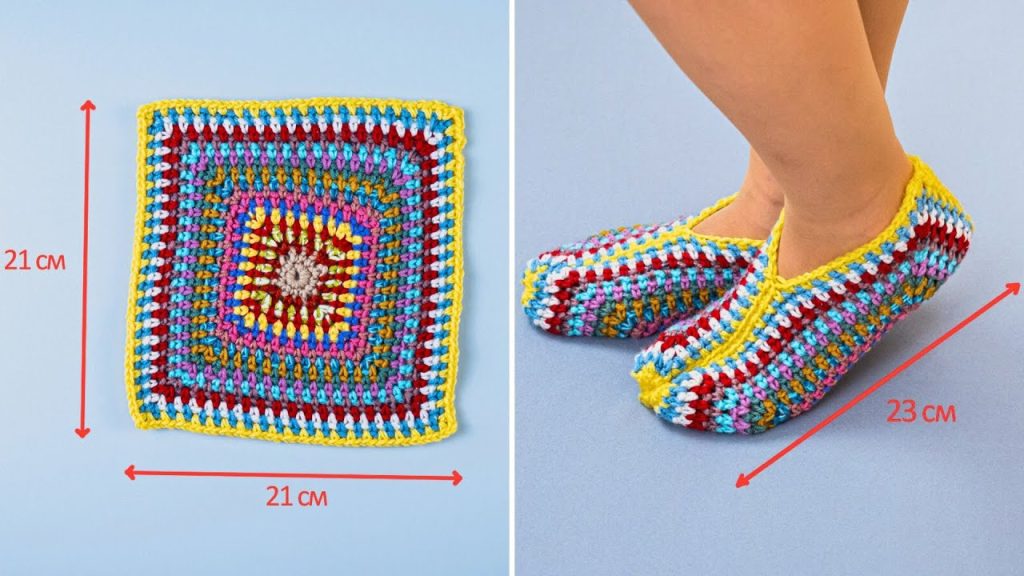
The slipper is constructed from a large granny square that is folded and seamed. The tutorial provides a detailed pattern for creating this square with beautiful color changes.
Row 1: The foundation is a simple ring.
- Start with a contrasting color.
- Chain 4 stitches.
- Join with a slip stitch to the first chain to form a ring.
- Chain 1, then work 8 single crochets into the ring.
- Join with a slip stitch to the first single crochet.
Row 2: Building the corners.
- Start this row with 2 chain stitches.
- Work a pattern of 3 single crochets, followed by 2 chain stitches.
- Repeat this pattern around the square, joining with a slip stitch to finish the row.
Row 3: Changing colors and creating a lacy effect.
- Switch to a new contrasting color.
- Start with 3 chain stitches.
- The pattern involves a single crochet, then alternating between 1 chain stitch and 1 single crochet, repeating this sequence four times.
- End the row with 2 chain stitches and 1 single crochet.
Row 4: Continuing to grow the square.
- Switch to a third contrasting color.
- Start with 2 chain stitches and 1 single crochet.
- The pattern is 1 chain stitch and 1 single crochet, which is repeated four times.
Rows 5-19: Building the main body of the square.
- For the remaining rows, you’ll repeat the established pattern, continuing to increase the size of the square with each round.
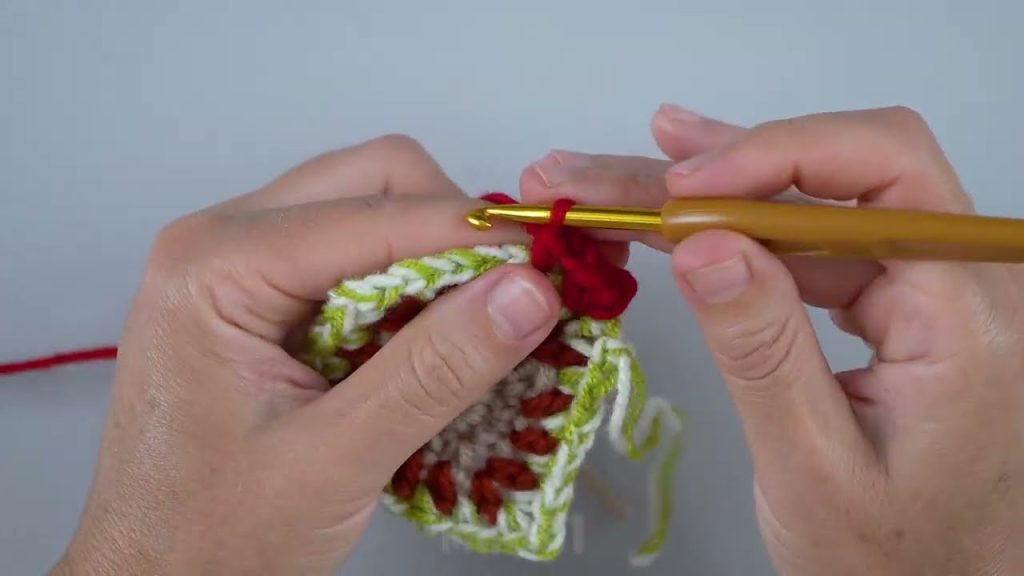
- The video tutorial demonstrates how to change colors with each row, creating the classic, vibrant look of a granny square.
Assembling and Finishing Your Slippers
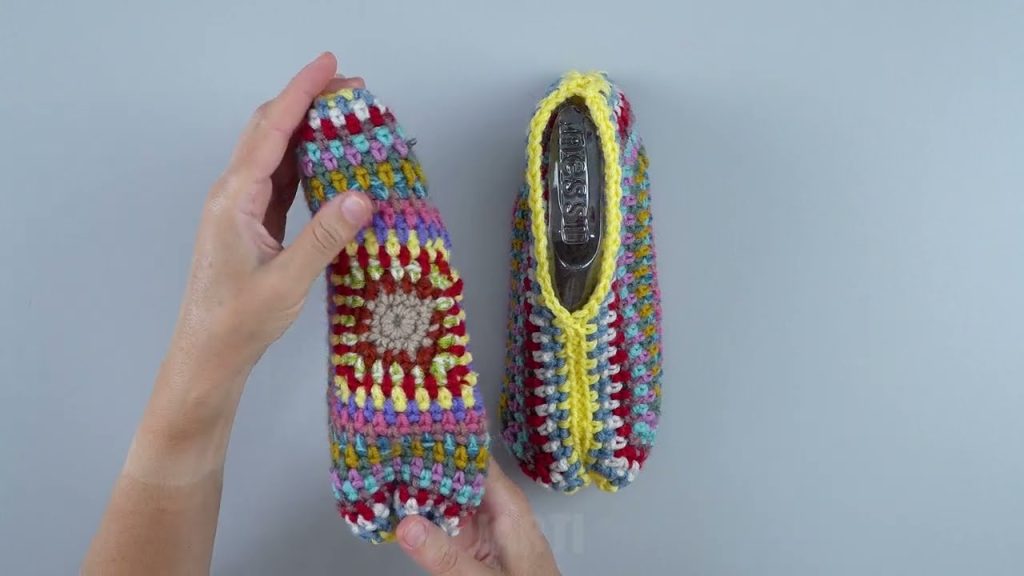
Once your granny square is the correct size (the video shows it reaching a foot length of 23 cm), it’s time to transform it into a wearable slipper.
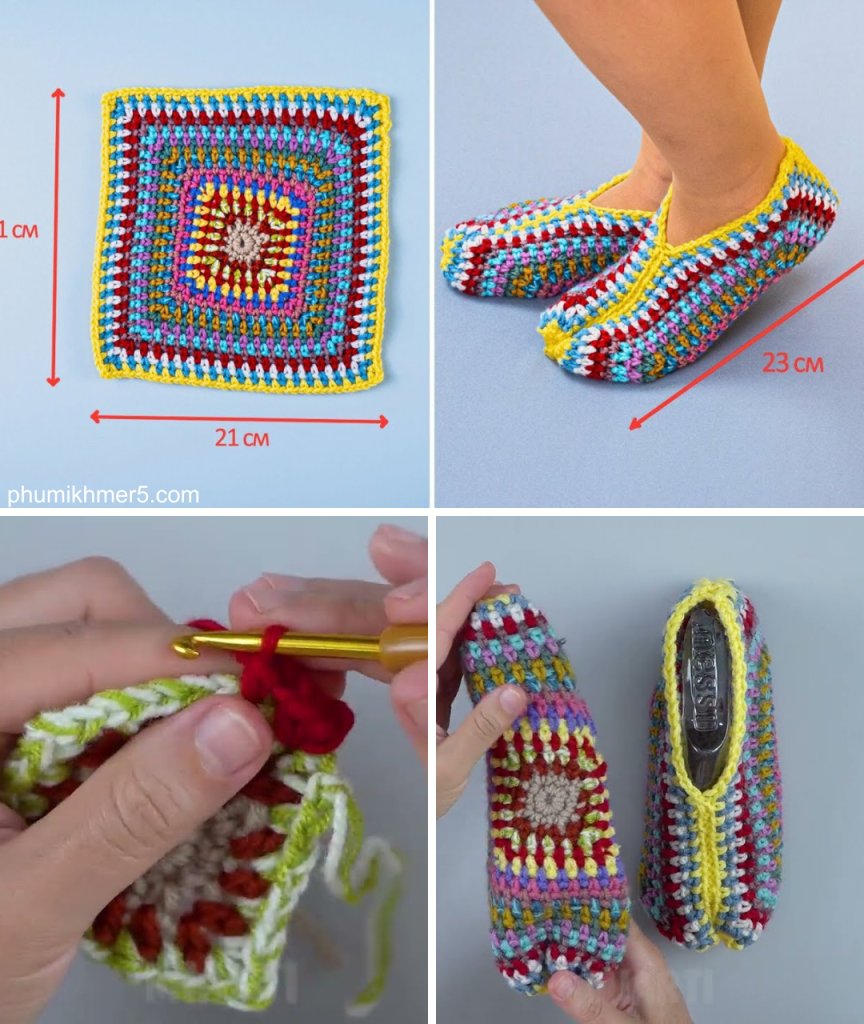
- Folding the Square: The tutorial provides a clear visual on how to fold the completed square. You’ll fold it so that the bottom of the square becomes the sole of the slipper and the sides will form the top and sides.
- Seaming the Heel: Using your yarn needle, you will then sew the back sides of the square together to form the heel of the slipper. This creates the enclosed shape for your foot.
- The Drawstring Closure: For the front of the slipper, you’ll thread a drawstring through the top stitches. This allows you to cinch the slipper closed for a snug and comfortable fit.

Watch the Full Tutorial!


