There’s something incredibly satisfying about creating a piece of clothing with your own two hands, especially when it’s as cozy and stylish as a beanie. This detailed guide, inspired by an excellent video tutorial, will walk you through crocheting a simple yet chic beanie that’s perfect for children and can easily be adapted for adults. It’s a quick, beginner-friendly project that’s perfect for last-minute gifts or simply for adding a handmade touch to your wardrobe.
Why a Simple Beanie is Your Next Project
- Fast and Fun: This beanie works up quickly, so you’ll have a finished product in no time.
- Highly Adaptable: The pattern is easy to adjust to fit any head size, from a small child to a large adult.
- Perfect for Beginners: The stitches are straightforward, making it an excellent project for those new to crochet.
- Customizable: You can choose any color or yarn you like and even add a pom-pom for a fun, personalized touch!
Gathering Your Materials
You don’t need much to get started on this project, which makes it even more appealing.
- Yarn: The video uses a yarn that’s suitable for a 3.5 mm hook. Choose your favorite color or a blend of colors for a unique look.
- Crochet Hook: A 3.5 mm crochet hook.
- Scissors
- Yarn Needle: For weaving in ends and seaming the beanie.
- Pom-Pom Maker (optional): If you’d like to add a pom-pom to your finished beanie.
Understanding the Pattern: The Foundation
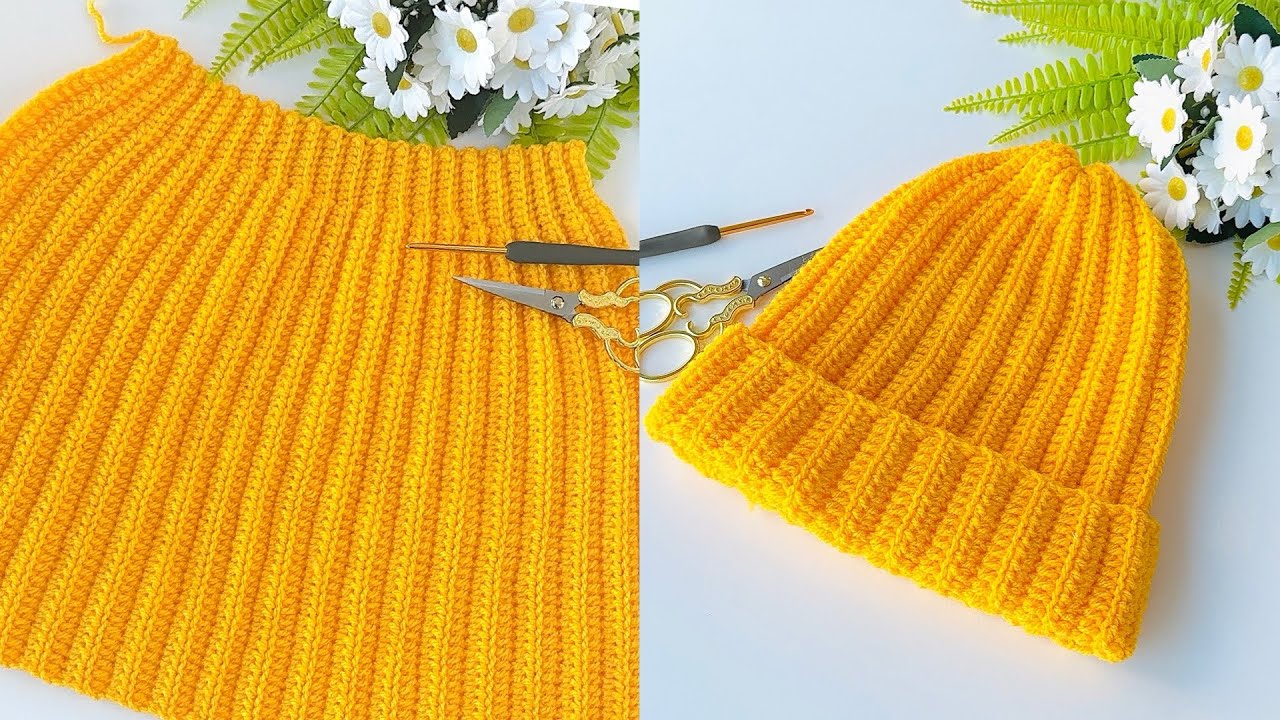
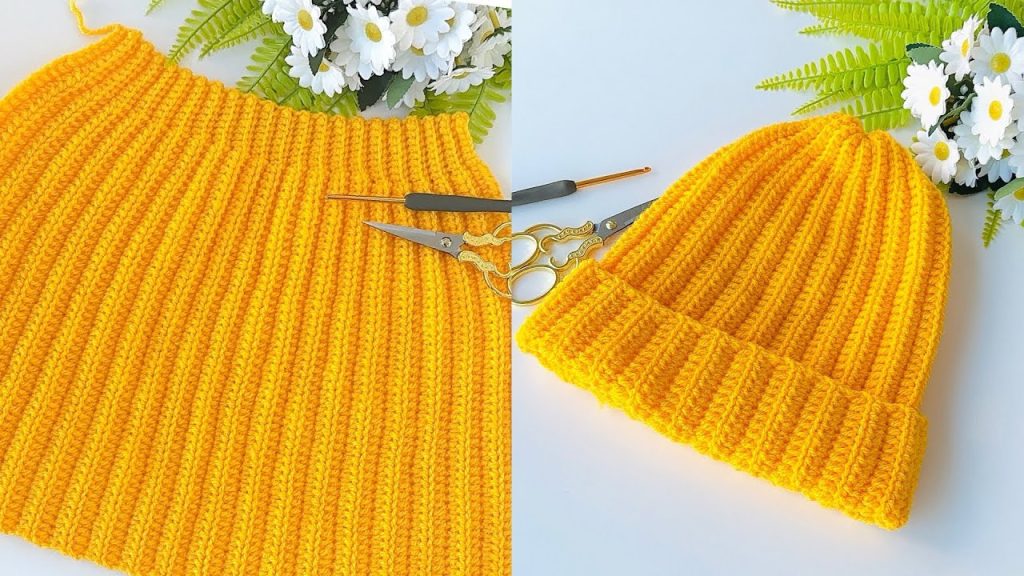
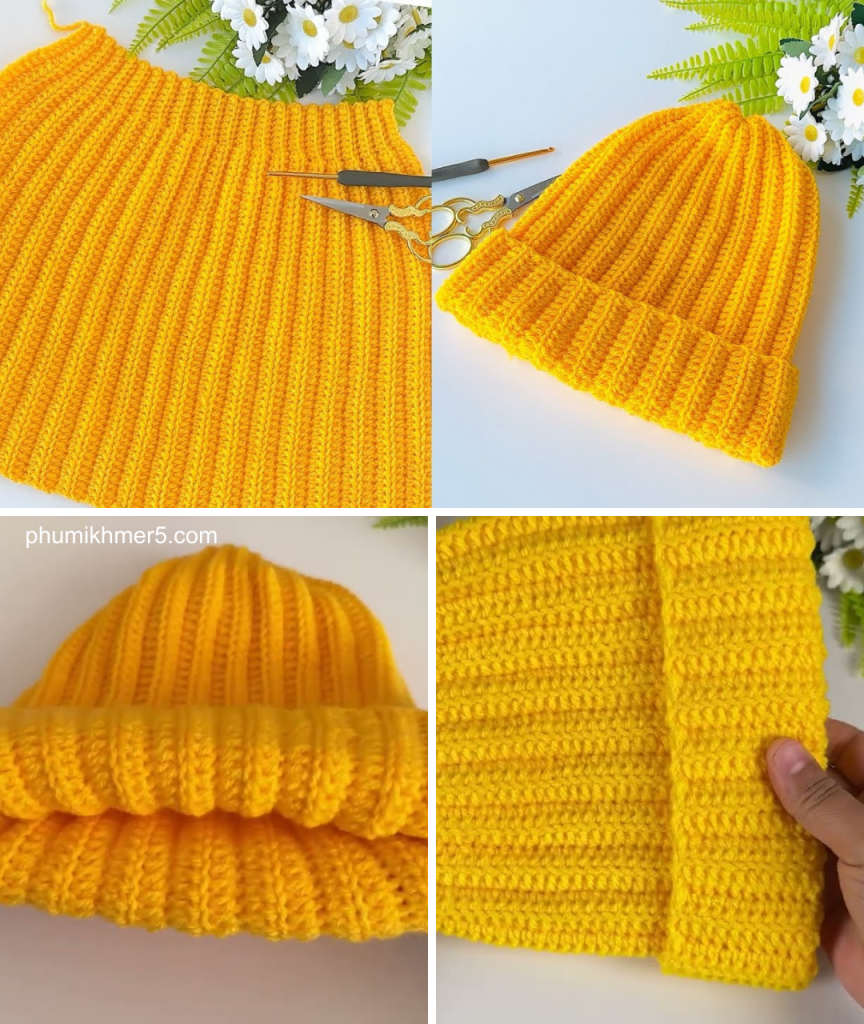
The beanie is worked flat and then seamed together. This method is incredibly easy to follow and creates a classic, ribbed look.
- The Chain: Start by creating a foundation chain. The video suggests a chain of 60 stitches for a beanie suitable for children aged 5-10 years. This measures about 29 cm. If you want to make it larger, you can increase the chain length to 30 cm.
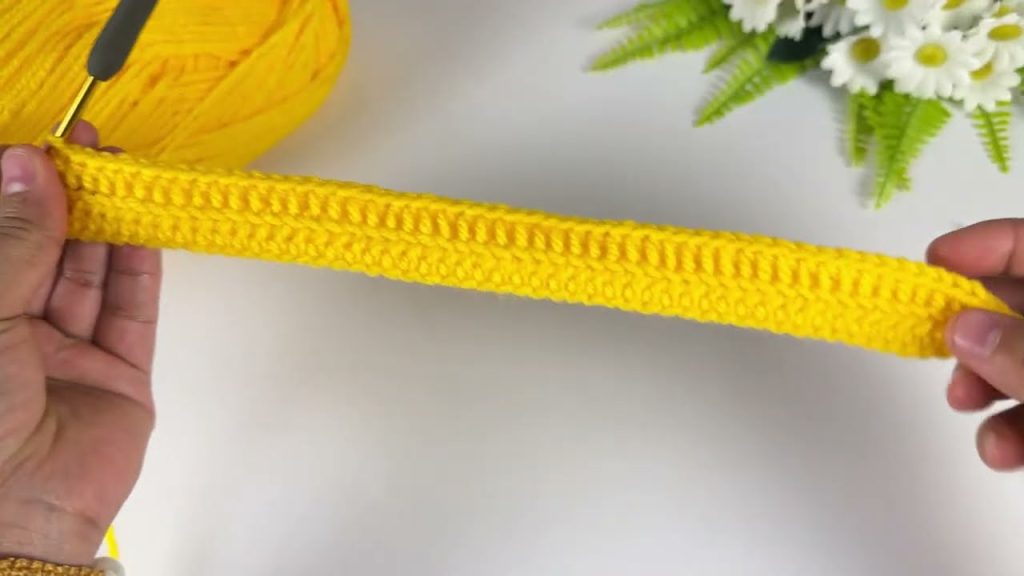
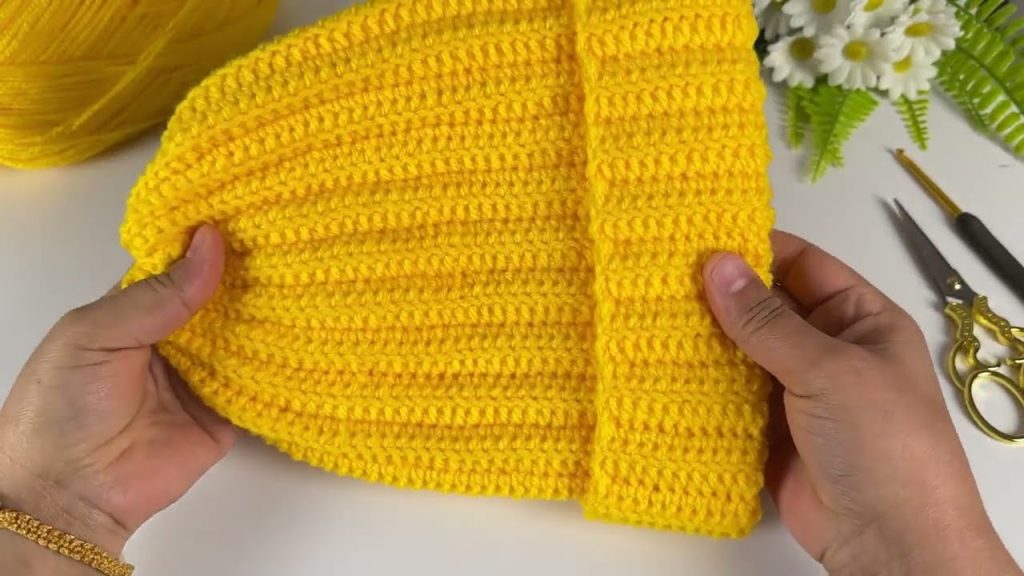
- The Pattern Repeat: The beauty of this pattern is its simplicity. You’ll be repeating the same combination of stitches in every row. The video specifies 50 half double crochets followed by 8 single crochets. This combination creates the unique texture of the beanie and its fold-over brim. There is no “right” or “wrong” side to the work, so you don’t have to worry about flipping your project the wrong way.
The Step-by-Step Construction
The video provides a clear, detailed guide to each step of the process.
- Crocheting the Body:
- Once you’ve made your foundation chain, you’ll begin working your first row with the specified pattern of 50 half double crochets and 8 single crochets.
- Repeat this pattern for a total length of 40 cm, or until your project is long enough to wrap comfortably around your head. This will determine the height of your beanie.
- Joining the Sides:
- After reaching the desired length, you’ll join the two shorter sides of your flat rectangle together. The video shows how to do this seamlessly using a slip stitch. This forms the tube shape of the beanie.
- Closing the Top:
- This is the clever part! The video demonstrates how to close the top of the beanie using a yarn needle. You’ll weave the needle in and out of the stitches around the top edge of the beanie.
- Then, you’ll pull the thread tight, cinching the top closed like a drawstring bag. The video also shows how to secure it with a knot on the inside for a clean finish.
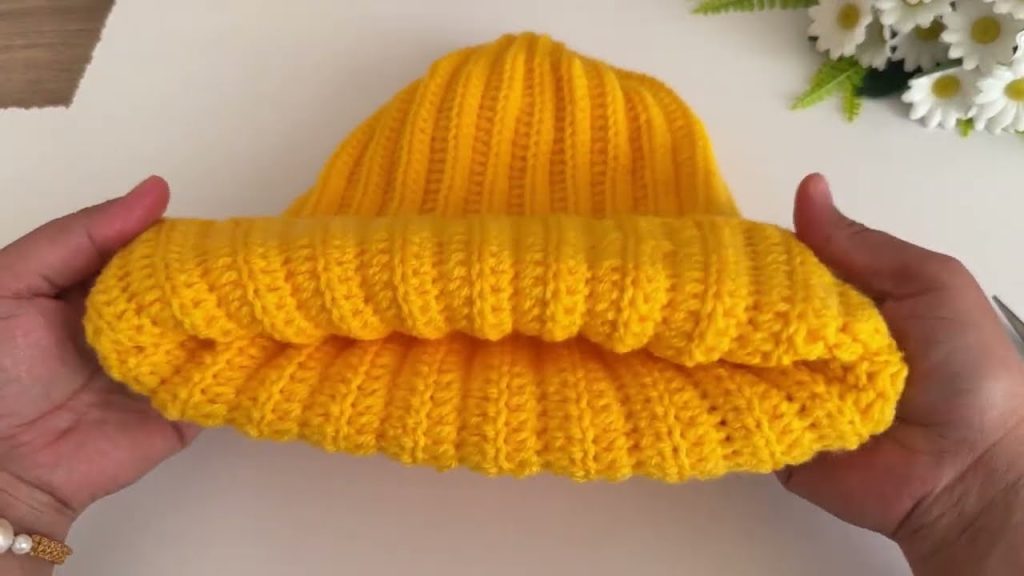
- Finishing Touches:
- Finally, you can add a pom-pom to the top for a classic beanie look. The video suggests this as an optional step.
- To complete the beanie, you’ll fold up the bottom edge to create the brim.
Ready to Crochet Your Beanie?
Grab your hook and yarn, and get ready to create a cozy and stylish beanie that you’ll be proud to wear or gift!
Video tutorial:


