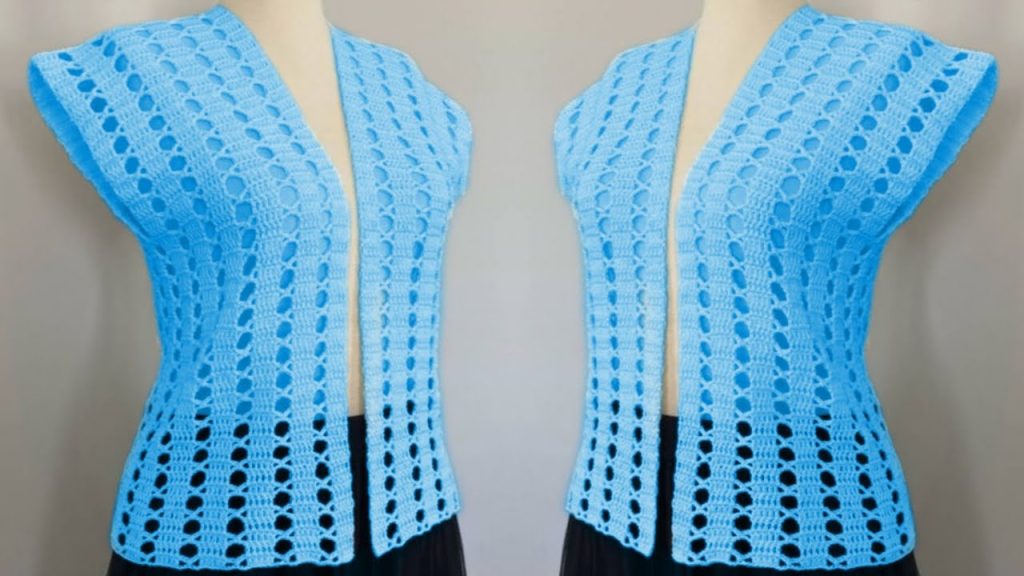
Are you looking for a quick and easy crochet project that adds a touch of handmade charm to your wardrobe? The “Summer Breeze” Crochet Vest is perfect for beginners and experienced crocheters alike! This detailed tutorial will guide you through creating a lightweight, stylish, and incredibly versatile vest that can be worn over a tank top, dress, or as a standalone piece.
Inspired by the quick and easy crochet patterns for garments, this vest is designed with simplicity in mind. It uses a beginner-friendly stitch pattern that works up surprisingly fast, making it an ideal project for those new to garment making or anyone looking for a satisfying, speedy craft.
Why Crochet the Summer Breeze Vest?
- Beginner-Friendly: Uses only fundamental crochet stitches, making it accessible for those new to the craft.
- Quick to Make: The open stitch pattern works up quickly, so you can enjoy your new vest in no time.
- Versatile Style: Perfect for layering in warmer weather or adding a pop of color and texture to any outfit.
- Customizable: Easily adjust the size to fit children or adults, simply by adjusting your starting chain and the number of rows.
- Stash Buster: A great project for using up those beautiful skeins of yarn you’ve been saving!
1. Planning Your Vest: Key Measurements & Materials
The beauty of this vest lies in its customizable nature. You’ll create a simple rectangular panel that forms the back and front of the vest.
- Finished Size: This pattern is highly adjustable for “all sizes.” You’ll need two key measurements from the wearer:
- Measurement A (Width): The desired width of the vest, typically from armpit to armpit or slightly wider for an oversized fit.
- Measurement B (Length): The desired length from the top of the shoulder to where you want the vest to end (e.g., hip, waist).
- Yarn Choice: Choose a yarn that is breathable and has good drape, especially for a summer garment.
- Fiber: A DK (Light Worsted) or Worsted Weight (#3 or #4) yarn in Cotton, Cotton Blend, or a lightweight Acrylic is ideal. The video uses a 3-ply yarn with a 3mm hook.
- Color: A single color will best highlight the open stitch pattern, but you could use multiple colors for stripes or color blocking.
- Quantity: This will depend on your size, but expect approximately 300-600 yards (275-550 meters) for an adult small/medium.
2. Materials & Tools You’ll Need
- Yarn: Your chosen quantity of DK or Worsted Weight yarn (approximately 3-ply as seen in the video).
- Crochet Hook: 3.0 mm (US D/3) or the size that achieves a comfortable drape with your chosen yarn.
- Scissors: For cutting yarn.
- Yarn Needle (Tapestry Needle): For weaving in ends.
- Tape Measure: Essential for checking your measurements as you go.
- Stitch Markers (Optional): To mark the armholes and neckline.
3. Essential Crochet Stitches & Techniques
- Slip Knot
- Chain (ch)
- Slip Stitch (sl st)
- Single Crochet (sc)
- Double Crochet (dc)
- Working in Rows: The entire vest is worked in flat rows.
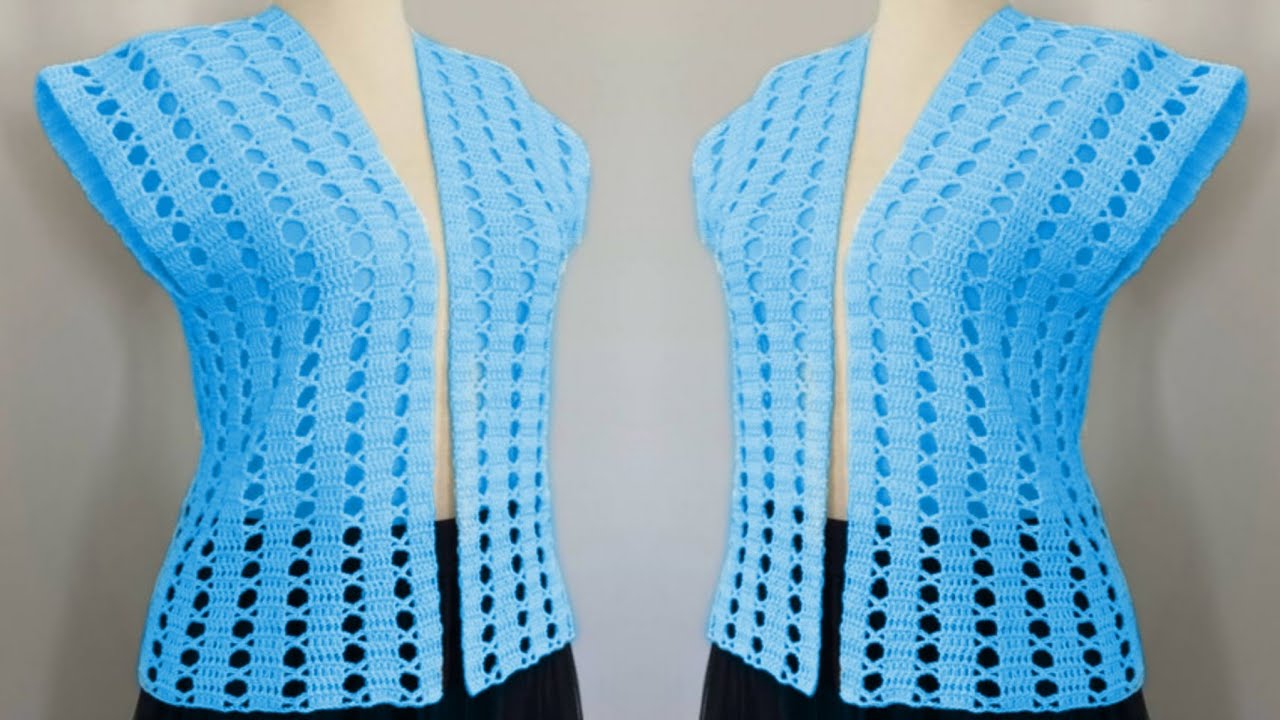
4. Let’s Crochet the Summer Breeze Vest!
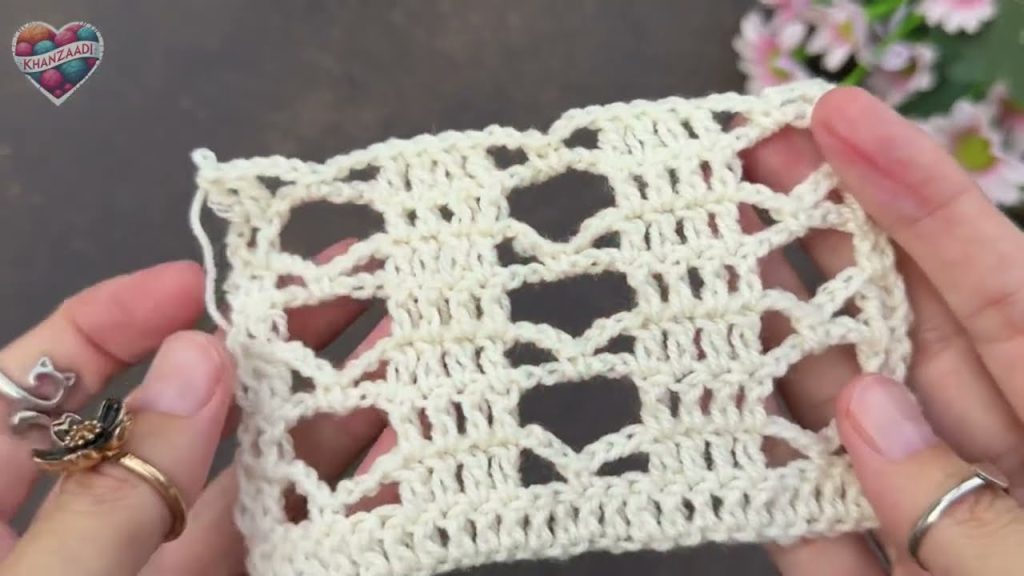
The vest is constructed by making one large rectangular panel that will eventually be folded and seamed to create the front, back, and armholes. The stitch pattern used in the video creates a lovely openwork design, which is both beautiful and quick to crochet.
Pattern Notes:
- Ch 3 at the beginning of a row counts as a dc.
- The stitch pattern is a 2-row repeat.
- The starting chain should be a multiple of 9 + 2.
Part 1: The Main Panel
- Foundation Chain: With your chosen yarn and 3.0 mm hook, chain a length that roughly matches your desired Measurement A (width), ensuring it is a multiple of 9 + 2. For an adult small/medium, you might chain around 101 stitches (11 x 9 + 2) for a width of approximately 18-20 inches.
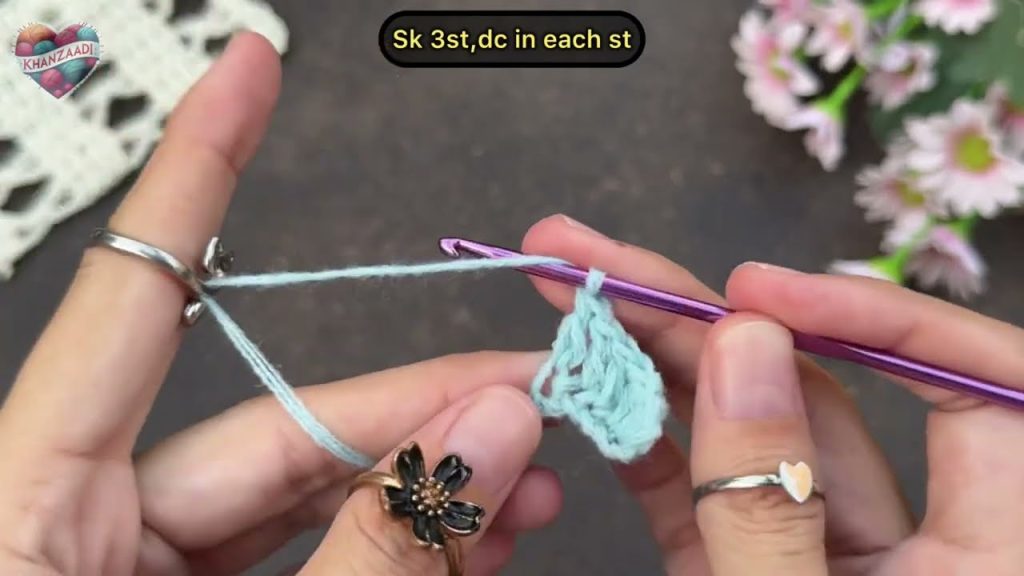
- Row 1: Skip 3 chains (counts as 1st dc). Double crochet (dc) in each remaining chain across. You should have a number of stitches equal to your starting chain minus 2. Ch 3, turn.
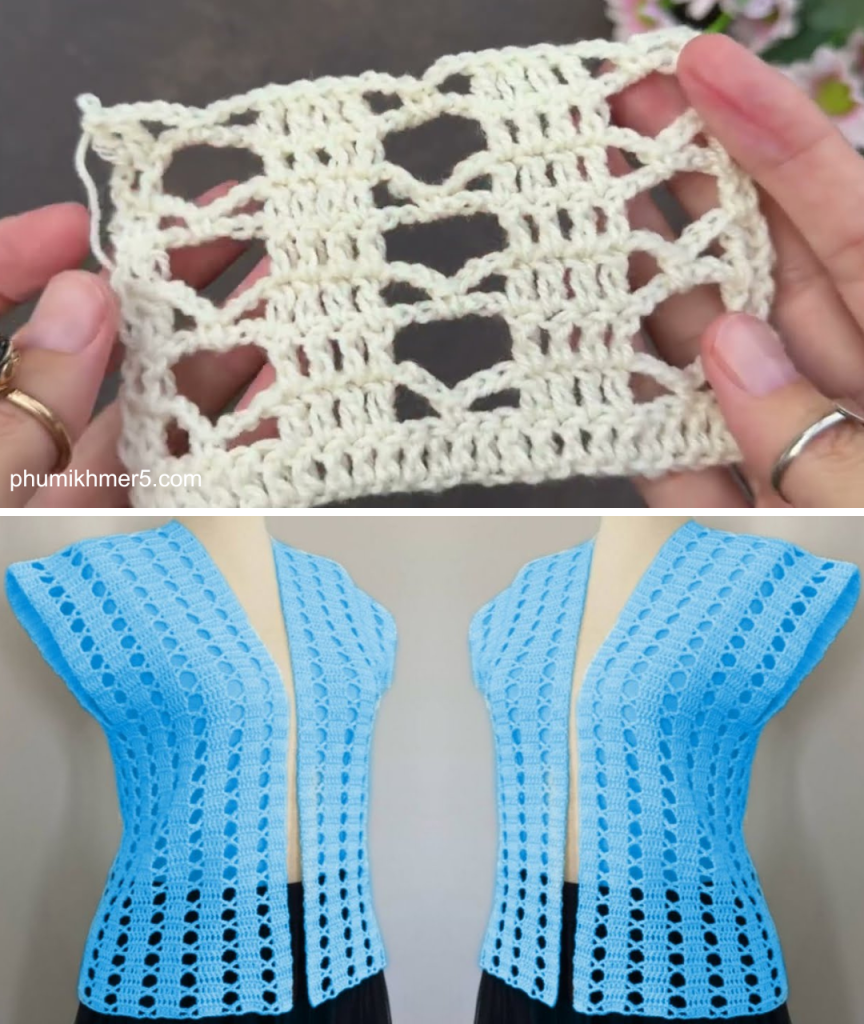
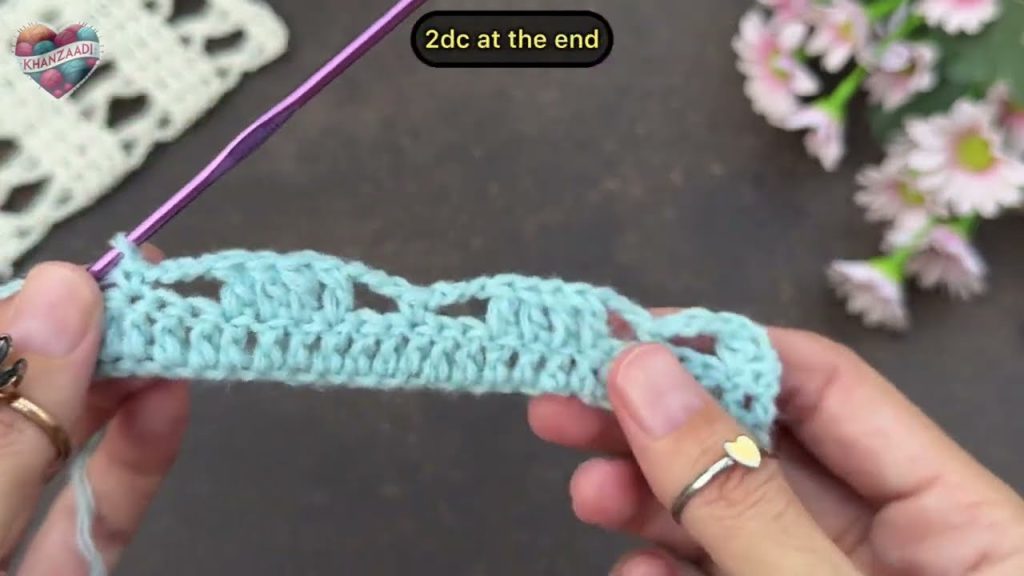
- Row 2 (Pattern Row 1): Skip 2 stitches. Work 1 single crochet (sc) in the next stitch. Chain 3. Skip 2 stitches. Work 4 double crochets (dc) in the next stitch. Repeat from * to * across the row. At the end of the row, after the last 4 dc, ch 3. Skip 2 stitches, then dc in the last stitch. Ch 5, turn.
- This row creates the characteristic “windows” and dc clusters of the pattern.
- Row 3 (Pattern Row 2): Work 4 double crochets (dc) in the chain-3 space of the previous row (which is the space over the single crochet from Row 2). Chain 5. Repeat from * to * across the row, working 4 dc in each ch-3 space and chaining 5 in between. At the end of the row, after the last 4 dc, ch 2. Then dc in the 3rd chain of the turning chain of the previous row. Ch 3, turn.
- This row builds upon the previous row’s clusters, creating the next layer of the openwork.
- Repeat Rows 2 and 3: Continue repeating Rows 2 and 3 until your panel reaches Measurement B (your desired length). For an adult small/medium, this might be around 25-30 inches (63-76 cm). Fasten off, leaving a long tail for seaming.
Part 2: Assembly
- Fold the Panel: Lay your crocheted rectangular panel flat. Fold it in half lengthwise (hotdog style), bringing the two short ends together. This forms the basic shape of your vest with the open edges at the top and bottom.
- Mark Armholes: From the top folded edge (which will be the shoulders), measure down approximately 7-9 inches (18-23 cm) on both sides and place a stitch marker. This will create the armholes. Adjust this measurement based on the armhole depth you desire.
- Seam Sides: Using your yarn needle and the long tail, whip stitch or slip stitch the sides together from the bottom edge up to the armhole marker on both sides. This creates the side seams of your vest.
- Neckline (Optional): You can leave the top folded edge as is for a wide, boat-neck style. Alternatively, you can seam a small portion of the top edge together (e.g., 2-3 inches from each shoulder seam) to create a more defined neckline.
- Weave in Ends: Securely weave in all remaining loose ends using your yarn needle.
Enjoy your beautiful, handmade “Summer Breeze” Crochet Vest! It’s a versatile and stylish addition to your wardrobe, perfect for any occasion.
Video tutorial:


