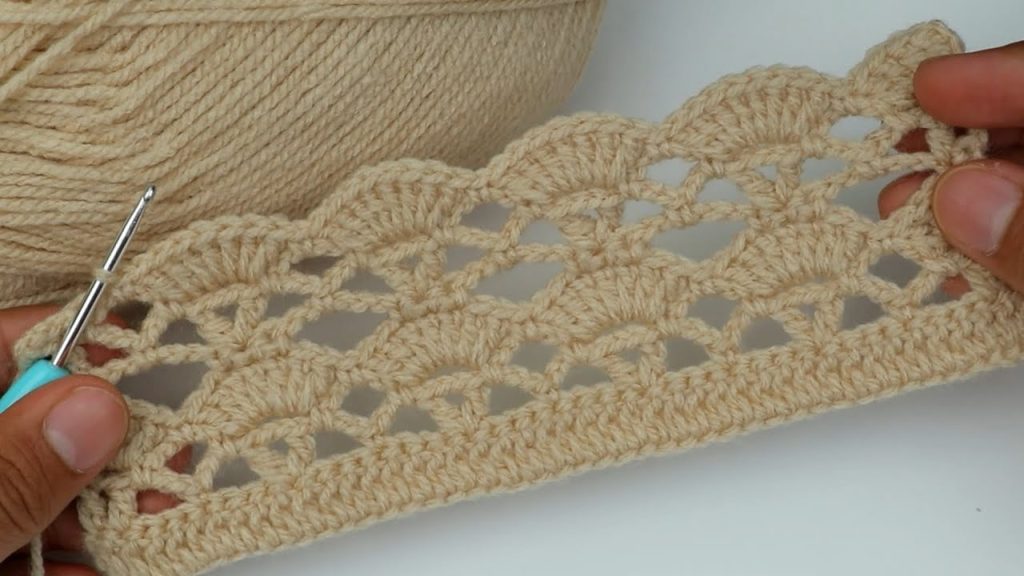
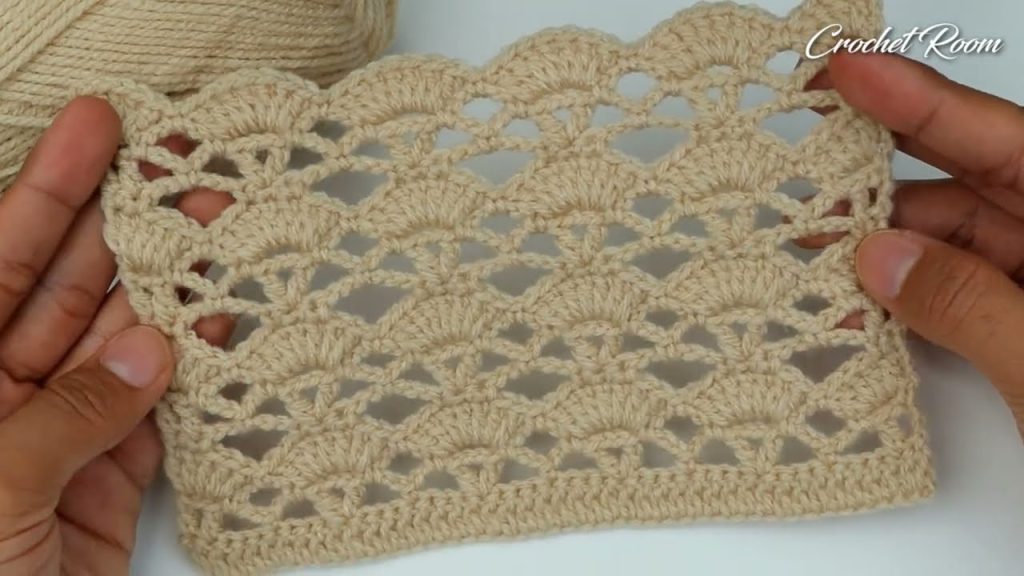
Welcome to a pattern that’s deceptively simple but delivers stunning results! The “Artisan Ridge” model creates a dense, luxurious fabric with striking vertical and horizontal texture—perfect for cozy blankets, elegant scarves, or durable cardigans. Inspired by the beautiful, rhythmic crochet featured in the Crochet Room tutorial, this stitch works up quickly using a simple 4-row repeat.
The pattern utilizes basic stitches—single, half-double, and double crochet—combined with strategic chains and skips to build its unique ridge structure. While the final fabric has a sophisticated, almost woven appearance, even an advanced beginner can master this stitch quickly. This breakdown provides detailed, written instructions and notes on foundation, turning, and maintaining the pattern tension.
Gather your yarn and hook. Let’s create something truly beautiful!
2. Essential Materials & Pattern Notes
(Word Count: ~100 words)
A. Materials and Gauge
| Item | Detail | Notes |
| Yarn | Worsted Weight (Category 4) or DK Weight (Category 3) | A solid color best showcases the texture; choose a soft acrylic or wool blend. |
| Hook | 5.0 mm (H/8) or 5.5 mm (I/9) | Choose a hook that matches your yarn and personal tension; the fabric should be firm but not stiff. |
| Notions | Scissors, Yarn needle for weaving in ends. |
Export to Sheets
B. Stitch Key (U.S. Terms)
- ch: Chain
- st(s): Stitch(es)
- sl st: Slip Stitch
- sc: Single Crochet
- hdc: Half Double Crochet
- dc: Double Crochet
- sk: Skip
- […]: Repeat instructions within brackets.
- Multiple: This pattern is worked over a multiple of 4 stitches + 2.
3. The Artisan Ridge Pattern: 4-Row Repeat
(Word Count: ~250 words)
This stitch is based on a 4-Row Repeat that creates a continuous, dimensional texture.
Foundation Chain
Chain a multiple of 4 + 2 for your desired width. (e.g., for a sample swatch, chain 22 (4 x 5 + 2)).
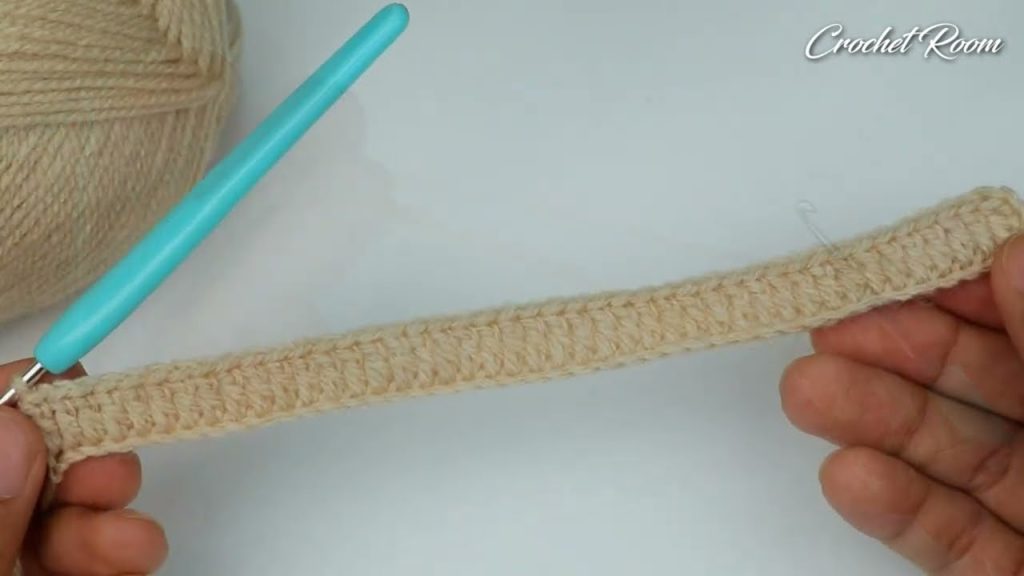
Row 1: Setting the Base (DC/Ridge Setup)
- Ch 2 (counts as 1 hdc). Hdc into the 3rd ch from the hook and in each ch across.
- (Note: Starting with an hdc row provides a firmer foundation than standard DC).
- Turn.
Row 2: Creating the Windows (Chain Spaces and Anchors)
- Ch 3 (counts as 1 dc). Dc into the next st.
- [Ch 1, sk 1 st, dc in next 2 sts] across the row.
- Your last stitch should be a dc in the final st.
- (The ch-1 space is the “window” where the cluster stitches will be anchored in the next row).
- Turn.
Row 3: Building the Ridge (Textured Cluster Row)
- Ch 1 (does not count as a st). Sc in the first st and in the next st.
- [Ch 3, sk the next ch-1 space and sk the next st, sc in next 3 sts] across the row.
- Repeat until you have 3 sts remaining. Ch 3, sk 2 sts, sc in the final st.
- (This row creates the prominent, structural chain arches that define the texture).
- Turn.
Row 4: Locking the Pattern (Single Crochet Alignment)
- Ch 1 (does not count as a st). Sc in the first st.
- [Sc in each of the next 3 chs of the ch-3 arch, sc in the next sc] across the row.
- Repeat until the final arch. Sc in each of the next 3 chs, sc in the final sc.
- (You should have the same number of stitches as your starting hdc row. This row brings the stitches into alignment and defines the top edge of the ridge).
- Turn.
Row 5: Beginning the Repeat (Return to the Window)
- Ch 3 (counts as 1 dc). Dc in the next 2 sts.
- [Ch 1, sk 1 st, dc in next 3 sts] across the row.
- Dc in the final st.
- (This row is a variation of Row 2, establishing the windows for the next textured cluster).
- Turn.
Row 6: The Second Ridge (Cluster Placement)
- Ch 1 (does not count as a st). Sc in the first st.
- [Ch 3, sk the next ch-1 space and sk the next st, sc in next 3 sts] across the row.
- Repeat until you have 4 sts remaining. Ch 3, sk 1 st, sc in final 3 sts.
- (This is a shifted repeat of Row 3, which staggers the ridges for a true woven look).
- Turn.
Repeat Section
Repeat Rows 3, 4, 5, and 6 for the entirety of your project.
4. Stitch Placement Deep Dive (Rows 3 & 4)
(Word Count: ~100 words)
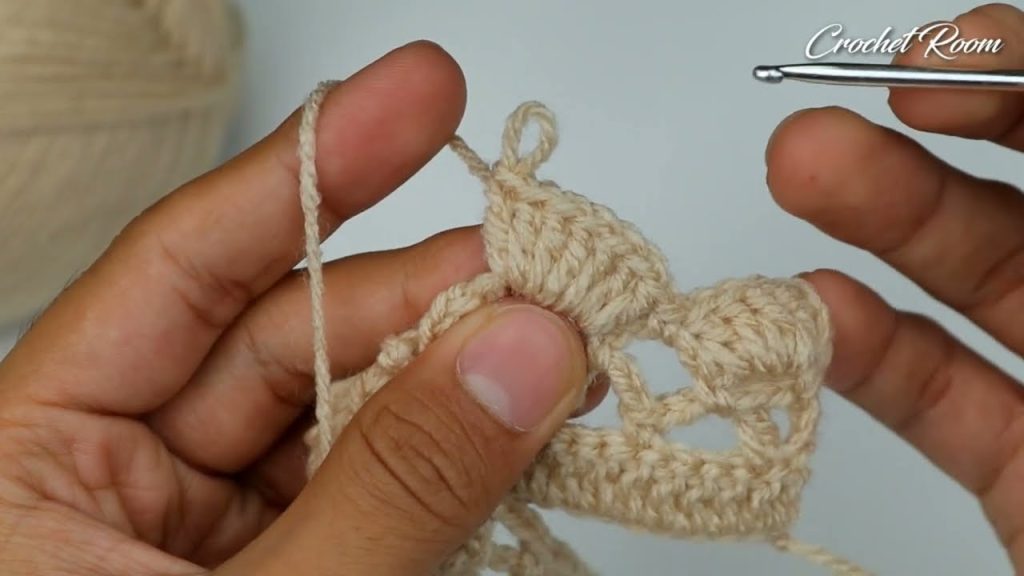
The visual effect of the “Artisan Ridge” pattern is entirely dependent on the precise placement of the stitches in Rows 3 and 4, which is the core of the 4-row repeat (Rows 3-6).
- Anchor Points (Row 3): When you work the [Ch 3, sk the next ch-1 space and sk the next st], ensure that the sc is anchored firmly on the 3rd stitch after the previous anchor point. The ch-3 loop should gracefully arch over the ch-1 “window” created in Row 2.
- Density Lock (Row 4): This row is crucial for locking the ridge shape. Working sc in each of the 3 chs of the arch makes the fabric dense and slightly rigid at the ridge line. This contrasts beautifully with the softer, lacy effect of the arches themselves.
- Staggering (Rows 5 & 6): The shift in stitch count in the subsequent repeat (Rows 5 & 6) ensures that the windows and ridges are offset, preventing an overly blocky look and creating the intricate, almost diamond-like pattern visible in the video.
5. Project Adaptation: From Scarf to Blanket
(Word Count: ~50 words)
| Project | Suggested Chain Start (Multiple of 4 + 2) | Finishing Notes |
| Scarf/Shawl | Chain 38-50 stitches (approx. 10-12 inches wide) | Finish with a simple Sc border for neat edges. |
| Baby Blanket | Chain 114-150 stitches (approx. 30-40 inches wide) | Consider adding a wide, textured border. |
| Throw Blanket | Chain 218-282 stitches (approx. 60-75 inches wide) | Use large stitch markers to track repeats. |
6. Conclusion: A Piece You’ll Cherish
(Word Count: ~50 words)
Congratulations on tackling this beautiful, textural pattern! The Artisan Ridge is a testament to how simple stitches can combine to create a deeply luxurious and unique fabric. Your finished piece, whether a cozy scarf or a dramatic blanket, is sure to be admired for its complexity and the craftsmanship you’ve demonstrated.
Video tutorial: