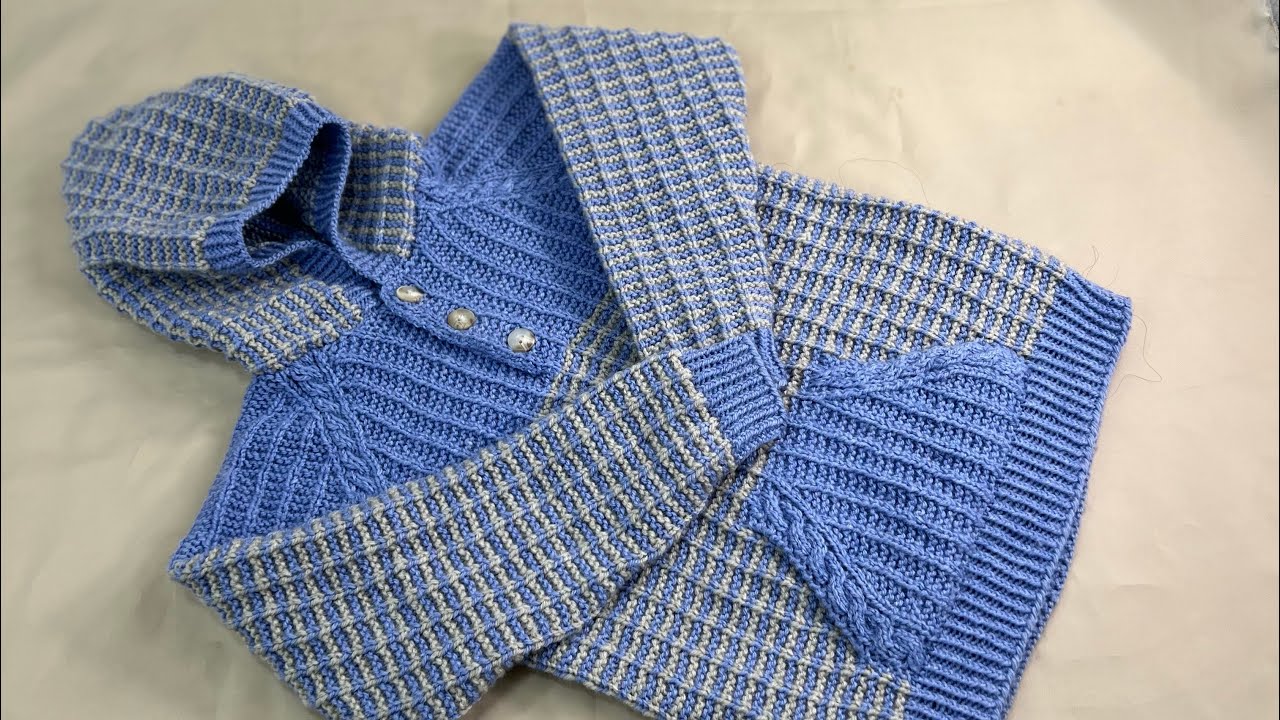
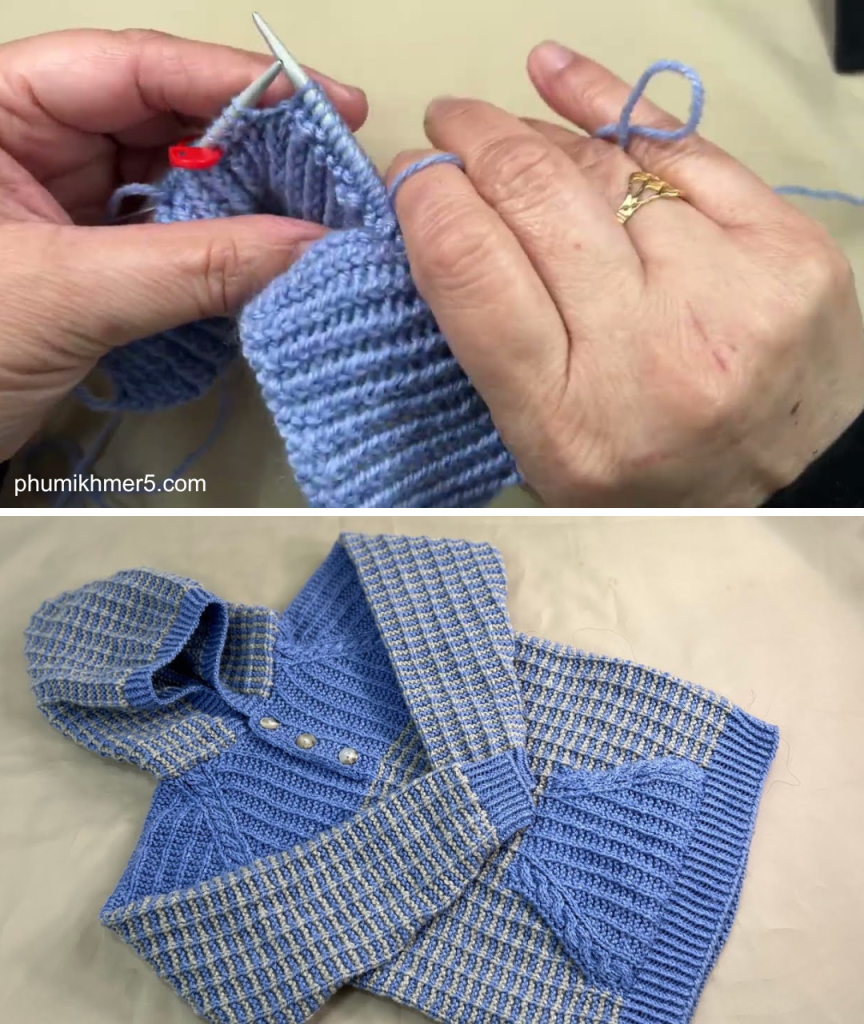
Knitting for children can be one of the most rewarding crafts — especially when you’re creating something as cozy and functional as a hand-knitted hoodie. In this detailed tutorial, we will walk you through the process of making a hooded sweater with front pockets for a 3–4-year-old boy. Whether you’re an intermediate knitter or an advanced beginner looking to take on a slightly more complex project, this guide will equip you with the techniques, tips, and encouragement you need.

🧶 Overview
- Project: Hand-knitted hoodie with kangaroo-style front pockets
- Size: 3–4 years (approx. chest size: 22–23 inches / 56–58 cm)
- Skill Level: Intermediate
- Time Required: 20–30 hours
- Techniques Used: Stockinette stitch, ribbing, shaping, picking up stitches, seaming
- Features: Ribbed cuffs and hem, hood, functional front pocket, set-in sleeves
📏 Measurements & Sizing Guide (For 3–4 Years)
| Area | Measurement |
|---|---|
| Chest circumference | 22–23 inches |
| Length (shoulder to hem) | 15–16 inches |
| Sleeve length | 11–12 inches |
| Hood height | 8–9 inches |
These are approximate sizes. Adjust based on the specific measurements of the child if possible.
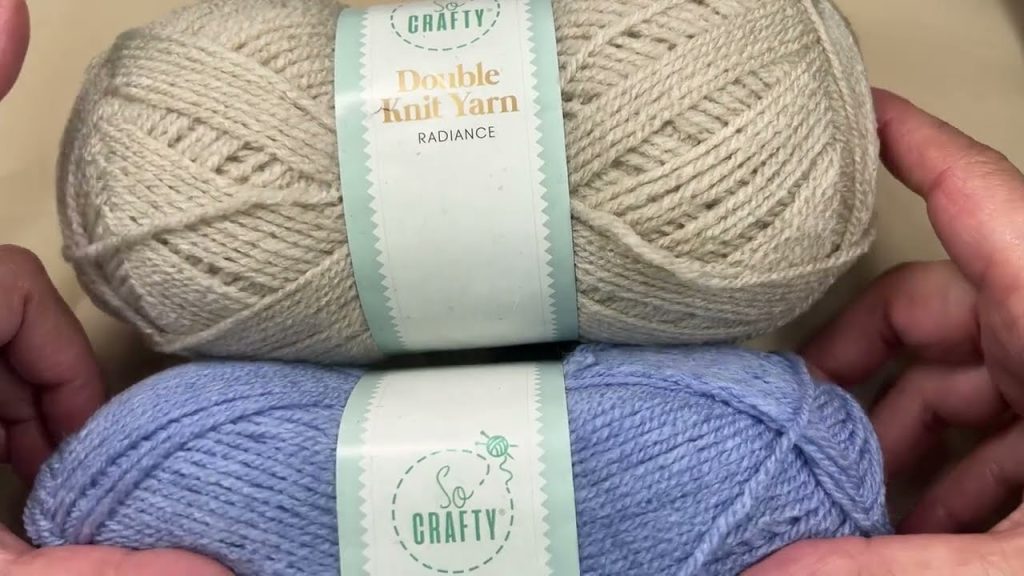
🧵 Materials Needed
Yarn
- Worsted weight yarn (category 4)
- Approx. 500–600 yards (460–550 meters)
- Choose soft, machine-washable yarn suitable for children (e.g., cotton/acrylic blend or superwash wool)
Needles
- US Size 8 (5.0 mm) circular needles (24”)
- US Size 6 (4.0 mm) needles for ribbing
- Double-pointed needles (optional for sleeves)
Notions
- Yarn needle
- Stitch markers
- Stitch holders or scrap yarn
- Measuring tape
- Scissors
- 4–6 buttons (if adding a button placket or decorative elements)
- Row counter (optional)
🎯 Skills You’ll Learn or Use
- Casting on and binding off
- Knit and purl stitches
- Increasing and decreasing
- Picking up stitches
- Seaming (mattress stitch)
- Creating a hood and pockets
📘 Pattern Structure Overview
This hoodie is knit in pieces and then seamed together. The body (front and back) is knit flat, sleeves are worked separately, and the hood is picked up and shaped later. A kangaroo-style pocket is knit separately and sewn onto the front.
✨ Step-by-Step Tutorial
🔹 Step 1: Back Panel
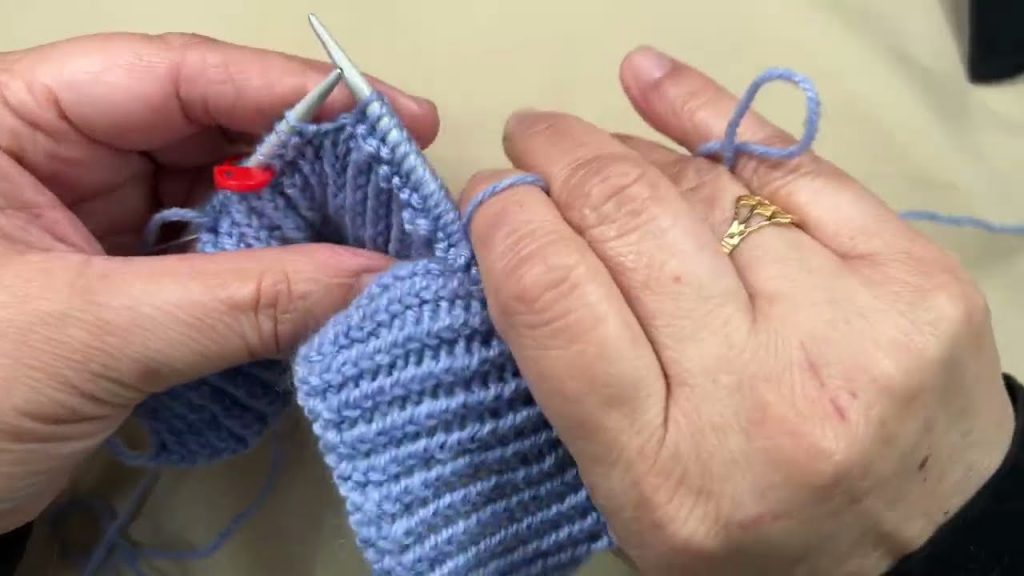
Using smaller needles (US 6), CO 70 sts.
- Work 1×1 ribbing (K1, P1) for 1.5 inches.
Switch to larger needles (US 8) and continue in stockinette stitch (K on RS, P on WS).
- Work until the piece measures 10 inches from the cast-on edge.
Armhole Shaping:
- BO 4 sts at beginning of next 2 rows. (62 sts remain)
- Decrease 1 st at each end every RS row 2 times. (58 sts remain)
Continue until piece measures 15 inches (or desired length from shoulder to hem).
Shoulder Shaping:
- BO 8 sts at the beginning of next 2 rows.
- BO remaining 42 sts for neck.
🔹 Step 2: Front Panel
Repeat the back panel instructions until armhole shaping.
Neck Shaping:
When piece measures 13 inches from bottom:
- Work 22 sts, place center 14 sts on holder, work remaining 22 sts.
- Work each side separately.
- Decrease 1 st at neck edge every RS row 2 times (20 sts each side).
- When length matches the back, BO shoulders (8 sts each), BO remaining sts.
🔹 Step 3: Front Pocket (Kangaroo Style)
CO 30 sts using larger needles.
- Work in stockinette stitch for 3 inches.
- Begin shaping:
- Decrease 1 st at each side every other row 2 times. (26 sts)
- Continue until pocket is 4.5 inches tall.
Optional: Add 2 rows of 1×1 ribbing at the top.
Set aside for sewing later.
🔹 Step 4: Sleeves (Make 2)
CO 36 sts using smaller needles.
- Work 1×1 ribbing for 1.5 inches.
- Switch to larger needles and begin stockinette stitch.
Shaping:
- Increase 1 st each side every 6th row 6 times. (48 sts)
- Work until sleeve measures 11–12 inches.
BO all sts. Set aside.
🔹 Step 5: Hood
With RS facing, pick up and knit 42 sts evenly along neck opening (including from stitch holders).
- Work in stockinette stitch for 6 inches.
Shaping Top of Hood:
- Divide stitches into 3 sections.
- K to last 2 sts of first third, K2tog.
- SSK at beginning of last third.
- Repeat every other row 4 times.
When hood measures 8–9 inches tall, BO all sts.
Fold and seam the top edge of the hood together using mattress stitch.
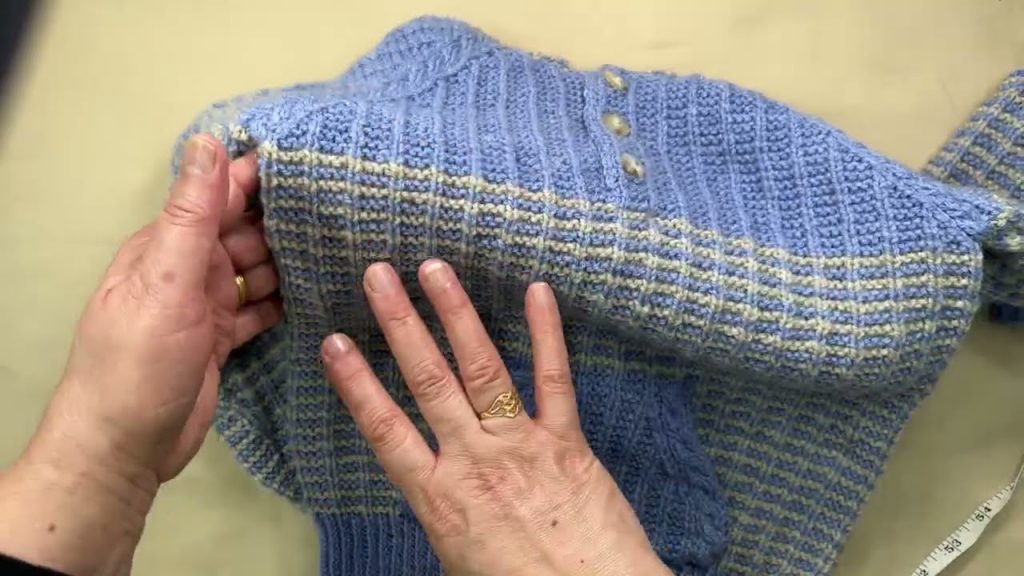
🔹 Step 6: Assembly
- Block all pieces lightly before seaming.
- Sew shoulder seams.
- Attach and sew the sleeves to armholes, matching centers.
- Sew side seams and underarm seams.
- Attach front pocket using mattress stitch or a tight backstitch.
- Sew hood to neck opening, if not already attached.
🔹 Step 7: Optional Additions
- Button Band: Pick up stitches along the front opening, work in ribbing, and add buttonholes.
- Drawstring for Hood: Create a simple I-cord and weave it through eyelets.
- Color Blocking: Use a contrast color for cuffs, hem, or pocket.
🧼 Washing & Care Tips
Choose machine-washable yarns if possible, especially for toddlers. For most hand-knitted items:
- Hand wash in cool water with mild detergent
- Lay flat to dry
- Avoid wringing or machine drying
🎁 Customization Ideas
- Add the child’s initial to the pocket or back
- Use striped yarn or a color fade pattern
- Attach fun patches or embroidered motifs
- Incorporate ears or animal designs on the hood
✅ Tips for Success
- Always swatch to check your gauge (important for correct sizing)
- Use stitch markers to mark armholes and centerlines
- Keep a notebook or app to track rows and shaping
- Consider knitting seamlessly in the round if you’re confident with circular knitting

👦 Final Thoughts
Creating a hand-knitted hoodie for a child is not just a creative venture — it’s a heartfelt gift. With its practical design, warmth, and charm, this hoodie is sure to become a favorite in any young boy’s wardrobe. The addition of a front pocket makes it fun and functional, and the hoodie offers that extra coziness for fall and winter.
This tutorial is crafted to guide you through every step — from casting on to seaming and shaping. Whether it’s for your own child, a grandchild, or a friend’s little one, this project will wrap them in warmth, love, and the magic of handmade care.
Video tutorial: