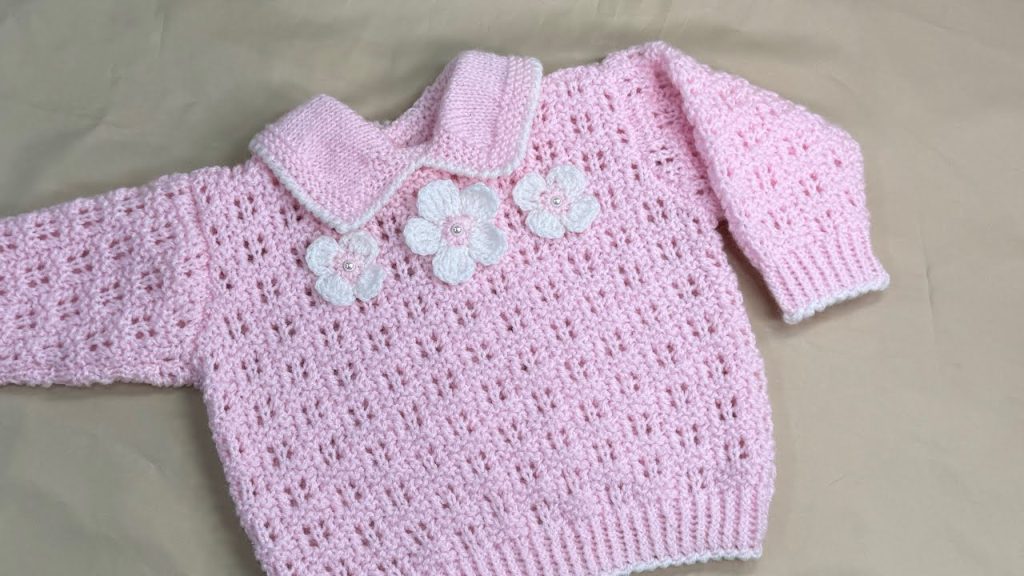
There is nothing quite as special as a garment made with love. If you’re preparing for a new arrival, looking for the perfect baby shower gift, or simply want to create a treasured heirloom, this hand-knitted baby jumper is the project for you. Designed specifically for newborns (0-3 months), this pattern uses a beautiful yet easy-to-master net/lace-like texture that is perfect for a soft, comfortable fit.
This tutorial is inspired by the intricate work of the creator at NK Selection and aims to provide a comprehensive breakdown for an engaging and rewarding knitting experience. We’ll cover everything from yarn selection to shaping the perfect collar and adding a charming crocheted embellishment. While the pattern looks complex, we prioritize simplicity to make it accessible for knitters who may feel intimidated by highly detailed designs.
Let’s gather our supplies and begin creating this gorgeous, cozy jumper!
2. Essential Materials & Tools
(Word Count: ~100 words)
Choosing the right materials is crucial for baby knits, ensuring the finished garment is soft, gentle, and warm.
| Item | Detail | Notes |
| Yarn | Double Knitting (DK) Weight Yarn (Specifically “Boni Babe” or similar soft baby yarn) | This type of yarn is soft and slightly finer than typical DK. |
| Yarn Quantity | Main Color (MC): Approx. 100g (for the jumper only) | If making the full set (jumper, pajama, hat, blanket), you will need up to 500g of yarn. |
| Contrast Color (CC): Small amount of white or light yarn for the edging and flower. | ||
| Knitting Needles | UK Size 9 (3.75 mm) | Though 4mm is often recommended for DK, a slightly smaller size is used to create a tighter, softer texture and prevent large holes. |
| Crochet Hook | 3.5 mm (for the optional flower and edging). | |
| Notions | 3 Buttons for the back opening, Stitch Holders/Safety Pins, Tapestry Needle, Scissors. |
Export to Sheets
3. The Pattern: A Simple Lace Repeat
(Word Count: ~100 words)
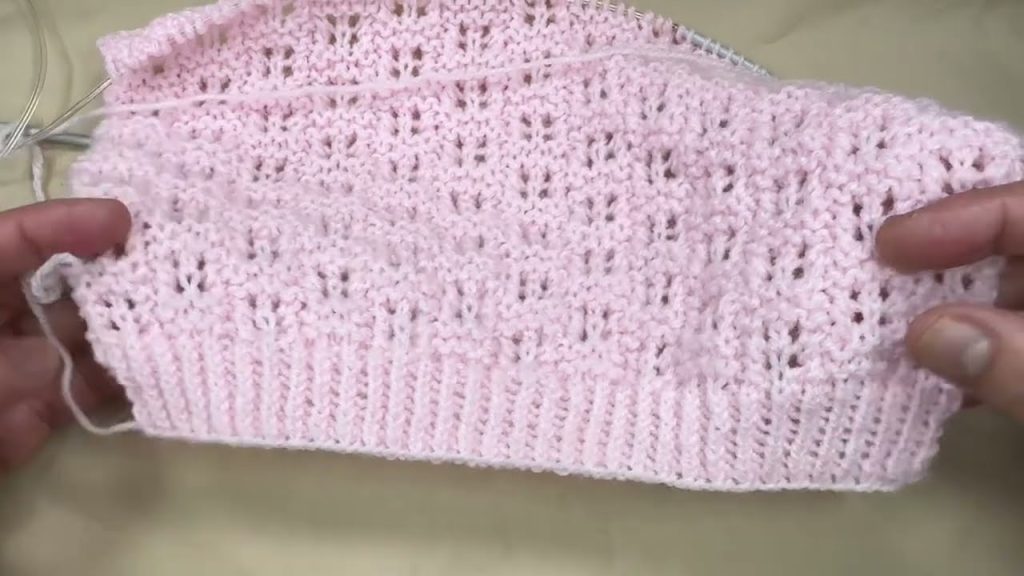
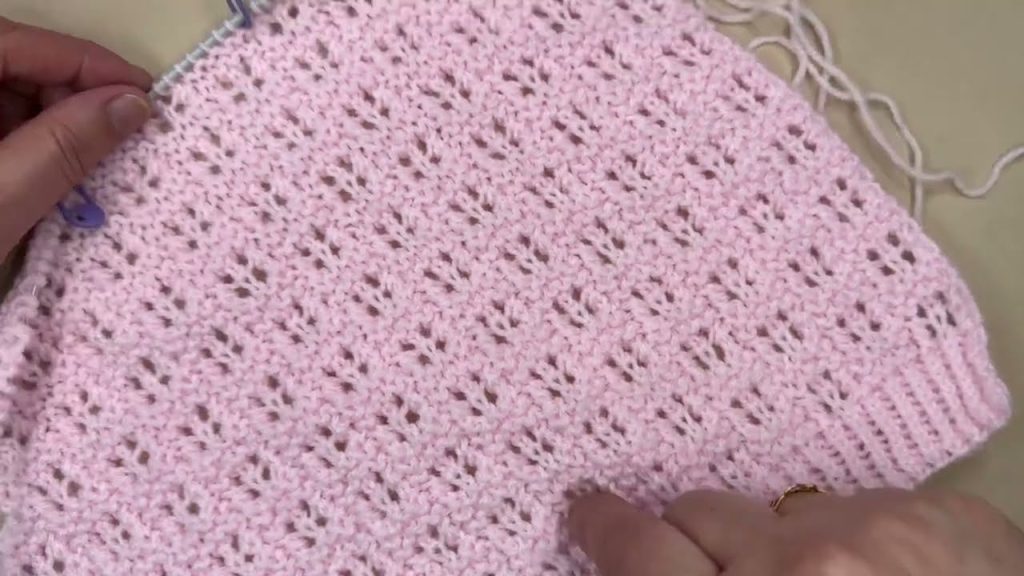
The main body of the jumper uses a basic but beautiful 5-stitch repeat lace pattern, separated by 5 purl stitches. The wrong side is always worked the same way, making it easy to memorize.
Stitch Counts:
- Total Stitches (Front Panel): 67 stitches
- Pattern Repeat: A 5-stitch lace section followed by 5 purl stitches. This design repeats seven times with six sections of purl stitches in between.
Right Side (RS) – The Pattern Row:
- 5 Purl Stitches: (Purl 5)
- 5-Stitch Lace: Knit 1, (Knit 2 Together (K2tog), Yarn Over (YO), K1, YO, Slip 1, K1, Pass Slipped Stitch Over (psso) – Note: The video demonstrates this section differently: K2tog, YO, K1, YO, K2tog.
- Repeat steps 1 & 2 across the row.
Wrong Side (WS) – Always:
- Purl every stitch.

4. Constructing the Front Panel
(Word Count: ~200 words)
The front panel is worked in one piece, from the bottom up.
A. Ribbing and Body
- Cast On: Cast on 67 stitches using the long-tail cast-on method.
- Ribbing: Work 1 inch of ribbing (K1 through the back loop, P1 through the back loop).
- Main Body: Switch to the main lace pattern. Continue until the piece measures 7 inches from the cast-on edge, ending after a Wrong Side (purl) row.
B. Armhole Shaping
- Bind Off: At the beginning of the next two rows (Right Side and Wrong Side), bind off 2 stitches.
- Decrease: Then, decrease one stitch at the beginning of the next four rows (two on each side).
- Total bound off/decreased: 7 stitches on each side.
- Continue working straight in the pattern until the piece measures 10 inches from the cast-on edge.
C. Neckline Shaping
The neckline shaping occurs when the total length is 10 inches.
- Shoulder Stitches: You need 19 stitches for each shoulder.
- Center Stitches: Work across until you have the middle 7 stitches remaining for the center neckline.
- Hold Stitches: Place the middle 7 stitches onto a stitch holder or safety pin instead of binding them off, as they will be picked up later for the collar.
- Work Separately: From this point, work each side of the shoulder separately, decreasing toward the center.
- Decrease: Decrease stitches on the neckline edge (towards the center) in the following sequence: 2, 2, 1, 1, 1 stitches.
- Total decreased: 7 stitches on the neckline edge.
- Finish: Work straight until the shoulder reaches the total height of 11 inches. Bind off the remaining 19 shoulder stitches.
5. Constructing the Back Panel (With Button Bands)
(Word Count: ~150 words)
The back is split to allow for a button closure, making dressing the baby easier.
A. Dividing the Back
- Cast On: Cast on the initial 67 stitches.
- Work Straight: Knit in the pattern for 6 inches (1 inch less than the front).
- Divide: Divide the work into two equal parts: 30 stitches for the left side, 30 stitches for the right side, and a central 7-stitch button band (which will be added to one side).
- Tip: The button band is worked in a simple Garter Stitch (knit every row) for stability and elasticity.
B. Buttonhole Placement
The buttonholes are placed on one of the back panels, in the 7-stitch garter band.
- Placement: The first buttonhole is created after 4 rows. Subsequent buttonholes are placed every 6-7 rows thereafter (approximately 7 pattern repeats).
- Buttonhole Method: (Placeholders for 3-5 buttonholes)
C. Armhole and Shoulder Shaping
- Armhole shaping starts when the back panel reaches 7 inches (at the same level as the front).
- Follow the exact same shaping as the front panel: Bind off 2, 2, 1, 1, 1 stitches on the armhole side (away from the center split).
- Neckline: When the back panel reaches 11 inches total length, bind off the remaining 19 shoulder stitches.
6. Shaping the Sleeves
(Word Count: ~100 words)
The sleeves are worked from the wrist up, increasing to accommodate the arm.
- Cast On: Cast on 37 stitches.
- Ribbing: Work 1 inch of ribbing, matching the body.
- Increases: Switch to the main pattern. Increase one stitch at the beginning and end of the row on every 6th row.
- Total Stitches before armhole shaping: Continue until you have approximately 53 stitches and the sleeve measures 7 inches in length.
- Armhole Cap:
- Bind off 2 stitches at the beginning of the next eight rows (two on each side, four times).
- Bind off the remaining stitches.
7. The Collar: The Finishing Touch
(Word Count: ~150 words)
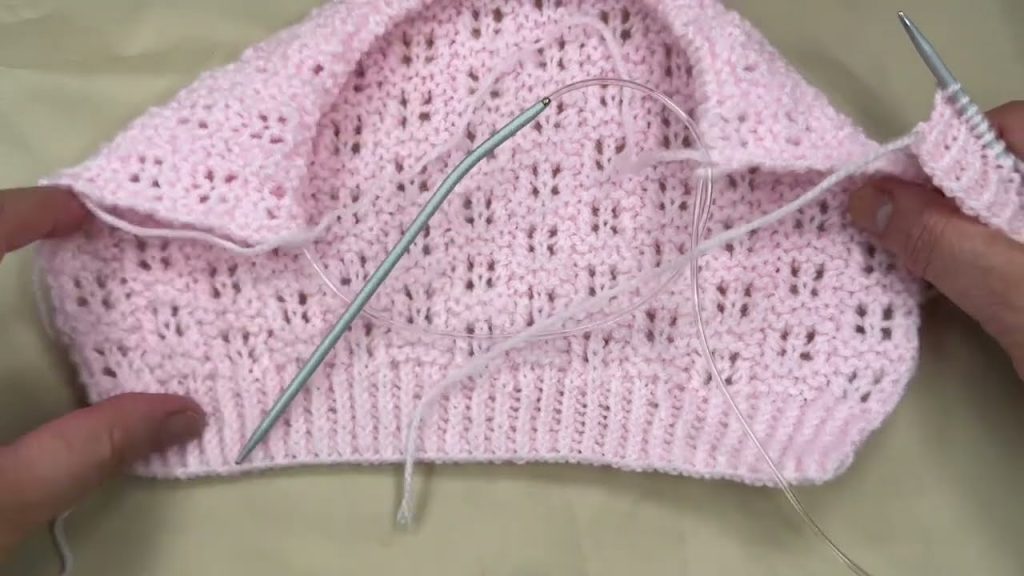
A. Seaming and Picking Up Stitches
- Seam Shoulders: Mattress stitch the shoulder seams of the front and back panels.
- Pick Up: Pick up and knit stitches along the entire neckline edge, including the held stitches from the front panel and the garter band edges of the back panels. Aim for an even count—the video picked up approximately 52 total stitches.
B. Collar Shaping and Definition
- Center Mark: Find the middle stitch of the picked-up stitches. Work both sides separately for a split back collar.
- Straight Rows: Work 2-3 straight rows in Garter Stitch (knit every row) for a clean base.
- Shaping: Switch to a pattern that defines the edge (e.g., K4, Purl to last 4, K4).
- Increases: Increase one stitch at the end of the knit section (before the final 4 stitches) on the edge that will become the collar’s point. Repeat this increase 5 times to shape the collar.
- Round the Corner: Once the desired width is reached, decrease stitches on the front edge of the collar to create a rounded point (e.g., K5, K2tog, K5, K2tog).
- Bind Off: Bind off all stitches after 2-3 more straight rows.
C. Contrast Edging (Optional)
Using a 3.5mm crochet hook and the contrast color yarn, work a simple single crochet or slip stitch border around the entire collar edge to give it a neat, finished look and match the sleeve/bottom edging.
8. Finishing, Assembly & Embellishment
(Word Count: ~100 words)
A. Assembly
- Seam: Seam the side seams of the body and the underarm/sleeve seams.
- Attach Sleeves: Set in the sleeves to the armholes, aligning the center of the sleeve with the shoulder seam.
- Weave Ends: Weave in all loose yarn tails neatly.
- Buttons: Sew 3 matching buttons onto the back button band, aligning with the buttonholes you created.
B. Crocheted Flower (Optional Decoration)
The video includes instructions for a decorative 5-petal crochet flower.
- Small Flower: Start with a magic circle and 9 single crochet stitches.
- Large Flower: Start with a magic circle and 11 single crochet stitches.
- Petals: Create petals using a chain stitch, 3 Double Crochets (DC) in one stitch, and then a slip stitch into the next chain.
- Attachment: Sew the completed flowers onto the front shoulder or neck area and add a bead to the center for a final touch.
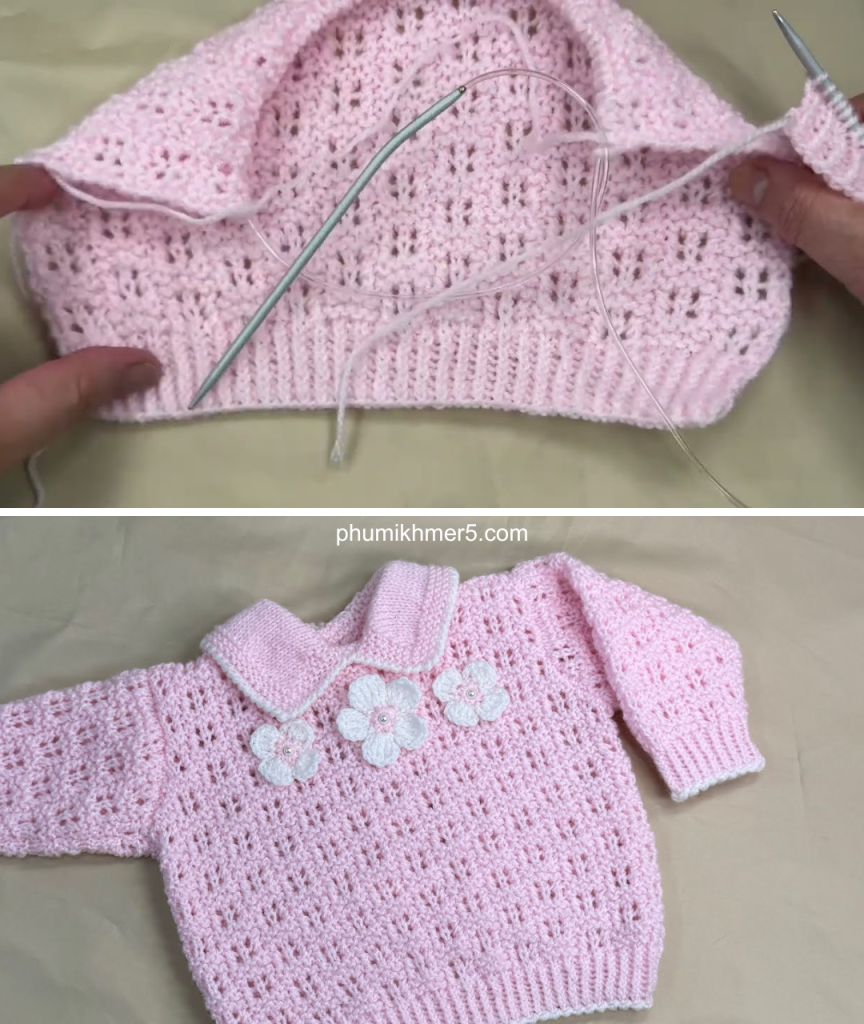
9. Conclusion: A Cherished Keepsake
(Word Count: ~50 words)
Congratulations! You have completed a gorgeous, cozy, hand-knitted baby jumper. This garment is more than just clothing; it is a tangible piece of love and effort that will be cherished. Share your finished work with us and happy knitting!
Video tutorial: