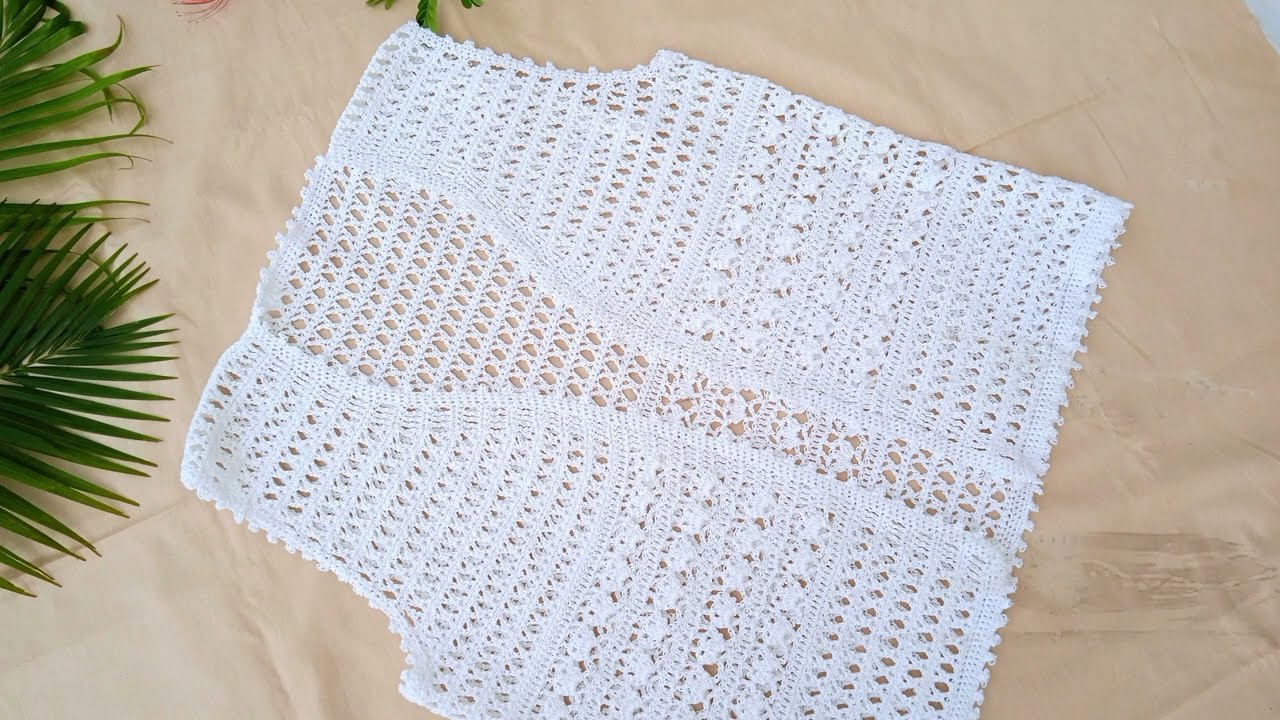
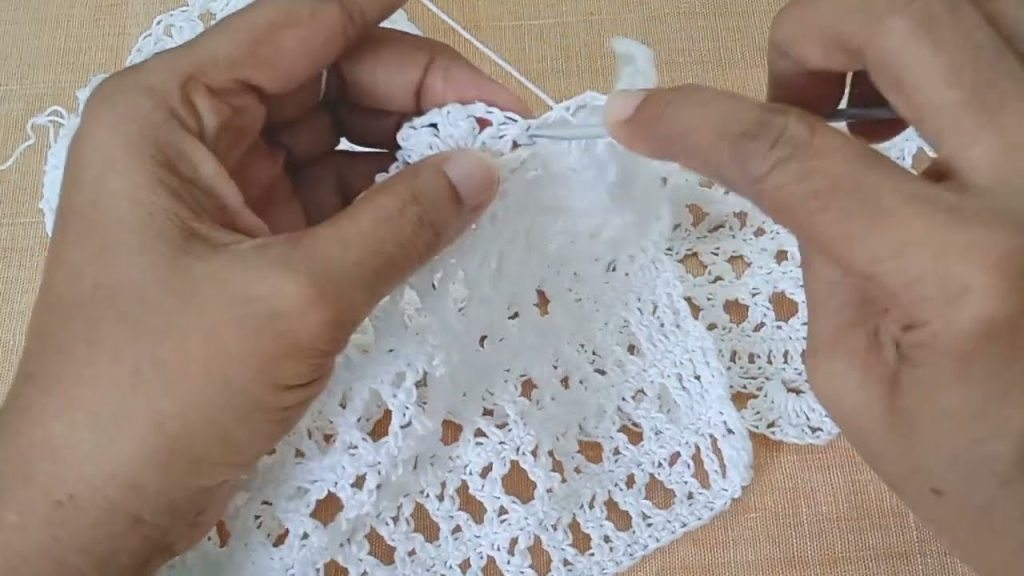
Inspired by the structural integrity and layered stitch work of the crochet jacket tutorial (video reference), the Arctic Fox Shawl Cardigan is a modular garment designed for ultimate comfort and style. This piece is not a traditional fitted cardigan but an open, oversized wrap that utilizes two distinct stitch patterns to create deep texture: the Alpine Post Stitch for the main body and a delicate Fan Stitch for the decorative yoke and cuff accents.
The construction begins with a wide rectangle for the back/lower front, which is then shaped using increases/decreases to form the shoulders and deep armholes, creating a cocoon-like fit.
- Finished Size: One Size Fits Most (Measures approximately 55-60 inches in width and 30 inches in length, laid flat).
- Difficulty: Intermediate (Requires front post stitches, careful counting, and seaming).
Materials & Tools Checklist
For the best result, use a soft, bulky yarn (Category 5) for a quick, cozy, and flexible fabric.
| Item | Quantity/Specification | Notes |
| Yarn | 1800 – 2000 yards (Bulky Weight, Category 5) | A soft acrylic or wool blend is ideal for drape and warmth. |
| Hook | 6.0 mm (J-10) Crochet Hook | This size works best with Bulky yarn to achieve good drape. |
| Notions | Stitch Markers (4 total), Tapestry Needle, Scissors | Markers are used for counting rows and shoulder seaming. |
Gauge Check
Alpine Post Stitch: 4 inches = 10 HDC stitches wide and 7 rows tall.
Essential Techniques & Glossary
The Alpine Post Stitch is the foundation of this pattern, providing the depth and warmth needed for an “Arctic Fox” garment.
- HDC (Half Double Crochet): The standard stitch used throughout.
- FPDC (Front Post Double Crochet): Yarn over, insert hook from front to back around the post of the specified stitch, yarn over, pull up loop, (yarn over, pull through 2 loops) twice.
- Alpine Post Stitch (APS): A two-row repeat that creates texture.
- Row A: Work HDC across.
- Row B: Alternate FPDC around the post of the HDC two rows below, and HDC in the top of the next stitch.
- Fan Stitch (Shell): Work (DC, Ch 1, DC, Ch 1, DC) all into the specified space or stitch.
Section 1: The Main Body Rectangle (Alpine Post Stitch)
This creates the lower back and lower front panels in one large piece, similar to the initial foundation of the reference video.
- Foundation Chain: Ch 154. (This count is a multiple of 2 + 2, ensuring an even stitch count for the APS).
- Row 1 (Foundation): HDC in the 3rd Ch from hook and in every Ch across (153 HDC).
- Row 2 (Row A – APS): Ch 2 (counts as HDC), turn. HDC in every stitch across (153 HDC).
- Row 3 (Row B – APS): Ch 2, turn. *HDC in the first stitch. FPDC around the post of the HDC two rows below. HDC in the next stitch. FPDC around the post of the HDC two rows below. Repeat from * to * across. End with HDC in the top of the turning chain (153 stitches).
- Rows 4-45: Repeat Row A (HDC) and Row B (FPDC/HDC) 21 more times (44 rows total).
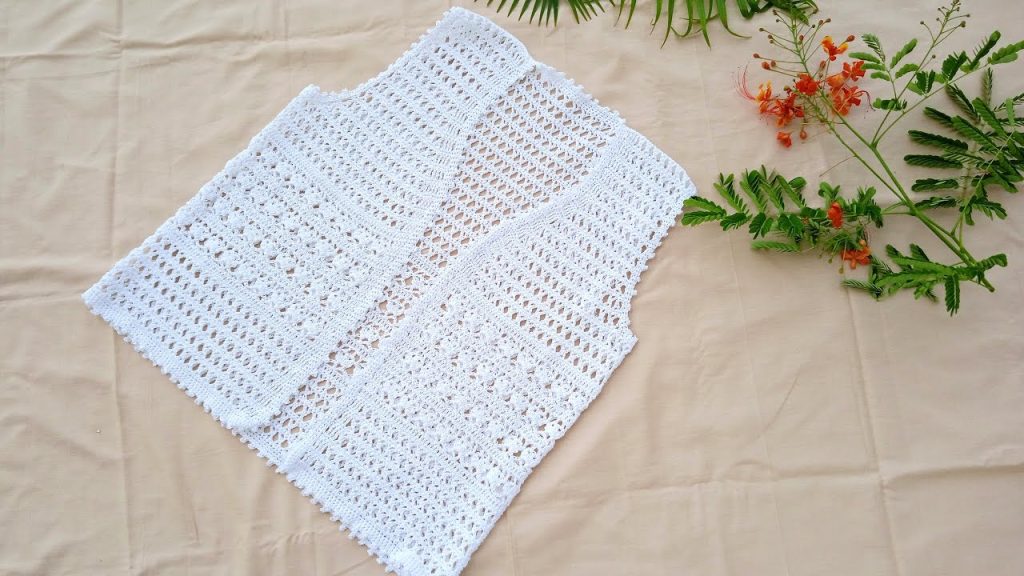
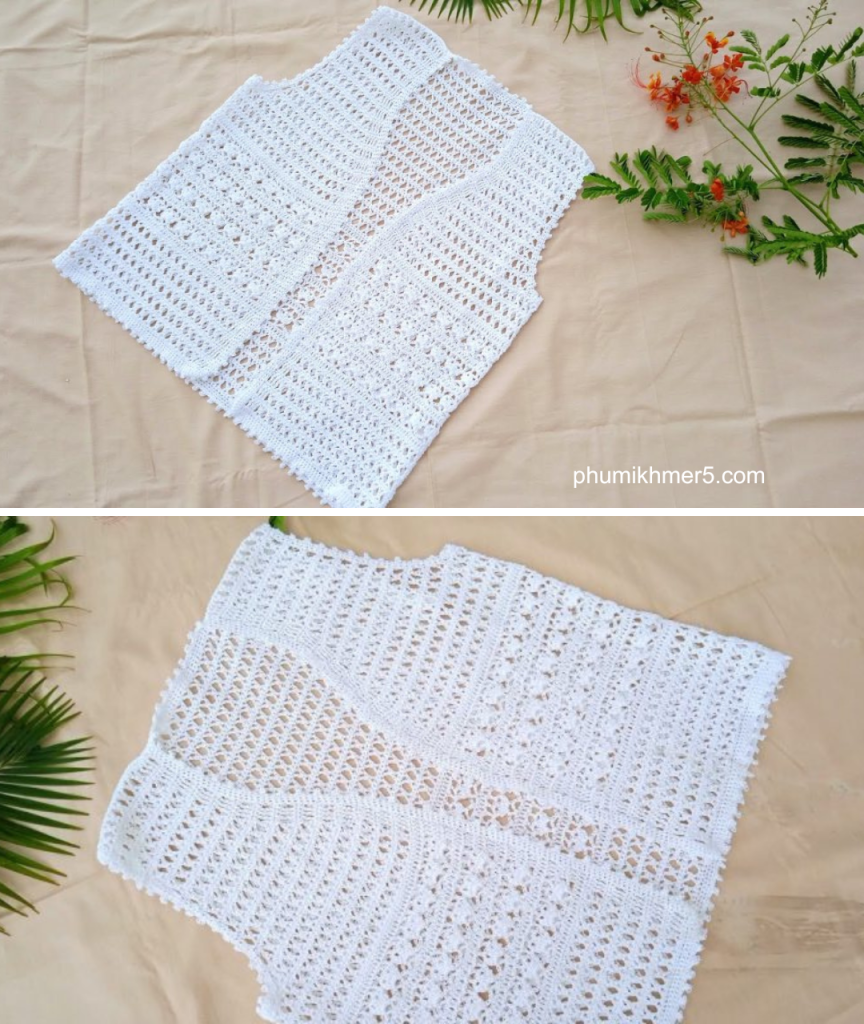
Section 2: Shoulder and Armhole Shaping
This step divides the large rectangle into the back and two front panels, shaping the arm openings (similar to the division shown).
Division:
- Front Panel 1 (LF): 37 stitches
- Armhole 1: Skip 10 stitches
- Back Panel (B): 59 stitches
- Armhole 2: Skip 10 stitches
- Front Panel 2 (RF): 37 stitches
A. Back Panel (Rows 46–55) The back is worked straight up in the Alpine Post Stitch.
- Row 46 (Start Row A): Ch 2 (counts as HDC), turn. HDC in the next 59 stitches (59 HDC). Leave remaining stitches unworked.
- Row 47 (Start Row B): Ch 2, turn. Work the Alpine Post Stitch pattern across (59 stitches).
- Rows 48-55: Continue the APS pattern (4 more Row A/Row B repeats). (Total Back Height: 10 rows).
- Fasten off and set aside.
B. Front Panels (Left Front – LF) The LF is worked from the outer edge inwards, creating a tapered neckline.
- Row 46 (Start Row A): Join yarn with Ch 2 at the outer edge of the LF panel, turn. HDC in the next 37 stitches. Leave the armhole skip unworked.
- Row 47 (Start Row B – Neck Decrease): Ch 2, turn. Work the APS pattern across the first 35 stitches. Work a HDC2tog over the last 2 stitches (36 stitches).
- Row 48 (Row A – Straight): Ch 2, turn. HDC across (36 stitches).
- Row 49 (Row B – Neck Decrease): Ch 2, turn. Work APS, ending with HDC2tog over the last 2 stitches (35 stitches).
- Rows 50-55: Continue APS. Work a HDC2tog at the neckline edge on every Row B (texture row) to create a gentle slope. (Final Stitch Count: 33 stitches).
- Fasten off.
C. Front Panels (Right Front – RF) The RF is worked from the inner edge outwards (join yarn at the end of the Armhole 2 skip).
- Row 46 (Start Row A – Armhole Edge): Join yarn with Ch 2 at the inner armhole edge, HDC in the next 37 stitches (37 HDC).
- Row 47 (Row B – Neck Decrease): Ch 2, turn. Work a HDC2tog over the first 2 stitches. Work the APS pattern across the remaining stitches (36 stitches).
- Row 48 (Row A – Straight): Ch 2, turn. HDC across (36 stitches).
- Row 49 (Row B – Neck Decrease): Ch 2, turn. Work a HDC2tog over the first 2 stitches. Work APS across (35 stitches).
- Rows 50-55: Continue APS. Work a HDC2tog at the neckline edge on every Row B (texture row). (Final Stitch Count: 33 stitches).
- Fasten off.
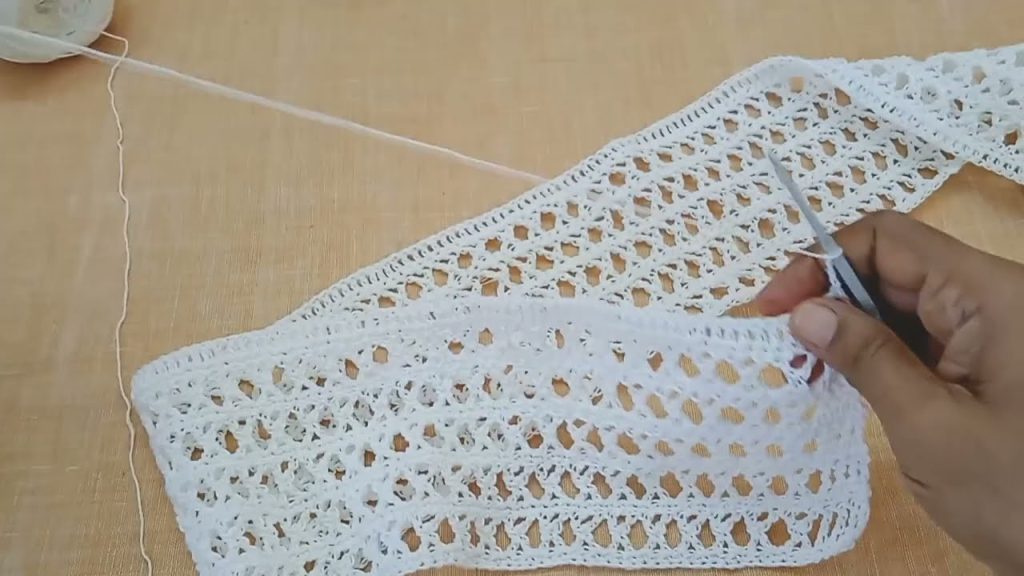
Section 3: Assembly and Cuff Edging
A. Seaming the Shoulders
- Align the LF panel shoulder edge with the corresponding shoulder edge of the Back panel, right sides facing.
- Using a Tapestry Needle and a strong yarn tail, sew the two pieces together using the Whipstitch or Mattress stitch along the 33 final shoulder stitches.
- Repeat this process to join the RF panel to the other side of the Back panel.
- Weave in all initial yarn tails.
B. Fan Stitch Cuff Accent (Make 2)
This elegant cuff is worked in the round directly onto the armhole opening.
- Round 1 (SC Base): Join yarn at the underarm seam with a Ch 1. Work SC evenly around the entire armhole edge. Aim for approximately 70-75 SC stitches for a comfortable fit (ensuring the count is a multiple of 5). Sl St to join.
- Round 2 (Fan Stitch): Ch 1, SC in the first stitch. Skip 2 stitches. Work Fan Stitch (DC, Ch 1, DC, Ch 1, DC) in the next stitch. Skip 2 stitches. SC in the next stitch. Repeat from * to * around. Sl St to join.
- Round 3 (Fan on Fan): Ch 1, SC in the first SC. Work Fan Stitch into the center DC of the next fan. SC into the next SC. Repeat from * to * around. Sl St to join.
- Round 4 (HDC Edging): Ch 2, turn. HDC in every stitch and Ch 1 space around for a clean, stable finish. Sl St to join.
- Fasten off and repeat for the second armhole.

Final Edging: For a polished finish, work a simple single round of SC around the entire front opening and lower hem. This stabilizes the whole garment.
Weave in all remaining ends. Your Arctic Fox Shawl Cardigan is ready to wear!
Video tutorial:


