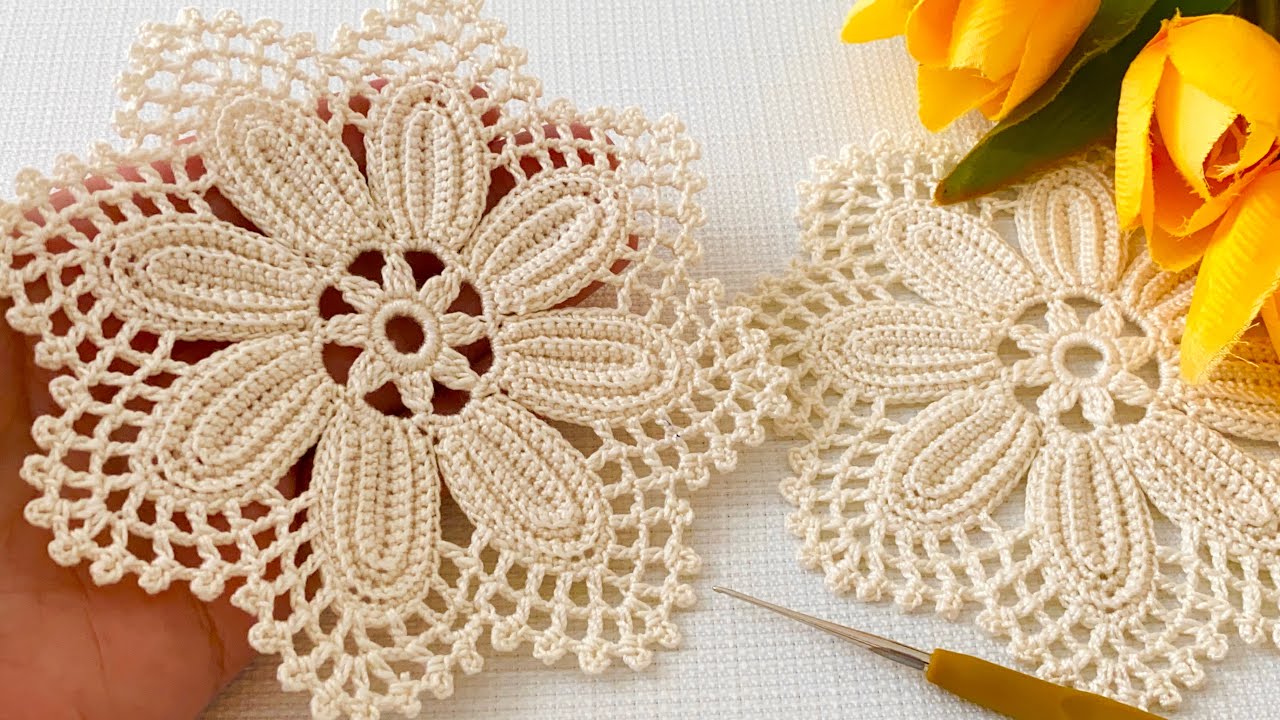
Hello, lace lovers and home decor enthusiasts! Are you captivated by vintage-inspired crochet that transforms a simple table into a centerpiece? I’m excited to share the pattern for the Solstice Bloom Motif Runner—a stunning piece created by joining intricate, mandala-like circular motifs into a graceful, custom-length design.
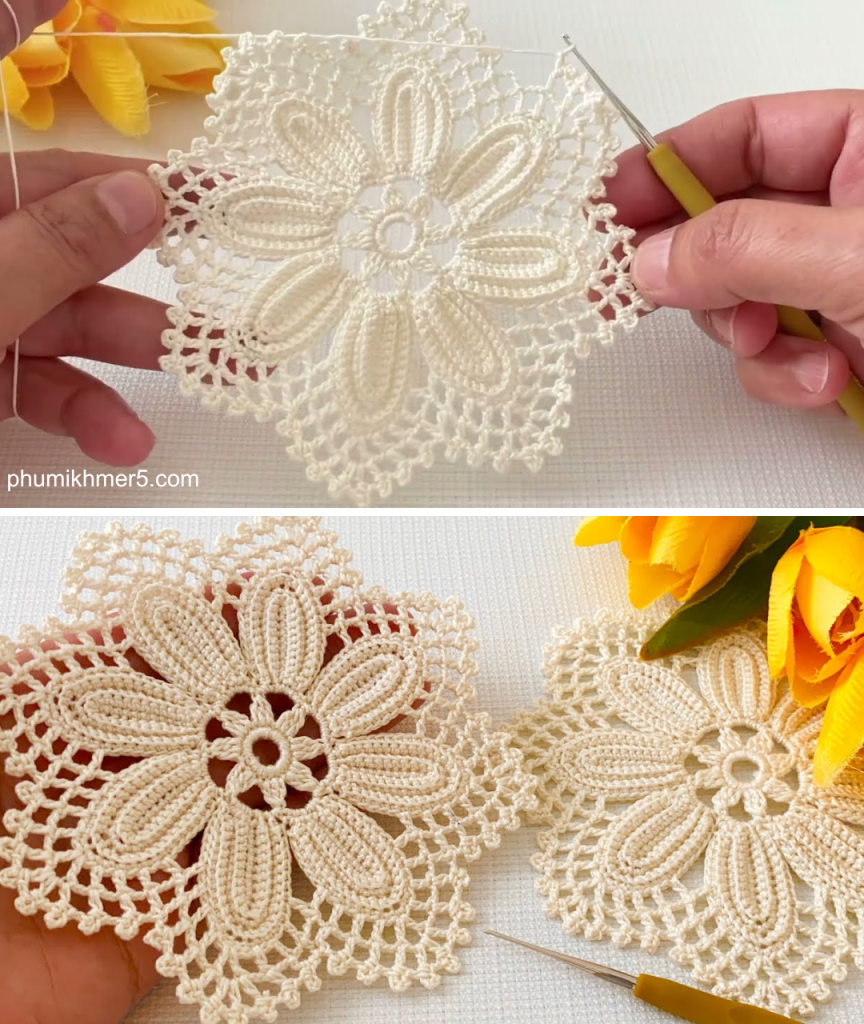
Inspired by beautiful continuous motif tutorials, this pattern is perfect for showcasing a luxurious thread or yarn. The motifs feature a dense center that blossoms into delicate, airy lace, creating a stunning texture that is both sophisticated and fun to hook. This runner works up into an extraordinary, eye-catching piece, but the motifs can also be used for shawls or blouses!
Grab your favorite mercerized cotton or smooth thread, and let’s start crocheting a piece of extraordinary beauty!

Why You’ll Love Crocheting This Runner:
- Extraordinary Texture: Combines dense clusters and airy picot loops for a complex, dimensional look.
- Modular Design: The pattern uses repetition (making the same motif many times) which is great for travel or relaxing, mindless crocheting once the motif is learned.
- Customizable Length: Easily adjust the length by adding or subtracting motifs in the central row.
- Versatile: The motif is suitable for fine thread (for a doily effect) or thicker yarn (for a blanket square).
Materials & Notions
- Yarn/Thread: Approximately 400–600 yards of Sport Weight (#2) or DK Weight (#3) mercerized cotton thread. The finished size depends heavily on yarn weight.
- Hook: Size D/3 (3.25 mm) or E/4 (3.5 mm) crochet hook, or size needed to obtain gauge.
- Notions: Tapestry Needle (for weaving ends), Scissors, Stitch Markers.
- Sizing: Each finished motif measures approximately 5 inches (12.5 cm) across. A runner made of 7 motifs will be approximately 35 inches long.
Essential Crochet Abbreviations & Terminology
| Abbreviation | Description |
| ch | chain |
| st(s) | stitch(es) |
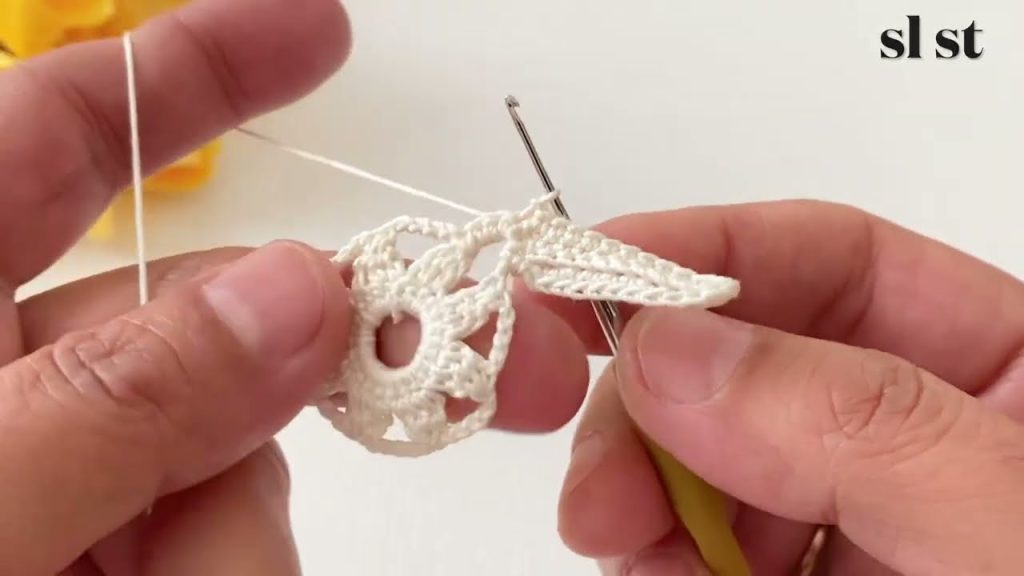
| sl st | slip stitch |
| sc | single crochet |
| dc | double crochet |
| tr | treble crochet (yarn over 2 times) |
| sk | skip |
| rep | repeat |
| CL | Cluster (See Special Stitches) |
| Picot | Ch 3, sl st into the 1st ch (or into the top of the st you just worked). |
Special Stitch: 3-DC Cluster (CL)
Yarn over, insert hook into the indicated space/stitch, yarn over and pull up a loop, yarn over and pull through 2 loops (2 loops on hook). (Yarn over, insert hook into the same space/stitch, yarn over and pull up a loop, yarn over and pull through 2 loops) 2 more times (4 loops on hook). Yarn over and pull through all 4 loops on the hook.
Gauge
- One finished Solstice Bloom Motif should measure approximately 5 inches (12.5 cm) from point to point.
The Solstice Bloom Motif Pattern
This motif is worked in joined rounds.
Setup: Begin with a magic ring or Ch 4, sl st to join.
R1 (Center):
- Ch 3 (counts as first dc). Work 15 dc into the ring.
- Join with sl st to the top of the starting ch-3. (16 sts)
R2 (Cluster Round):
- Ch 2 (does not count as st). Work CL in the same st (the joining st). Ch 3.
- *Sk 1 st, CL in the next st, Ch 3.* Rep from * to * 7 more times.
- Join with sl st to the top of the first CL. (8 CLs, 8 Ch-3 spaces)
R3 (Lattice Work):
- Sl st into the first Ch-3 space. Ch 5 (counts as tr and ch 1). Tr in the same Ch-3 space. (This forms a TR V-Stitch).
- *Ch 3. Work TR V-Stitch (
tr 1, ch 1, tr 1) in the next Ch-3 space.* Rep from * to * 7 more times. - Ch 3. Join with sl st to the 4th ch of the starting Ch-5. (8 V-Stitches, 8 Ch-3 spaces)
R4 (Petal Base):
- Sl st into the Ch-1 space of the V-Stitch. Ch 1. Sc in the same Ch-1 space.
- *Ch 4. Sc in the middle st of the next Ch-3 space. Ch 4. Sc in the Ch-1 space of the next V-Stitch.* Rep from * to * 7 more times.
- (You should end with Ch 4). Sl st to the first sc to join. (16 Ch-4 spaces, 16 SC)
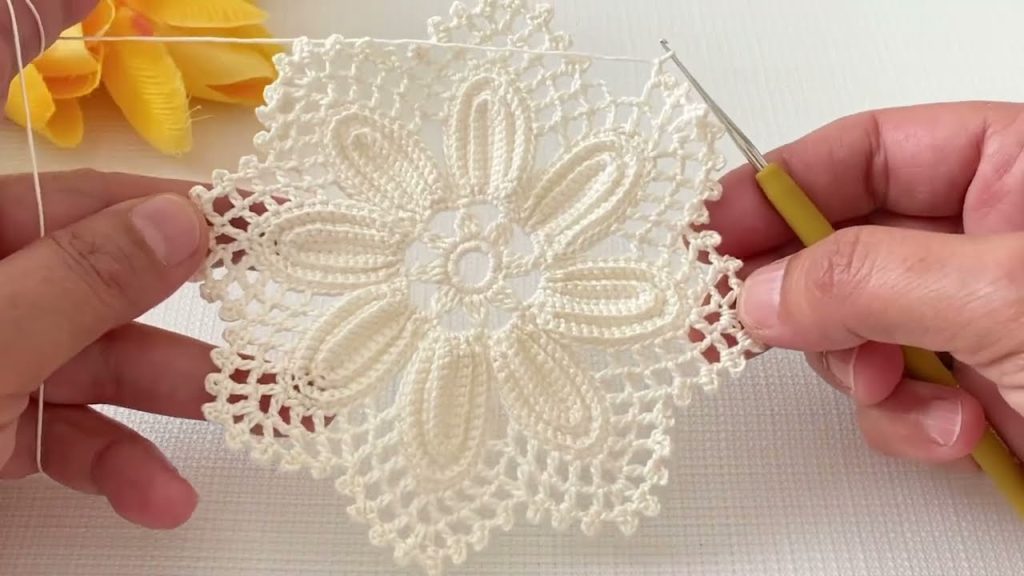
R5 (Lace Points):
- Sl st into the first Ch-4 space. Ch 3 (counts as dc). Work 4 dc in the same space.
- Work 5 dc in the next Ch-4 space.
- *Sk 1 sc, CL in the next sc, Ch 3, CL in the same sc (this creates a split cluster point).
- Work 5 dc in the next Ch-4 space. Work 5 dc in the next Ch-4 space.*
- Rep from * to * 6 more times.
- You should finish with the last two Ch-4 spaces completed. Sk the last sc.
- Join with sl st to the top of the starting ch-3. (8 Split Cluster Points, 16 5-DC Groups)

R6 (Final Edging & Joining):
This round determines the final shape and connects the motifs.
- Ch 1, sc in the first st. Sc in the next 4 sts.
- Sc in the next 5 sts (10 sc total over the 2 groups).
- Joining Point 1: Sc in the Ch-3 space between the two CLs.
Ch 3, Picot, Ch 3. Sc in the same space. (This is a non-joining point). - Sc in the next 10 sts.
- Joining Point 2: Sc in the Ch-3 space between the two CLs. (Joining) Work
Ch 1. Sl st to any Picot on a previously made motif.Ch 1, Picot, Ch 3. Sc in the same space. - Rep from Step 4 and 5 around, using the Joining Point 2 instructions to connect the motifs where necessary. You will have a total of 8 points per motif.
Joining Instructions Detail (For two adjacent sides):
- Join 4 points along one side to the 4 corresponding points on the next motif.
Finishing Motif: Sl st to the first sc to join. Fasten off.
Construction and Assembly for the Runner
The Assembly Plan
For a standard 35-inch runner, you will need 7 full Solstice Bloom Motifs.
- Motif 1 (Starting Motif): Complete all 6 rounds, joining 0 points in R6. Fasten off.
- Motif 2: Complete R1-R5. In R6, join 4 points along one edge to the corresponding 4 points of Motif 1. Fasten off.
- Motif 3 through 7: In R6, join 4 points of the new motif to the last motif added (Motif 6, 5, 4, etc.). Fasten off each one.
Final Edging and Border
While the motifs themselves create a beautiful scallop, a thin edging provides a clean, continuous look along the long straight sides of the runner.
- Join Yarn: Join yarn with sc at any outer point on the long edge of the assembled runner.
- Row 1 (SC Stabilizer): Work sc evenly along the entire long edge, working 2 sc into each Picot and sc into each st along the shell curve. Work a sl st between the motifs where their inner edges meet.
- Row 2 (Picot Trim): Ch 1, turn. Sc in the first 2 sts. *Ch 5, sk 3 sts, sc in the next 4 sts.* Rep from * to * across the entire long edge. Fasten off. Repeat Row 2 on the opposite long edge.

Finishing Your Runner
- Weave Ends: Use your tapestry needle to carefully weave in all yarn tails from the motifs and the border.
- Blocking: This is absolutely crucial for lace motifs!
- Soak the runner thoroughly in lukewarm water with a small amount of mild detergent or wool wash.
- Gently squeeze out excess water (do not wring).
- Pin the runner to a blocking mat, foam board, or thick towel. Stretch the motifs gently so they are all uniform in shape and size, and pin every Picot point to define the scallop.
- Allow to dry completely (may take 24–48 hours).
Your Solstice Bloom Motif Runner is now complete—an elegant, heirloom-quality piece ready to bring extraordinary beauty to your home!
Video tutorial:


