Introduction: The Elegance of Simplicity
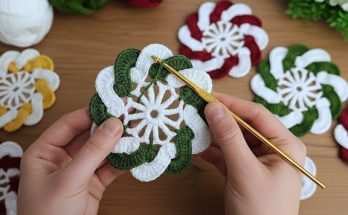
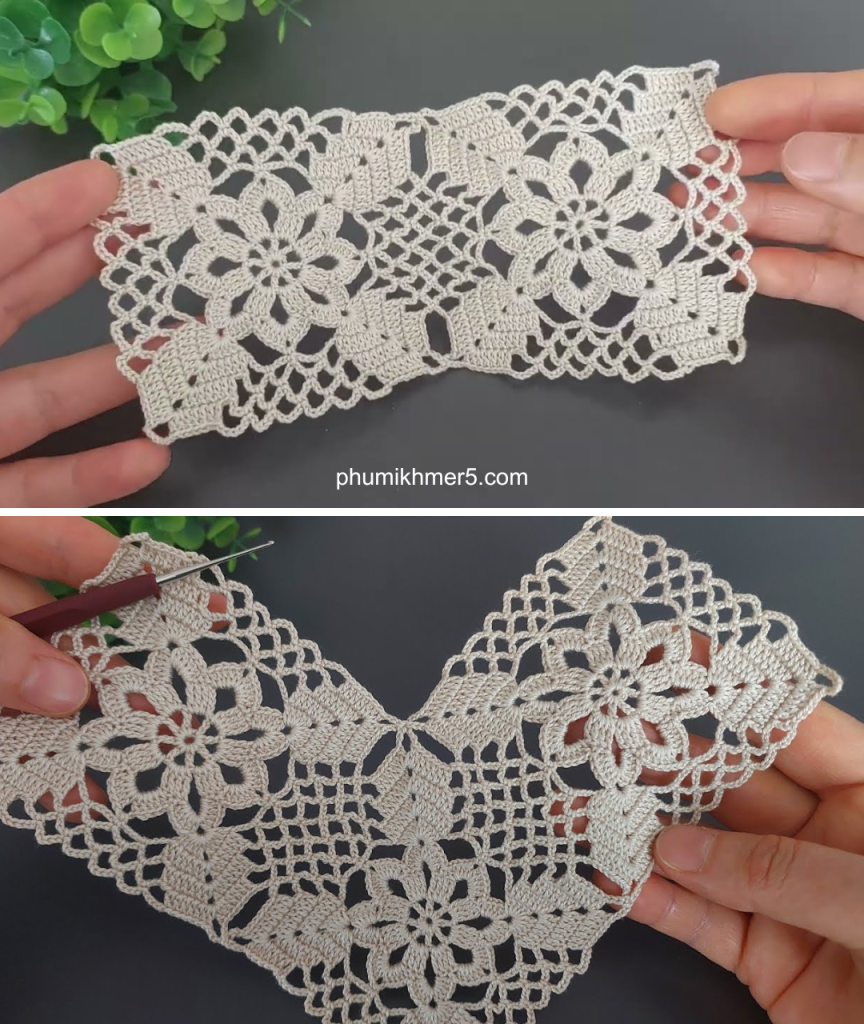
There is something deeply satisfying about the clean, classic lines of a circular crochet project. Inspired by the foundational simplicity of the easy round crochet demonstrated in the Knitting Love 💗 tutorial, we’ve designed a pattern that takes that basic shape and adds a subtle, beautiful texture.
This Linen Halo Mat is the perfect project for both a complete beginner looking to master the magic ring and increasing in the round, or an experienced crocheter seeking a quick, meditative make. It serves wonderfully as a coaster, a small doily for a dresser, or a base for a potted plant. Its unique texture is achieved by simply alternating the main stitch used in the increase rounds.
Project Details
| Detail | Specification |
| Skill Level | Beginner |
| Finished Size | Approximately 5.5 inches (14 cm) in diameter (Size is easily adjustable!) |
| Gauge | Not critical for this project, but your piece should measure about 4 inches after Round 5. |
| Stitch Focus | Magic Ring, Single Crochet (SC), Double Crochet (DC), Slip Stitch (SL ST) |
Materials You’ll Need
- Yarn: Approximately 50 yards of Worsted Weight (Aran/Category 4) yarn. A natural fiber blend in a linen, beige, or cream color will best achieve the “Linen Halo” look.
- Hook: 5.0 mm (US H/8) crochet hook.
- Notions: Tapestry needle for weaving in ends, a pair of scissors, and a stitch marker (optional, but recommended for continuous rounds).
Stitch Abbreviations (U.S. Terms)
| Abbreviation | Stitch Name |
| CH | Chain |
| SL ST | Slip Stitch |
| SC | Single Crochet |
| DC | Double Crochet |
| ST(s) | Stitch(es) |
| MR | Magic Ring |
| REP | Repeat |
The Linen Halo Mat Pattern
The pattern is worked in the round. Rounds 1-3 are worked in continuous spirals (do not join with a SL ST unless noted), but the textured rounds (Rounds 4, 6, 8) and the border round do start with a chain and are joined with a slip stitch.
Getting Started
Round 1 (Foundation):
Create a Magic Ring (MR). CH 1 (does not count as a stitch). Work 8 SC into the MR. Pull tail tight to close the circle.
- (8 SC)
Round 2:
Work 2 SC in every ST around.
- (16 SC)
Round 3:
SC in the first ST, 2 SC in the next ST. REP from * to * around.
- (24 SC)
Building the Texture
Round 4 (DC Texture Round – Joined):
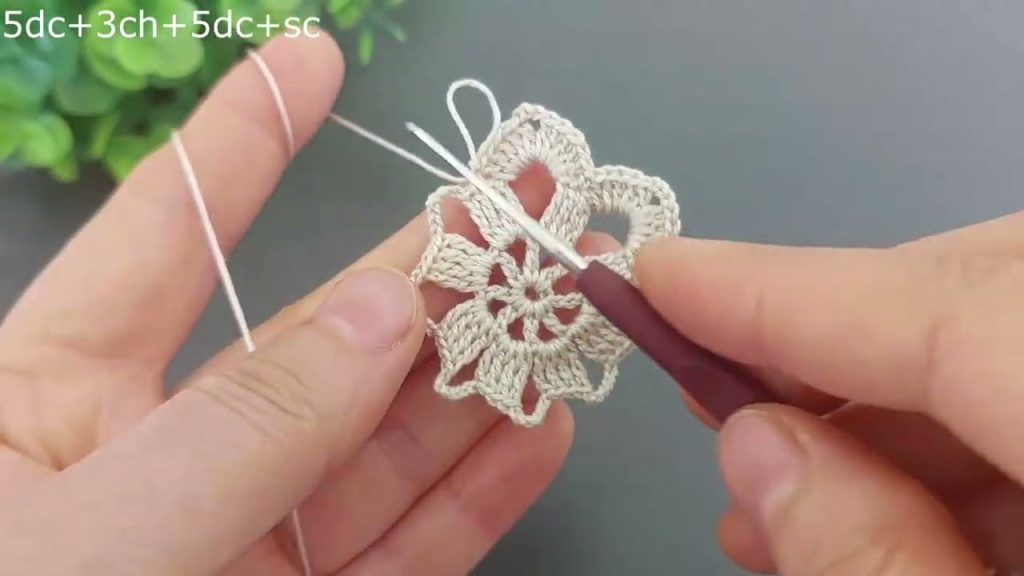
This round introduces texture and height. SL ST to the first ST of the previous round. CH 3 (counts as the first DC). Work 1 DC in the same ST. 1 DC in the next 2 STs, 2 DC in the next ST. REP from * to * until you have 1 ST remaining. Work 2 DC in the last ST. Join with a SL ST to the top of the starting CH 3.
- (32 DC)
Round 5:
CH 1 (does not count as a stitch). Work 1 SC in the same ST. SC in the next 3 STs, 2 SC in the next ST. REP from * to * around. Join with a SL ST to the first SC.
- (40 SC)
Round 6 (DC Texture Round – Joined):
CH 3 (counts as the first DC). Work 1 DC in the same ST. 1 DC in the next 4 STs, 2 DC in the next ST. REP from * to * around. Join with a SL ST to the top of the starting CH 3.
- (48 DC)
Round 7:
CH 1 (does not count as a stitch). Work 1 SC in the same ST. SC in the next 5 STs, 2 SC in the next ST. REP from * to * around. Join with a SL ST to the first SC.

- (56 SC)
Round 8 (DC Texture Round – Joined):
CH 3 (counts as the first DC). Work 1 DC in the same ST. 1 DC in the next 6 STs, 2 DC in the next ST. REP from * to * around. Join with a SL ST to the top of the starting CH 3.
- (64 DC)
The Scalloped Edge Border
Round 9 (Border):
CH 1 (does not count as a stitch). SC in the same ST. Skip 1 ST, 5 DC in the next ST (this forms the shell/scallop), Skip 1 ST, SC in the next ST. REP from * to * around. The last scallop should end with the final SC in the stitch right before the starting CH 1. Join with a SL ST to the first SC.
- (16 Scallops, 16 SCs)
Finishing Your Mat
- Fasten Off: Cut your yarn, leaving about a 6-inch tail. Pull the tail completely through the loop on your hook to secure the knot.
- Weave Ends: Thread your yarn tail onto your tapestry needle and carefully weave it back and forth through the back of your stitches to hide it. Trim any excess yarn.
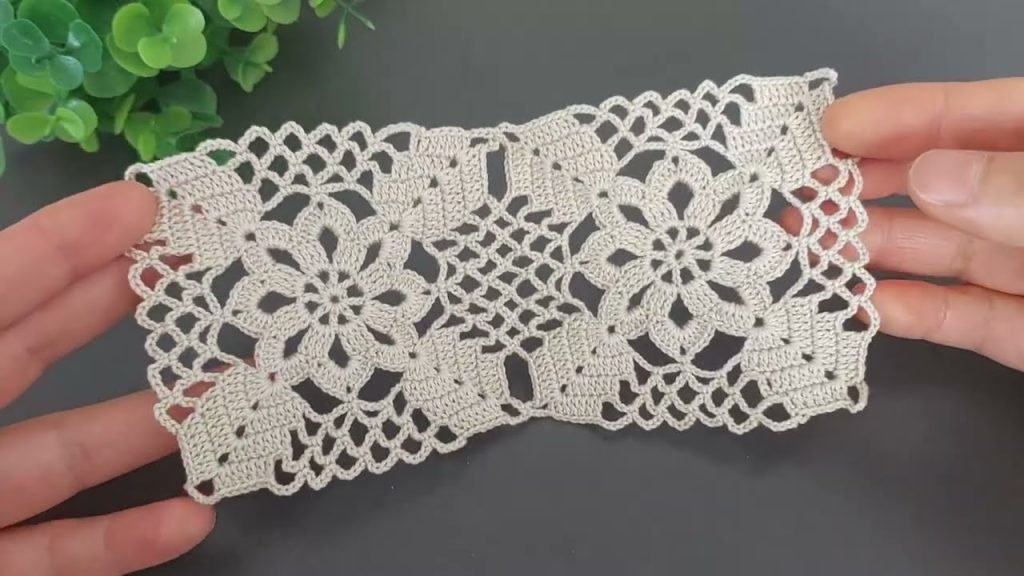
- Blocking (Recommended!): Blocking is the secret to a professional finish! Wet the finished mat thoroughly, gently squeeze out excess water, and pin the mat into a perfect circle on a foam board or towel. Allow it to fully dry overnight. This will ensure your scallops lay flat and your mat holds its perfect circular shape.
Enjoy your beautiful new Linen Halo Mat! You’ve just created a stunning piece that’s both simple and sophisticated. Share your finished work with us—we’d love to see it!
Video tutorial:
