
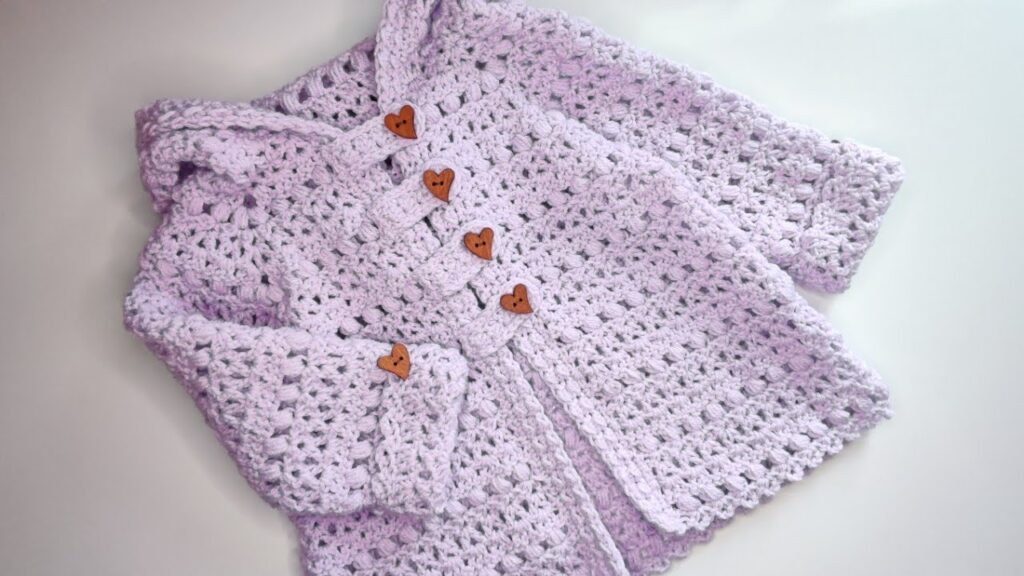
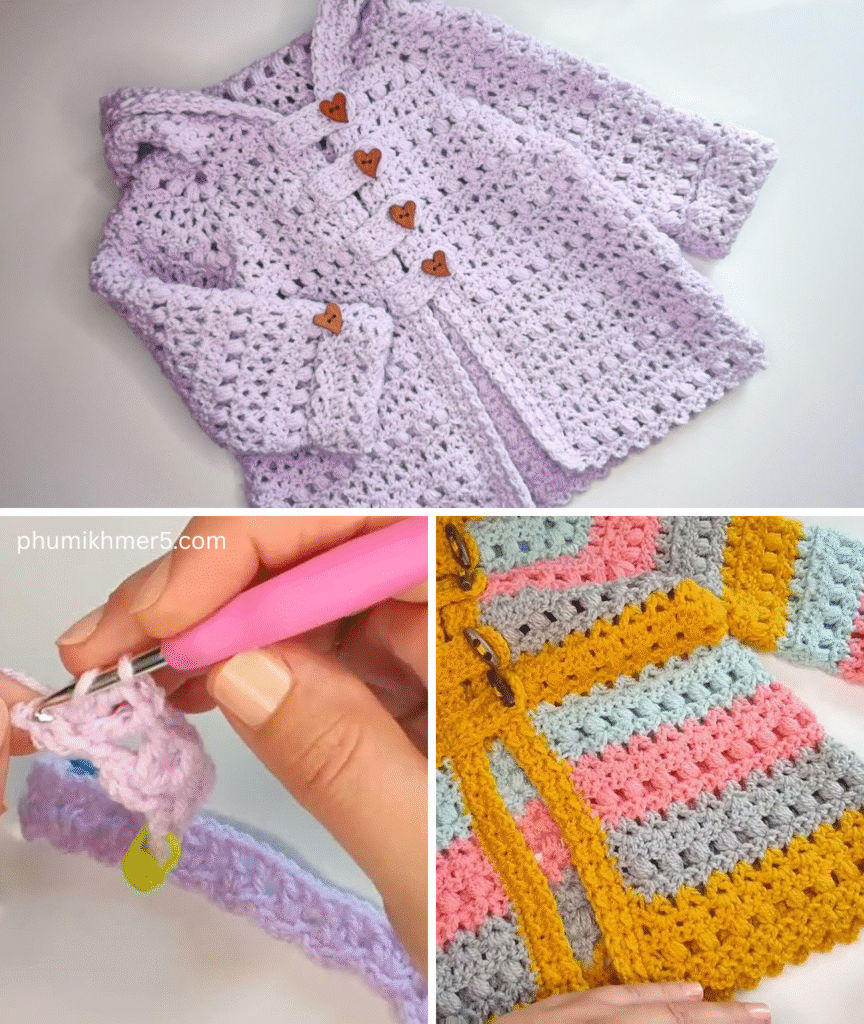
Crocheting clothing can feel intimidating, but the Four Stitch Hoodie breaks it down to a surprisingly manageable and beginner-friendly level. Named after its simplicity—requiring only four basic stitch types—this adorable hoodie is perfect for girls aged 3 to 10 and can be adjusted for other sizes too.
Whether you’re crocheting for your daughter, granddaughter, or as a thoughtful gift, this cozy hoodie offers warmth, comfort, and handmade charm.
🧵 Materials Needed
- Yarn: Medium weight (worsted, category 4) yarn — approx. 700–1000 yards depending on size
- Hook: Size H/8 (5.0 mm) crochet hook or size needed to obtain gauge
- Tapestry needle for weaving in ends
- Stitch markers
- Scissors
- Buttons or zipper (optional, for front closure)
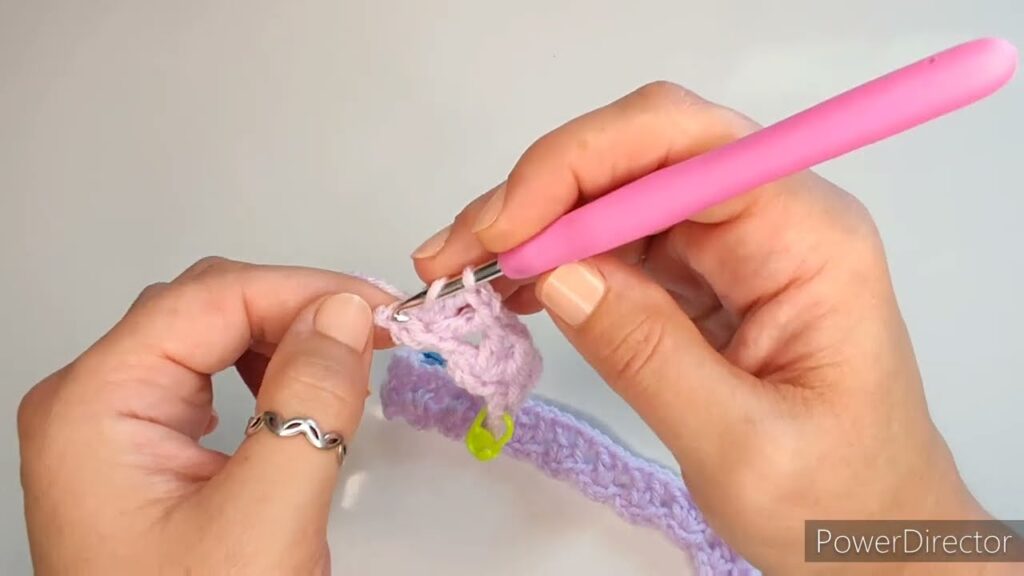
🧶 Stitches Used
You only need to know four basic crochet stitches:
- Chain (ch)
- Single Crochet (sc)
- Half Double Crochet (hdc)
- Double Crochet (dc)
📏 Sizing Chart (Approximate)
| Age | Chest (inches) | Yarn (yards) |
|---|---|---|
| 3–4 | 22 | 700 |
| 5–6 | 24 | 850 |
| 7–8 | 26 | 950 |
| 9–10 | 28 | 1000 |

🪡 Construction Overview
The Four Stitch Hoodie is worked from the bottom up, in panels: Back, Front, Sleeves, and Hood. The panels are later seamed together. You can choose to make it a pull-over or cardigan style.
🧵 Step-by-Step Instructions
🔹 1. Back Panel
Foundation:
- Chain enough stitches to match the width of the chest measurement (e.g., 50 ch for 3–4 years).
- Add 2 extra chains for turning.
Body:
- Row 1: Hdc in 3rd ch from hook and across.
- Row 2: Ch 2, turn. Hdc across.
- Repeat until the panel measures from the hem to the underarm (approx. 10–12”).
Armhole shaping:
- For the last 4–5 rows, decrease 1 stitch on each end to shape the armhole.
Fasten off.
🔹 2. Front Panel
Make 1 (or 2 if you’re making a cardigan)
Follow the same pattern as the back, but when the panel is about 3” from the top:
- Neck shaping (Pullover style): Work to the center, leave center stitches unworked, and complete each shoulder separately.
- Cardigan style: No shaping needed unless adding a collar.
Fasten off.
🔹 3. Sleeves (Make 2)
Foundation:
- Chain 30 (or adjust to desired wrist size), plus 2 for turning.
Body:
- Work in hdc for 4 rows.
- Then switch to dc for the remainder, increasing 1 stitch on each side every 4 rows.
Length: 10–12” or desired length. Taper if needed near the shoulder.
Fasten off.
🔹 4. Hoodie
Foundation:
- Chain 60–70 (measure from one neckline side to the other).
Work in dc rows, turning each row until the rectangle measures about 10–12″ tall.
Shaping the hood: Fold the rectangle in half and seam the top closed.
Attach hood to neckline using sc or whip stitch.
🔹 5. Assembly
- Lay panels flat.
- Seam shoulders first using whip stitch or mattress stitch.
- Attach sleeves to armholes.
- Seam sides and sleeve underarms.
- Seam hood to neckline.
- Add ribbing or edging around cuffs, hem, and hoodie opening using sc or hdc for a neat finish.
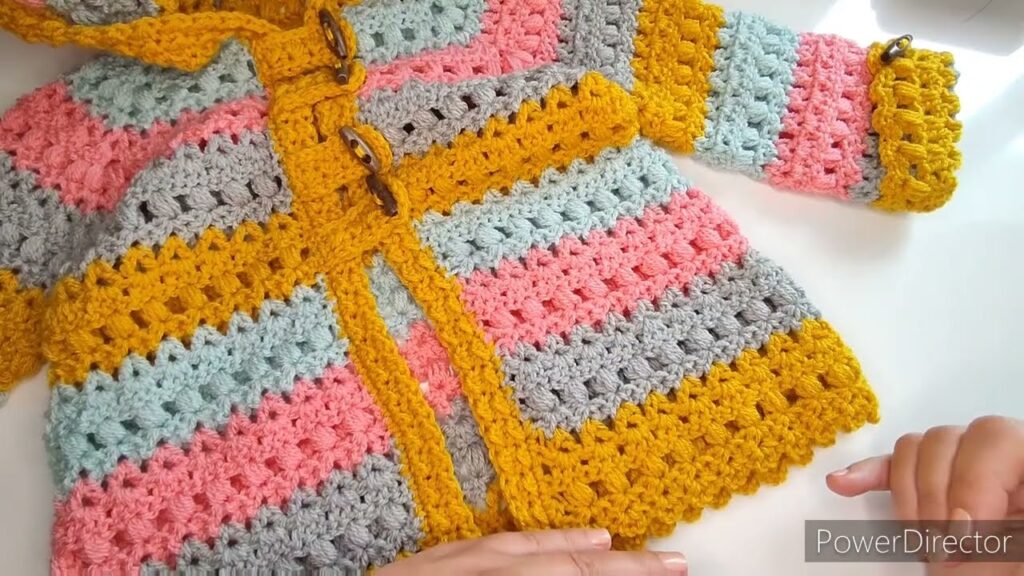
🔹 6. Optional Add-ons
- Button band: sc along the edge and space out buttonholes.
- Zipper: Hand-sew with yarn or thread.
- Pockets: Crochet two 4×4” squares and attach to the front.
💡 Tips for Success
- Gauge swatch: Always test your stitches to ensure correct size.
- Use stitch markers for seam alignment.
- Try it on frequently as you go (if crocheting for someone present).
- Choose soft, machine-washable yarn for durability and comfort.
- Embellish with bows, flowers, or initials to personalize!
🎉 Final Thoughts
The Four Stitch Hoodie is an approachable, satisfying project with maximum cozy payoff. With just a few simple stitches, you can create a warm and stylish garment that looks more complex than it really is. It’s a wonderful addition to any girl’s wardrobe and a special gift from your hands to their heart.
Video tutorial:


