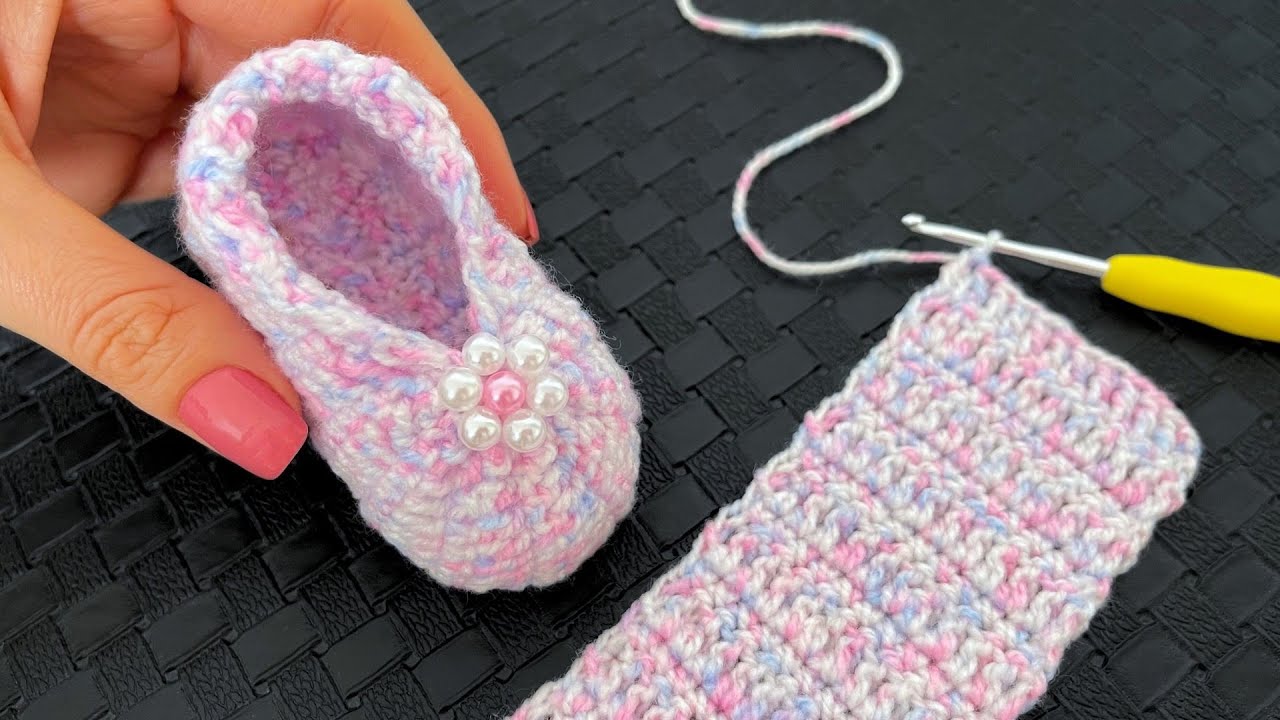
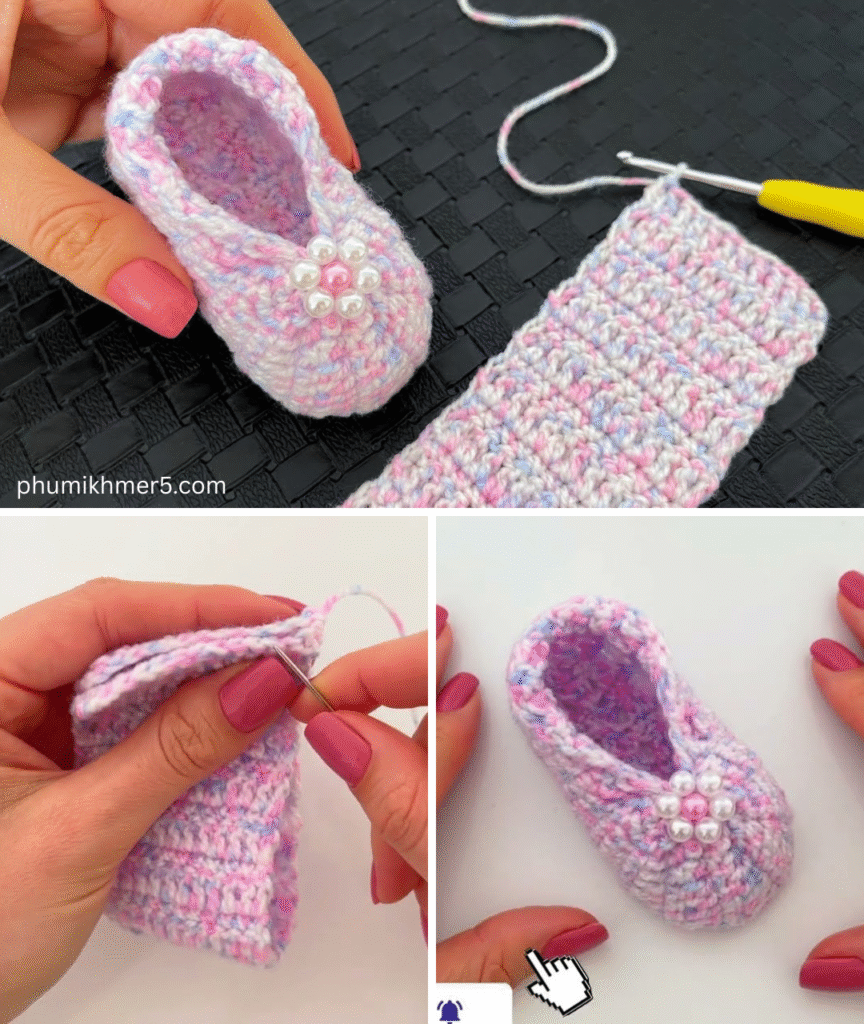
Crocheting baby shoes (also called baby booties) is one of the most rewarding projects for beginners and seasoned crocheters alike. They’re adorable, quick to make, and customizable in endless ways. This tutorial will guide you through a simple yet beautiful design that’s soft, stylish, and suitable for babies 0–6 months.

📏 Finished Size
- Approx. 3.5–4 inches long (fits newborn to 6 months)
- You can adjust the size by using thicker yarn, a larger hook, or modifying stitch counts.
🧰 Materials You’ll Need
- Yarn: Soft baby yarn or light worsted weight (Category 3 or light 4) — approx. 50–70 yards
- Crochet Hook: 3.5 mm or 4.0 mm (E or G size)
- Yarn needle: For weaving in ends
- Scissors
- Stitch marker (optional but useful)
- Buttons or bows (optional decorations)
🧵 Crochet Stitches Used
- Ch – Chain
- Sl St – Slip Stitch
- Sc – Single Crochet
- Hdc – Half Double Crochet
- Dc – Double Crochet
- Inc – Increase (2 stitches in one stitch)
👣 Step-by-Step Instructions
👟 Step 1: Sole of the Baby Shoe
- Chain 10 (foundation chain)
- Round 1:
- Sc in 2nd chain from hook and next 6 chains.
- Hdc in next ch, 5 hdc in last chain (this curves the heel).
- Now work on the opposite side of the chain:
- Hdc in next ch, sc in next 6 ch, 3 sc in last ch.
- Join with sl st to first sc. (Total ~22 stitches)
- Round 2:
- Ch 1, 2 sc in same st, sc in next 6, hdc in next, 2 hdc in next 5 sts,
- Hdc in next, sc in next 6, 2 sc in next 3 sts.
- Join with sl st. (Total ~30 stitches)
- Round 3:
- Ch 1, sc in same st, sc in next 7, hdc in next 2, [hdc inc] 5 times,
- hdc in next 2, sc in next 7, [sc inc] 3 times.
- Join. (Total ~38 stitches)
✅ Tip: Make both soles now if you’re making a pair!
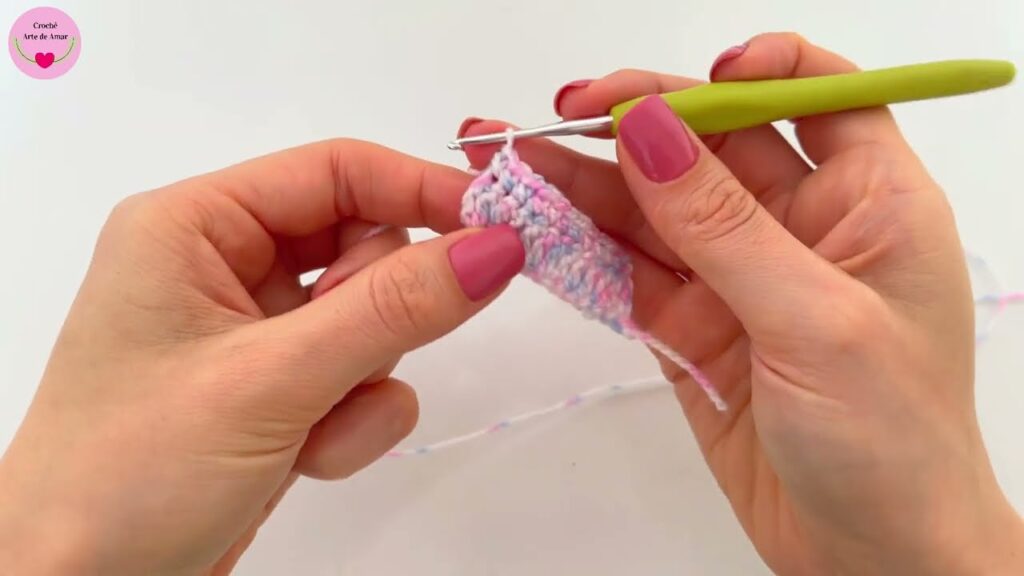
👟 Step 2: Build the Sides (Upper Shoe)
- Round 4:
- Working in back loops only, sc in each stitch around.
- Join with sl st. This creates a defined edge between the sole and upper part.
- Round 5-6:
- Sc in each stitch around. Join at the end of each round.
🧸 At this point, your shoe should start looking like a little slipper.
👟 Step 3: Shape the Toe
- Round 7:
- Sc in next 12 stitches.
- Now sc2tog (decrease) over next 7 pairs (you’ll have 7 decreases).
- Sc in remaining stitches.
- Join. (You’ve narrowed the toe area.)
- Round 8:
- Sc in next 10.
- Sc2tog over next 5 pairs (5 decreases).
- Sc in remaining stitches.
- Join.
👟 Step 4: Final Edge or Strap (Optional)
You can finish the shoe in two ways:
Option A: Simple Border
- Work a round of slip stitches or crab stitch (reverse single crochet) for a decorative edge.
Option B: Add a Strap
- After finishing the upper rounds, ch 10–12 from the side edge to create a strap.
- Attach the chain with a sl st on the opposite side.
- Work 1–2 rows over the chain to thicken the strap.
- Sew on a button (make sure it’s securely fastened and not a choking hazard).
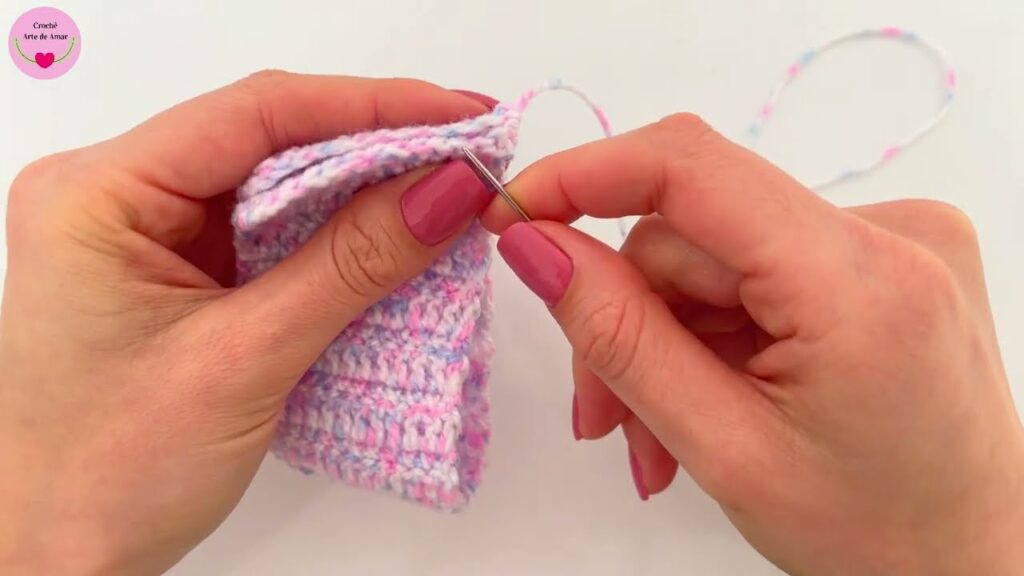
🎀 Finishing Touches
- Weave in all yarn ends using the yarn needle.
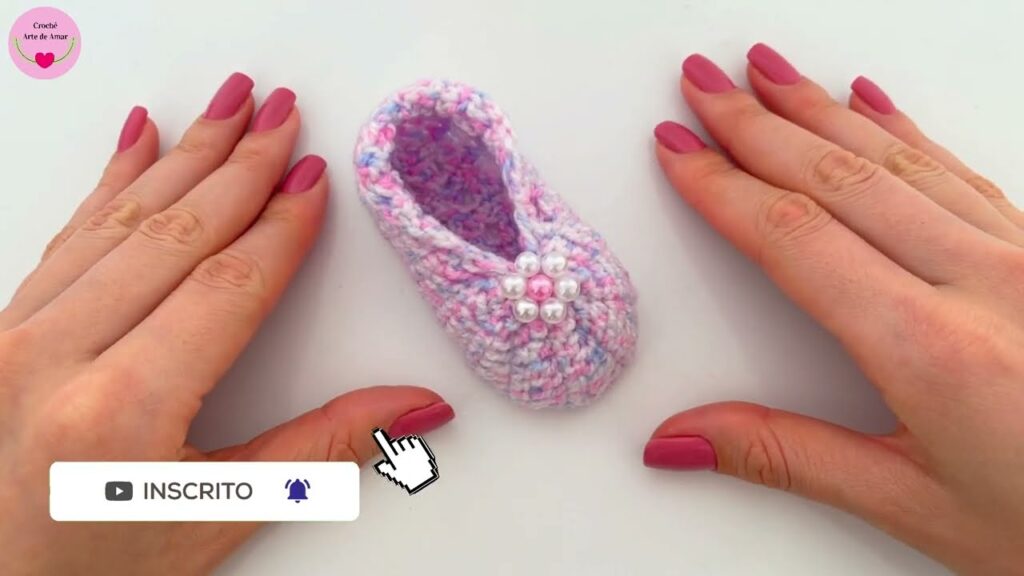
- Add embellishments: small bows, crocheted flowers, mini pompoms, or buttons.
- Block the shoe by stuffing it with tissue paper and lightly spraying with water. Let dry overnight.
💡 Tips for Success
- Use soft, baby-safe yarn to prevent irritation.
- Crochet tightly to keep the shoes from being too loose.
- Always make both shoes consecutively to ensure consistency.
- Customize colors to match outfits or themes (neutral for unisex, pinks/blues for gender-specific).
🎁 Perfect For…
- Baby showers
- Christening gifts
- Newborn photoshoots
- Handmade shop items
- Keepsakes for memory boxes
🧶 Final Thoughts
Crochet baby shoes are not only beautiful but carry sentimental value. With a few simple stitches and some creativity, you can make a thoughtful, cozy gift in under an hour. Whether you keep it minimalist or dress it up with little accessories, the result will always be heartwarming.
Video tutorial:


