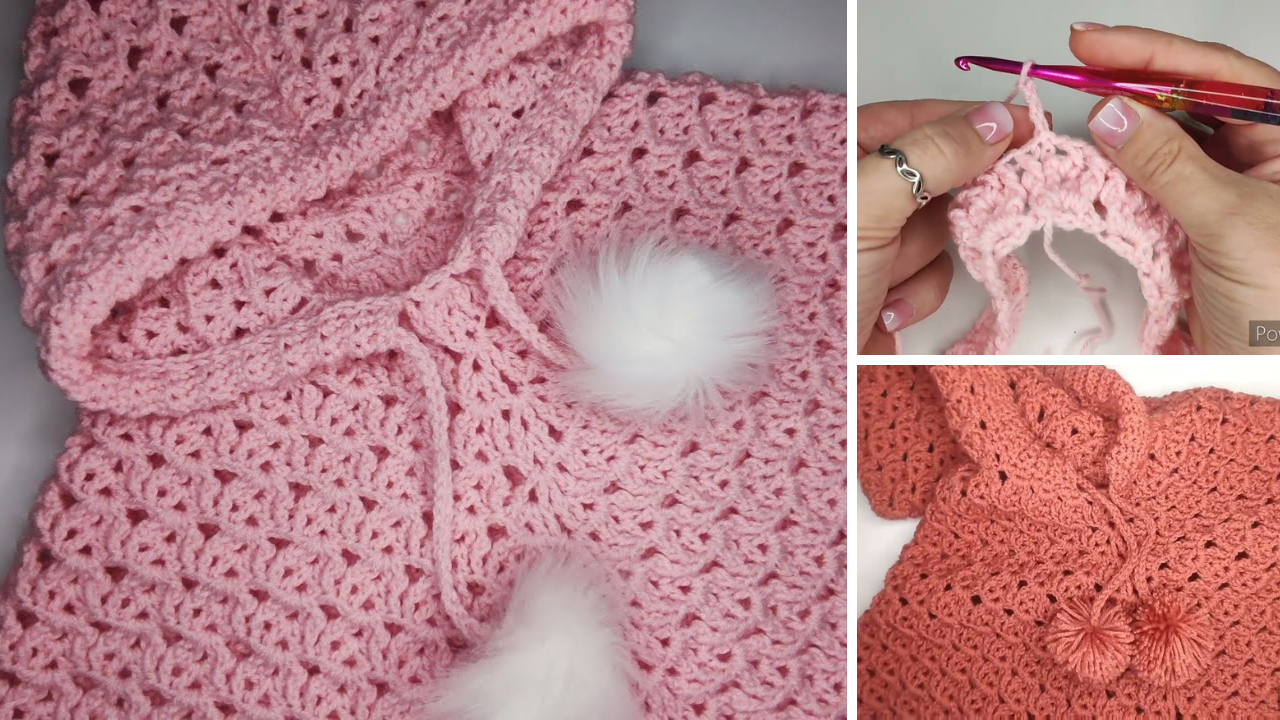
A hooded poncho is the ultimate cozy-chic accessory for little girls during the colder months. It’s easy to layer, provides warmth without restricting movement, and the hood adds an extra touch of cuteness and practicality. Crocheting one allows you to customize the colors, yarn, and fit, creating a truly special garment.
This detailed guide will walk you through crocheting a warm and adorable hooded winter poncho for girls aged 1-5 years. We’ll focus on a simple, comforting stitch pattern and a top-down construction for minimal seaming, making it a joy to create and for her to wear!
Why Crochet a Hooded Winter Poncho?
- Warmth & Comfort: Provides excellent insulation for chilly days, covering shoulders, chest, and back.
- Easy Layering: Perfect over sweaters, long-sleeved shirts, or even light jackets.
- Freedom of Movement: Unlike traditional coats, ponchos offer unrestricted arm movement, ideal for active little ones.
- Quick to Put On: No fussy zippers or buttons – just slip it over her head!
- Customizable: Choose her favorite colors, add playful details, or use a variegated yarn for a unique look.
- Relatively Simple Construction: Many ponchos are essentially large rectangles or circles, making them beginner-friendly projects.
1. Planning Your Poncho: Size & Materials
Careful planning ensures a good fit and the desired warmth.
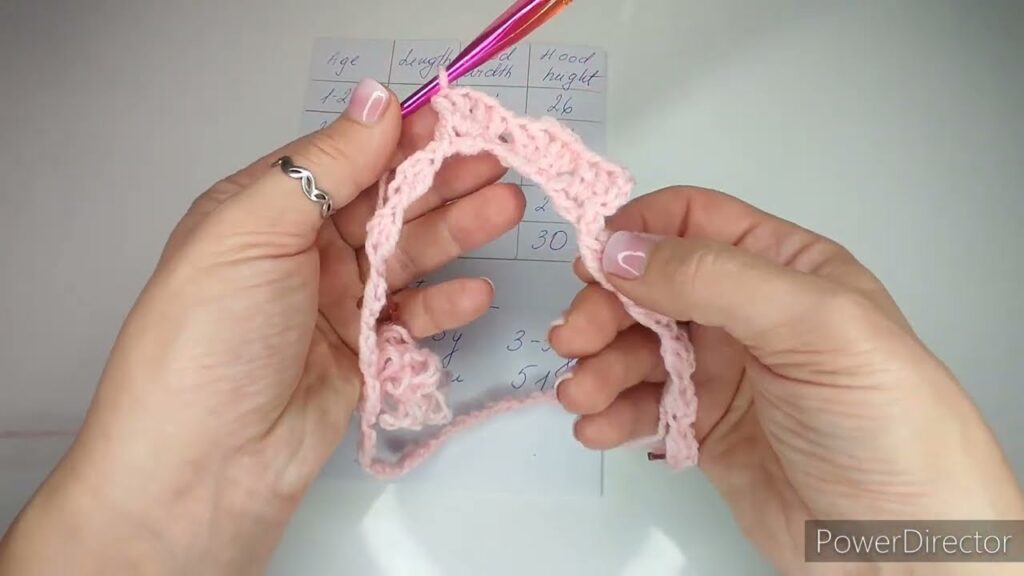
- Sizing: This pattern is designed for a range of sizes, generally fitting girls aged 1-5 years. The main variations will be in the initial chain length and the number of body rows. Ponchos are forgiving in size due to their open nature.
- Toddler (1-2 Years): Approx. 18-20 inches (46-51 cm) from shoulder to hem.
- Preschool (3-5 Years): Approx. 20-24 inches (51-61 cm) from shoulder to hem.
- Key Measurement: Focus on the desired length from the base of the neck to where you want the poncho to fall (typically around mid-thigh).
- Yarn Choice (Crucial for Winter Warmth!):
- Fiber: Opt for warm, soft, and durable yarns.
- Acrylic: Excellent choice. It’s soft, warm, durable, hypoallergenic, and most importantly, machine washable and dryable (a must for kids’ clothing!).
- Wool/Acrylic Blend: Offers the warmth and breathability of wool with the ease of care and durability of acrylic. Look for superwash varieties for easier care.
- Bulky Acrylic: For a very quick and super cozy poncho!
- Weight: Worsted Weight (#4) is a great all-around choice. For extra warmth and speed, Chunky/Bulky Weight (#5) also works beautifully. This tutorial uses Worsted Weight.
- Quantity (Worsted Weight):
- 1-2 Years: Approx. 600-800 yards (550-730 meters)
- 3-5 Years: Approx. 800-1100 yards (730-1000 meters)
- Always buy a bit extra to be safe!
- Fiber: Opt for warm, soft, and durable yarns.
- Stitch Pattern: We’ll use a variation of the double crochet (dc) stitch, perhaps with a simple textured element, to create a solid, warm fabric.
- Recommended Stitch: The Herringbone Double Crochet (HBDC) or a simple Dc in the 3rd loop (camel stitch) for the main body for extra texture, or simply standard DC for speed. This tutorial will primarily use standard DC for simplicity, with options for variation.

2. Materials You’ll Need
- Yarn: Your chosen quantity of Worsted Weight (#4) soft acrylic or wool/acrylic blend yarn.
- Crochet Hook: 5.5 mm (I-9 US). (Or the size needed to obtain your gauge for a warm but not overly stiff fabric.)
- Scissors: For cutting yarn.
- Yarn Needle (Tapestry Needle): For weaving in ends and joining the hood.
- Stitch Markers (Essential!): At least 2, for marking the increase points of the poncho.
- Measuring Tape: Crucial for checking gauge and garment dimensions.
3. Essential Crochet Stitches & Techniques (Review & Practice)
Ensure you’re comfortable with these before you begin:
- Slip Knot
- Chain (ch)
- Slip Stitch (sl st): For joining and neatening edges.
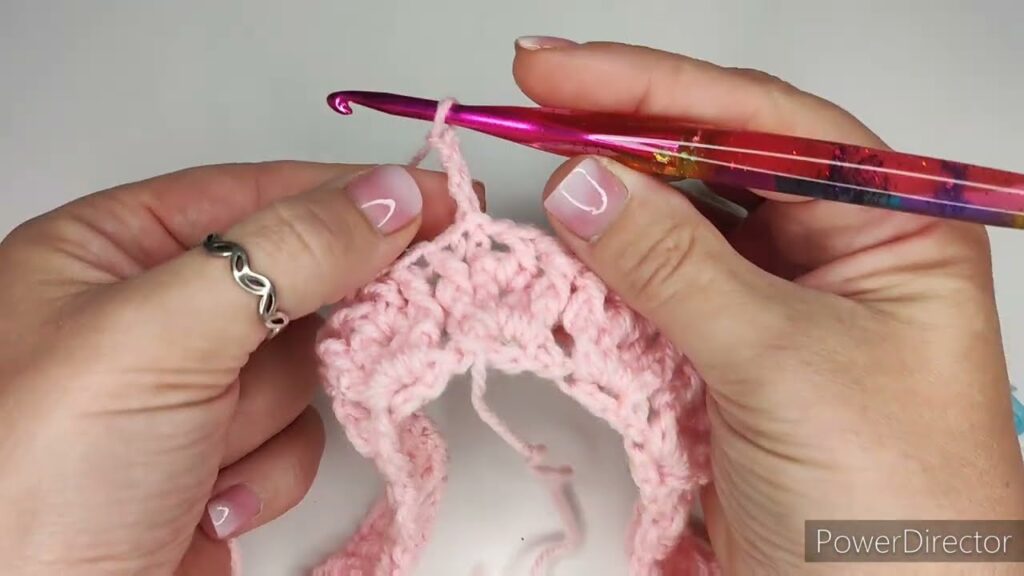
- Double Crochet (dc): Our primary stitch.
- To make a DC: YO, insert hook, YO, pull up a loop (3 loops on hook), YO, pull through 2 loops, YO, pull through last 2 loops.
- Working in Rounds: We’ll be working the poncho body in continuous rounds from the top down.
- Turning Chains: Ch 2 (does NOT count as a stitch) or Ch 3 (counts as 1st dc) – this will be specified in the pattern.
- Increases: Working more than one stitch into a single stitch to expand the fabric.
4. Gauge Swatch: Your Blueprint for the Right Fit
Gauge is critical for garments to ensure the correct size and drape. For a poncho, you want a fabric that’s warm but still drapes nicely, not too stiff.
- Make a Gauge Swatch (using dc):
- Chain 17.
- Row 1: Dc in the 4th ch from hook, and in each ch across. (15 dc)
- Row 2: Ch 3 (counts as first dc), turn. Dc in each dc across. (15 dc)
- Repeat Row 2 until your swatch measures about 4 inches (10 cm) tall.
- Measure: Lay your swatch flat. Count how many dc stitches you have in 4 inches (10 cm) horizontally, and how many rows you have in 4 inches (10 cm) vertically.
- Target Gauge: Approximately 13-14 dc stitches in 4 inches (10 cm) and 8-9 rows in 4 inches (10 cm).
- Adjust:
- If you have more stitches/rows, your tension is too tight; go up a hook size.
- If you fewer stitches/rows, your tension is too loose; go down a hook size.
- Remake your swatch until you match the target gauge as closely as possible.
5. Let’s Crochet Your Hooded Winter Poncho! (Step-by-Step)
We’ll start with the neckline, work the body downwards in rounds, and then add the hood.
Pattern Notes:
- Ch 3 at the start of a round/row generally counts as 1 DC.
- The poncho body is worked in continuous rounds, joining with a sl st at the end of each round.
Part 1: The Poncho Body (Top-Down Construction)
This is the main part of the poncho, growing from the neckline outwards.
- Foundation (Neckline): Ch 56. Join with a sl st to the first ch to form a ring. Make sure it’s not twisted.
- (Adjust this chain count for different neck sizes. Ensure it’s comfortable for the girl to slip over her head. This count works well for 1-5 years.)
- Round 1: Ch 3 (counts as 1st dc). Dc in the same ch as join.
- Dc in the next 27 chs.
- (2 dc, ch 2, 2 dc) in the next ch. Place a stitch marker in the ch-2 space. (This marks your first corner).
- Dc in the next 27 chs.
- (2 dc, ch 2, 2 dc) in the last ch. Place a stitch marker in the ch-2 space. (This marks your second corner).
- Join with a sl st to the top of the beginning Ch 3.
- [60 dc + 2 ch-2 sps] (2 dc at start, 27 dc, 4 dc + ch-2 sp, 27 dc, 4 dc + ch-2 sp).
- Round 2: Ch 3 (counts as 1st dc). Dc in the next dc.
- Dc in each dc until you reach the first marked ch-2 space.
- (2 dc, ch 2, 2 dc) into the marked ch-2 space. Move marker to new ch-2 space.
- Dc in each dc until you reach the second marked ch-2 space.
- (2 dc, ch 2, 2 dc) into the marked ch-2 space. Move marker to new ch-2 space.
- Dc in each remaining dc until you reach the beginning of the round (the top of the initial Ch 3).
- Join with a sl st to the top of the beginning Ch 3.
- [Increases by 8 dc in this round]
- Repeat Round 2: Continue repeating Round 2 until your poncho reaches the desired length from the neckline to the hem.
- For a 1-2 year old, this might be 15-20 rounds total.
- For a 3-5 year old, this might be 20-25 rounds total.
- Regularly try the poncho on (or on a similar-sized garment/doll) to check the length.
- Final Round (Optional Edging): Ch 1 (does NOT count as a st). Sc in each dc around, and (sc, ch 1, sc) into each ch-2 corner space. Join with a sl st to the first sc.
- Fasten Off, leaving a tail for weaving.
Part 2: The Hood
The hood is worked flat in rows and then sewn to the poncho’s neckline.
- Hood Start: Rejoin yarn with a sl st to any stitch on the back center of the poncho’s neckline (where you began Round 1).
- Alternatively, if your neckline chain had 56 sts, rejoin at st #14 or #15 to center the hood.
- Row 1: Ch 3 (counts as 1st dc). Dc in each of the next 27 dc around the neckline. (This covers half of the neckline stitches).
- Adjust this number based on your initial neckline chain. You want to cover roughly half of the neckline circumference. For a 56-chain neckline, use 28 stitches for the hood base.
- [28 dc]
- Row 2: Ch 3 (counts as 1st dc), turn. Dc in each dc across.
- [28 dc]
- Repeat Row 2: Continue repeating Row 2 until your hood piece is deep enough to comfortably cover the head, typically 12-15 rows.
- You can hold it up to the poncho and estimate, or measure it against a child’s head.
- Fasten Off, leaving a very long tail (at least 24-30 inches / 60-75 cm) for seaming.
6. Assembly & Finishing Touches
Bringing your poncho to life!
- Seam the Hood:
- Fold the hood piece in half lengthwise, bringing the last row you crocheted together.
- Using your long tail and yarn needle, seam the top edge of the hood together. You can use a whip stitch, mattress stitch, or slip stitch for joining. This forms the top curve of the hood.
- Weave in the remaining tail securely.
- Attach the Hood to the Poncho:
- Position the seamed hood correctly on the poncho’s neckline. The seam of the hood should align with the center back of the poncho’s neckline.
- Pin the hood to the neckline evenly around.
- Using your yarn needle and a new strand of yarn (or the tail from the first body round), securely sew the hood to the poncho’s neckline. Go through each stitch of the hood edge and the corresponding stitch on the poncho’s neckline for a strong, neat join.
- Weave in all tails securely.
- Add a Drawstring/Ties (Optional):
- For the hood, you can crochet a long chain (approx. 40-50 inches / 100-127 cm) or use a decorative ribbon.
- Weave it through the stitches around the face opening of the hood, 1-2 rows in from the edge. Tie a knot at each end of the chain/ribbon to prevent fraying. This allows the hood to be cinched tighter.
- Add Fringe (Optional):
- For a classic poncho look, cut multiple strands of yarn (double the desired fringe length) and attach them evenly along the bottom edge of the poncho. Loop them through the stitches with your hook and pull the ends through the loop to create fringe.
- Blocking (Recommended):
- Blocking helps even out your stitches, sets the shape, and improves the drape of the poncho.
- Steam Blocking (for acrylic): Lay the poncho flat. Hover a steam iron (do not touch the iron to the yarn!) over the fabric, allowing the steam to relax the fibers. Gently pat and shape with your hands. Let cool and dry completely.
- Wet Blocking (for wool blends): Gently submerge the poncho in cool water with a little mild soap. Squeeze out excess water without twisting. Lay it flat on a clean towel or blocking mats. Gently shape it to the desired dimensions. Let it air dry completely.

7. Care for Your Crocheted Poncho
Always refer to your yarn label for specific care instructions. For most acrylic or wool blend yarns:
- Machine Washable: Usually machine wash on a gentle cycle in cool water.
- Drying: Tumble dry on low heat or, ideally, lay flat to air dry to maintain shape and prevent stretching.
- Avoid Bleach: Do not use bleach unless specifically instructed by the yarn label.
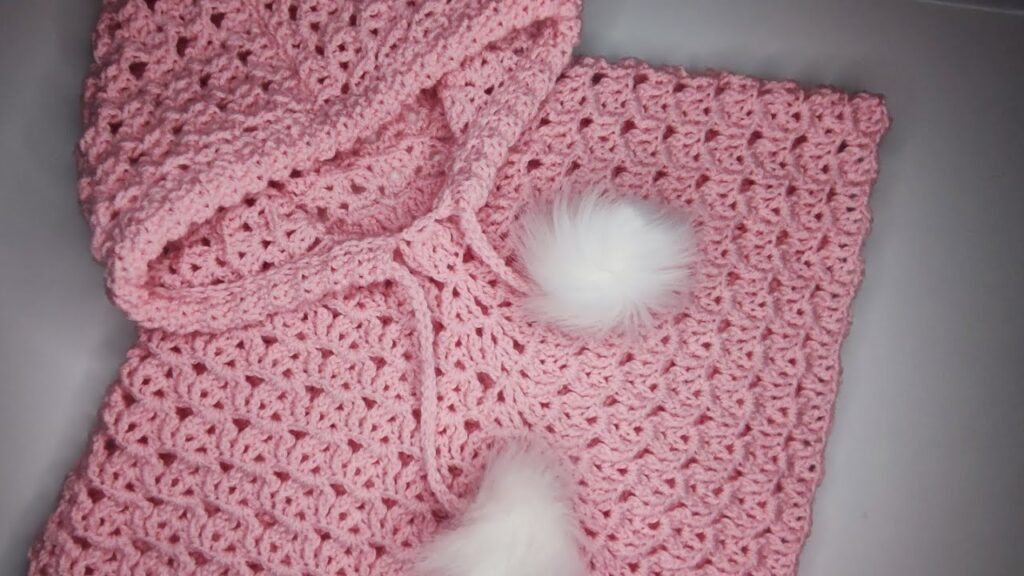
Congratulations! You’ve just crocheted a wonderfully cozy and charming hooded winter poncho for a little girl. This handmade garment is sure to be a favorite for keeping warm and looking adorable throughout the colder months. Enjoy seeing it on her!
Video tutorial:


