
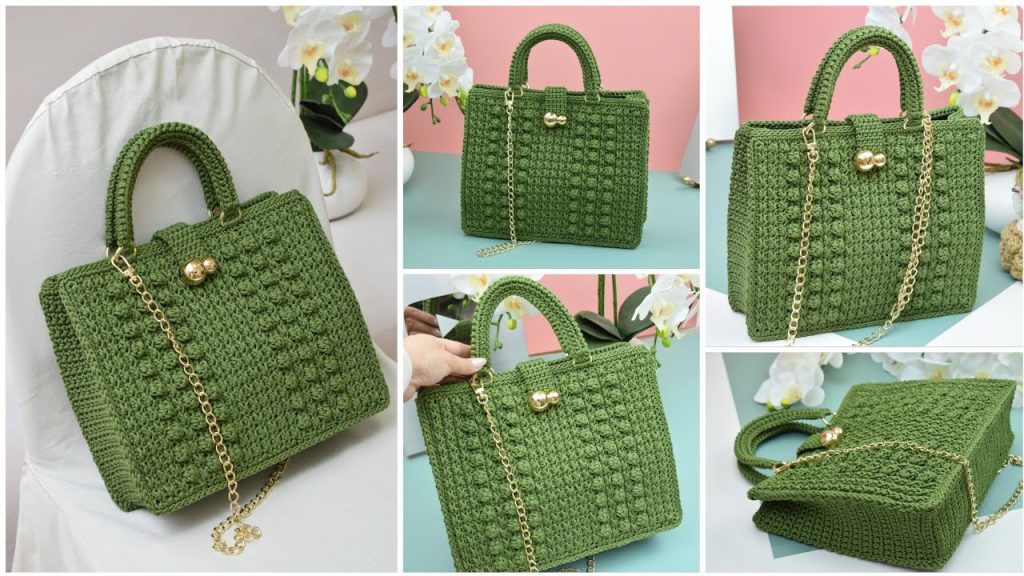
In recent years, crocheted bags made from sturdy cords have become a major trend in handmade fashion. These bags are not only visually appealing and highly durable, but they also lend themselves beautifully to creative textures and patterns. One such texture, gaining popularity for its chic, modern aesthetic, is the bump pattern—a raised, tactile surface that resembles small bubbles or rounded motifs across the body of the bag.
Whether you’re an intermediate crocheter looking to expand your skills or a confident beginner ready for a textured challenge, learning to crochet a cord bag with a bump pattern is a rewarding project. This guide walks you through everything you need to know: materials, stitches, techniques, and the step-by-step construction of a beautiful, functional crochet bag.
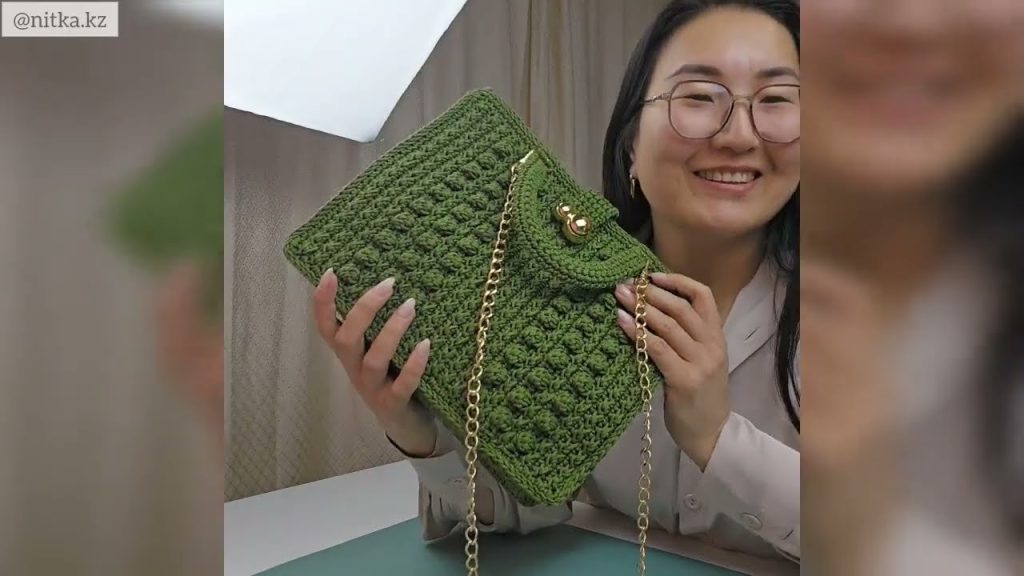
🧵 What Is a Bump Pattern in Crochet?
The bump pattern (also known as a bobble, popcorn, or puff stitch pattern, depending on technique) creates a 3D effect on the fabric’s surface. This texture is created by grouping stitches together and “bunching” them into a single point, causing the fabric to protrude slightly.
When used consistently across a project, the bump pattern gives a plush, modern look—perfect for handbags, clutches, or even backpacks.
📦 Materials You’ll Need
| Item | Description |
|---|---|
| Cord | 3–5 mm polyester or cotton cord (approx. 200–300 m) |
| Crochet hook | Size 5–6 mm (adjust to match cord thickness) |
| Stitch markers | Helpful for keeping track of rounds or pattern repeats |
| Scissors | A sharp pair for clean cutting |
| Yarn needle | For weaving in ends and finishing |
| Bag handles | Crocheted straps, leather handles, or chain straps |
| Lining fabric | Optional, for interior strength and organization |
| Magnetic clasp or zipper | Optional, for bag closure |
🪢 Choosing Between Polyester and Cotton Cord
Polyester Cord:
- Glossy finish, durable, and water-resistant
- Ideal for a sleek, contemporary look
- Doesn’t stretch much, holds shape well
Cotton Cord:
- Matte, soft texture; more natural aesthetic
- Slight stretch, great for earthy and boho styles
- Easy to work with but may sag over time
✅ Pro Tip: Choose a solid, tightly braided cord for clean stitch definition and strong structure.
🧶 Crochet Stitches & Techniques Used
Here are the main stitches and techniques you’ll use in the bump pattern:
- ch: chain
- sc: single crochet
- dc: double crochet
- bobble stitch: a group of 5–6 dc worked into the same stitch, then closed together
- sl st: slip stitch
- inc: increase (2 sc in one stitch)
- dec: decrease (sc two stitches together)
🎨 Designing Your Bump Pattern Bag
Before starting, decide on:
👜 Bag Style
- Tote: Open-top, structured shape
- Bucket: Round base, drawstring or zip closure
- Mini shoulder bag: Trendy and compact
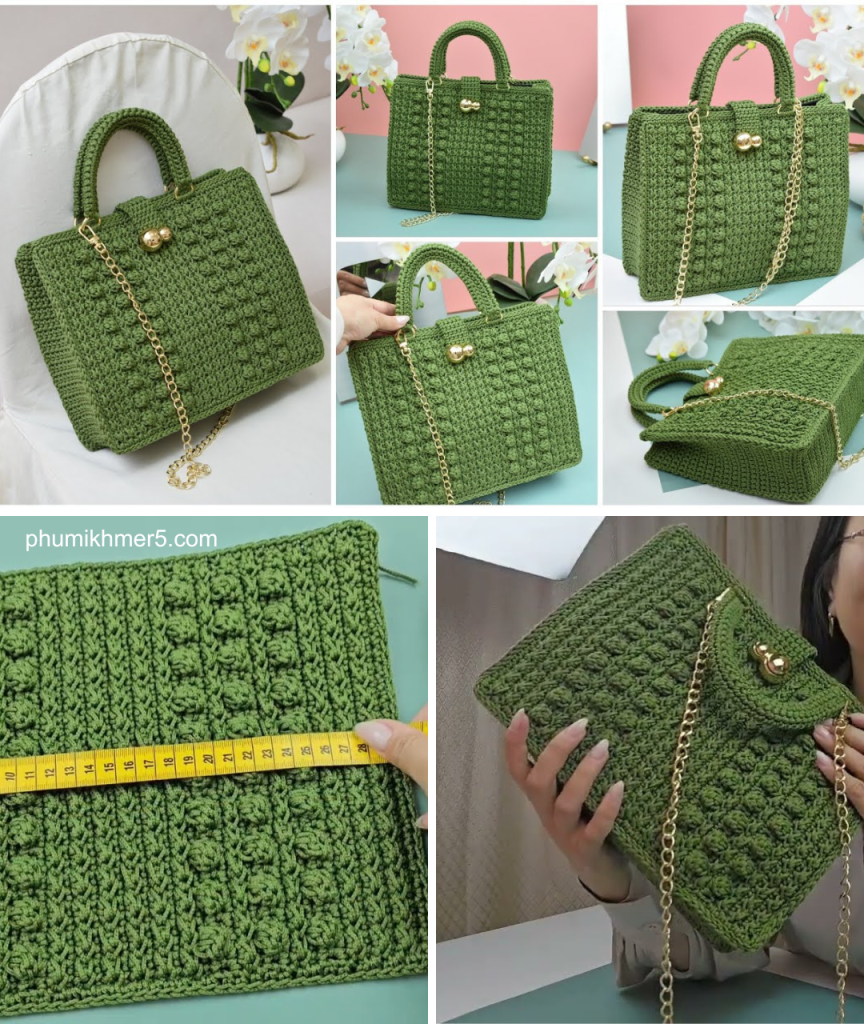
📏 Approximate Bag Dimensions
- Width: 25–30 cm
- Height: 20–25 cm
- Depth: 8–12 cm (optional, depending on style)
🎨 Color Palette
Choose a single solid color to showcase the bump texture or go two-tone (bump in a contrasting color) for a more eye-catching effect.
🛠️ Step-by-Step Instructions
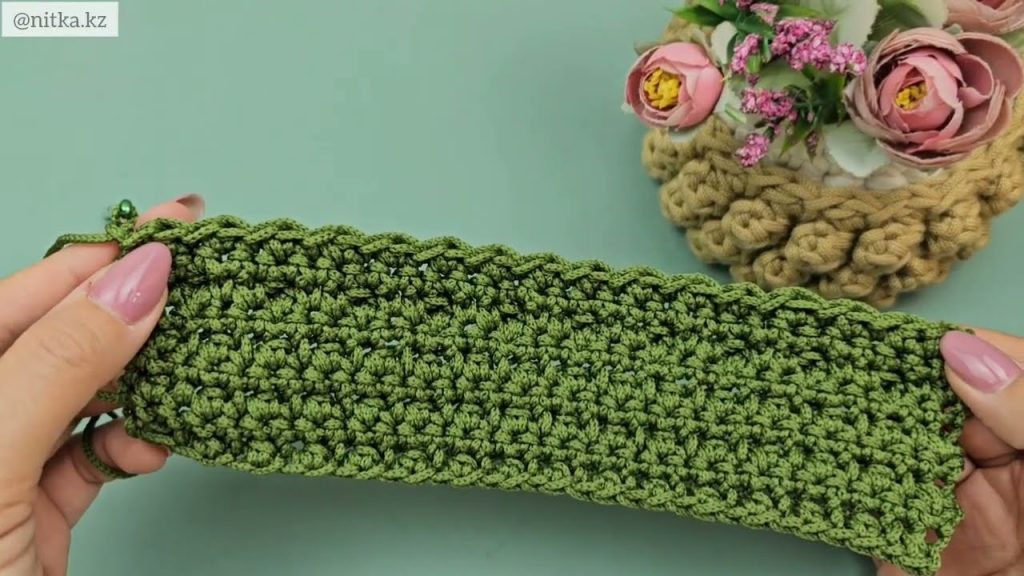
🧱 Part 1: Base of the Bag
Let’s create a rectangular base using tight single crochet:
- Foundation Chain:
- Ch 25 (or adjust to your desired width)
- Row 1:
- Sc in second ch from hook and in each st across (24 sts)
- Rows 2–8:
- Ch 1, turn, sc in each st across.
- Adjust row count for depth.
- Work Around the Base:
- Ch 1, rotate to work sc evenly around the entire rectangle.
- Place 3 sc in each corner for smooth turns.
- Join with sl st to the first sc.
🧜♀️ Part 2: Building the Body with Bump Pattern
This is where the bobble stitch is introduced.
🔁 Bobble Stitch (5-dc version)
- Yarn over, insert hook into stitch, pull up a loop, yarn over, pull through 2 loops. Repeat 5 times in the same stitch (you’ll have 6 loops on your hook).
- Yarn over, pull through all loops. Ch 1 to close the bobble.
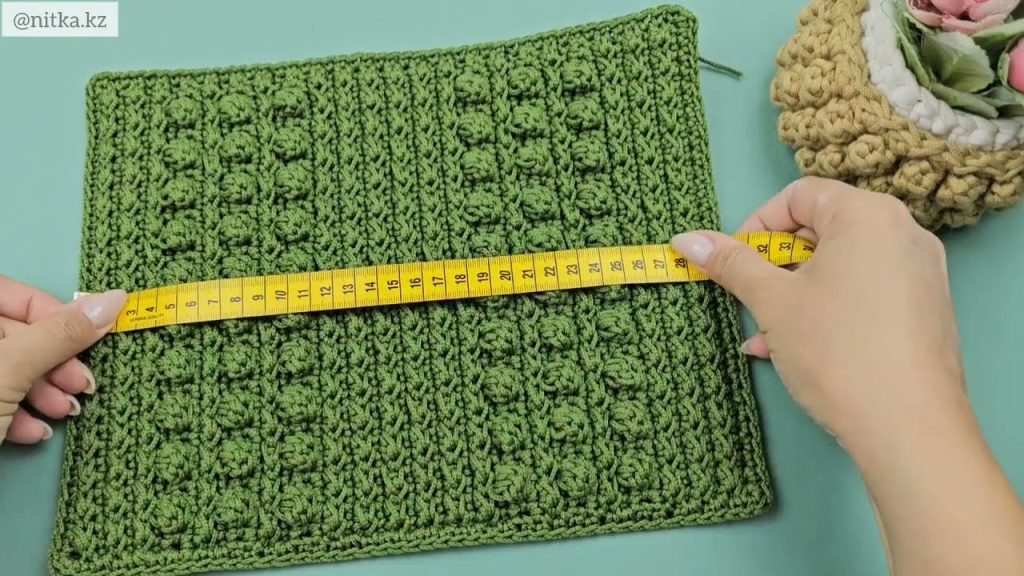
🧶 Body Pattern (in rounds)
- Round 1:
- Sc in each stitch around. Join with sl st. This round sets the base.
- Round 2 (Bobble Row):
- Sc in next 2 sts, bobble in next st, repeat around.
- Sl st to join.
- Round 3:
- Sc in each st around (this is the “relief row” between bumps).
- Round 4:
- Sc in next st, bobble, sc in next 2, repeat around (this staggers the bumps).
- Continue alternating bobble rows and sc rows until the bag reaches desired height.
➡️ For a 20 cm tall bag, you’ll work approx. 12–15 total rounds, alternating bobble and sc.
🔚 Part 3: Finishing the Top Edge
- Top Border:
- Work 2–3 rounds of tight single crochet for a firm top.
- Optionally, use reverse single crochet (crab stitch) for a decorative finish.
- Handles:
- Ch 60–80 for shoulder straps; work 2–3 rows of sc for durability.
- Attach evenly spaced at the top edges using strong whip stitches or stitch markers.
- Or sew on leather handles with grommets.
🧵 Part 4: Lining & Closure (Optional)
To Line the Bag:
- Cut a piece of fabric to match the inside dimensions.
- Sew into a pouch shape.
- Hand-sew or machine-sew into the inside of the bag using strong polyester thread.
Closure Options:
- Magnetic snap: Sew or rivet to lining and top edge.
- Zipper: Sew between the bag and lining top edges.
- Drawstring: Add eyelets and a matching crocheted cord.
🧺 Care Instructions
| Material | Cleaning Method |
|---|---|
| Polyester | Spot clean or wipe with damp cloth |
| Cotton | Hand wash gently in cold water, lay flat to dry |
- Avoid wringing or tumble drying.
- Store flat or hanging to prevent warping.
🌟 Creative Variations
- Use variegated cord for a watercolor-like effect.
- Place bumps in a geometric pattern (e.g., stripes or checkerboard).
- Combine bump pattern with flat stitch sections for contrast.
🧶 Final Thoughts
Crocheting a cord bag with a bump pattern is more than a craft project—it’s a satisfying journey of texture, structure, and creativity. The raised, rhythmic texture gives even the simplest silhouette a designer look, and the use of cord provides strength and sophistication. Whether you’re gifting it or keeping it for yourself, this bag is sure to become a favorite piece in any wardrobe.
Video tutorial:


