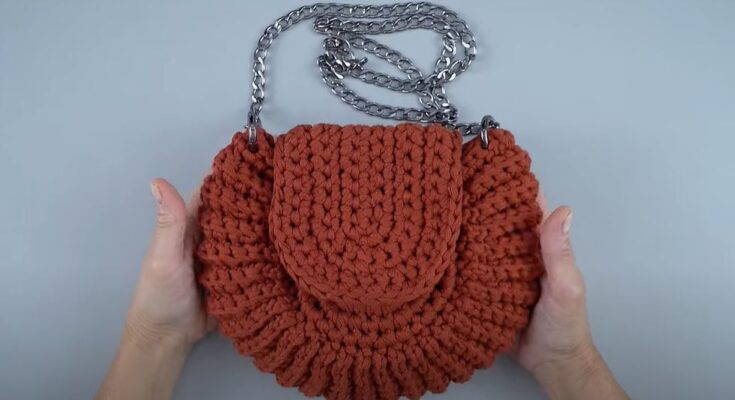
Crocheting your own bag is a fantastic project for beginners! It allows you to practice fundamental stitches, create something useful and stylish, and experience the joy of making a tangible item with your own hands. This tutorial will guide you through creating a simple, rectangular bag – perfect for your first foray into crochet accessories.
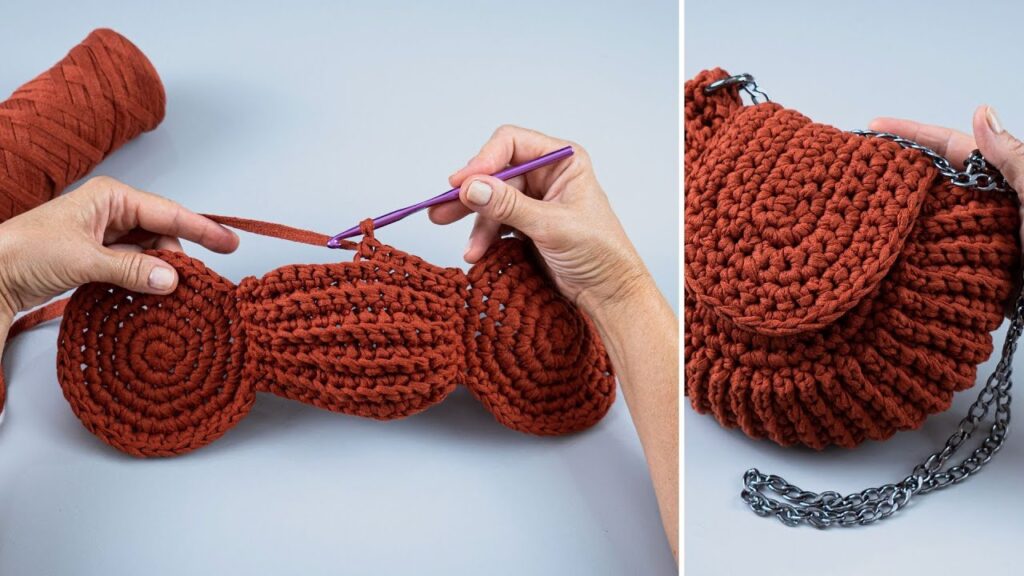
1. Understanding Your Project: What Will We Make?
For this beginner-friendly tutorial, we’ll create a simple rectangular tote bag. This design is forgiving, uses basic stitches, and is incredibly versatile. You can easily adjust its size to make a small clutch, a medium shoulder bag, or even a market tote.
Key Features of Our Beginner Bag:
- Shape: Rectangular
- Stitches: Primarily single crochet (SC) and slip stitch (SL ST)
- Construction: Worked in rows to create two panels, then joined.
- Handles: Simple crocheted straps.
- No Lining (for simplicity): While lining adds durability, we’ll omit it for your first project to keep it easy.
2. Materials You’ll Need
Gathering your supplies before you start will make your crocheting experience much smoother.
- Yarn:
- Fiber: For your first bag, consider cotton yarn (especially mercerized cotton) or a cotton blend. Cotton is durable, has good stitch definition, and is easy to work with. Acrylic yarn can also work, but may be stretchier. Avoid very fuzzy or textured yarns for your first project as they can hide stitches.
- Weight: Worsted weight (also known as Aran or 4-ply) is ideal for bags as it creates a sturdy fabric. You’ll likely need 250-400 yards (230-365 meters) depending on the size of your bag. It’s always best to buy a bit extra!
- Color: Choose a color you love! Lighter colors can make it easier to see your stitches as a beginner.
- Crochet Hook:
- Size: The yarn label will recommend a hook size. For worsted weight yarn, a 5.0 mm (H-8 US) or 5.5 mm (I-9 US) hook is commonly used. Choose one that feels comfortable in your hand.
- Scissors: For cutting yarn.
- Yarn Needle (or Tapestry Needle): A large needle with a blunt tip, essential for weaving in ends and seaming your bag.
- Stitch Markers (Optional but Recommended): Small plastic clips or safety pins that help mark specific stitches or the beginning/end of rows. Very helpful for beginners!
- Measuring Tape: For checking your dimensions.
3. Essential Crochet Basics for Your Bag
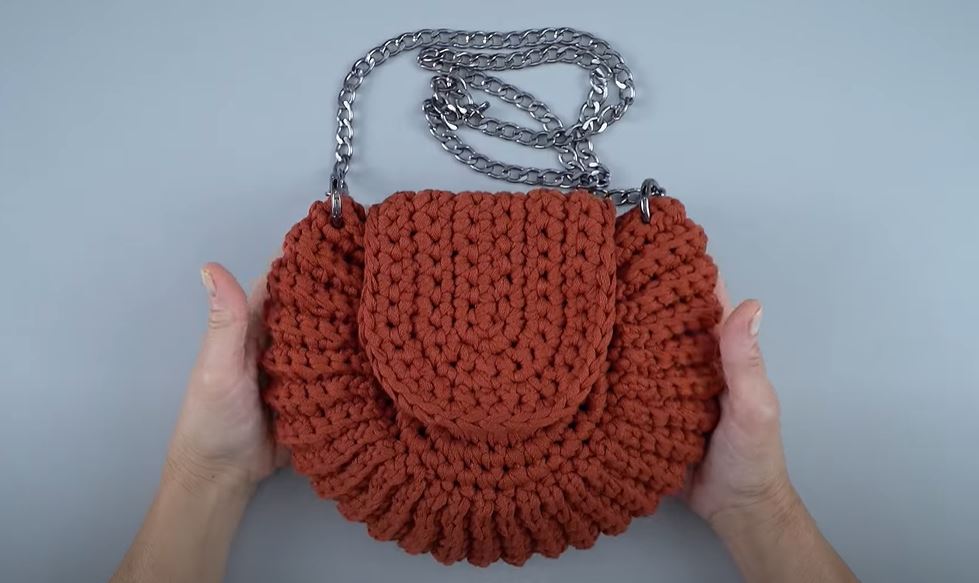
Before we start the bag, let’s briefly review the basic stitches you’ll use. If you’re completely new, practice these until you feel comfortable.
- Slip Knot: The first step to start your crochet chain.
- Chain (CH): The foundation of most crochet projects. You’ll make a series of loops.
- Single Crochet (SC): The tightest and most common basic stitch. Creates a dense fabric, perfect for a sturdy bag.
- To make a SC: Insert hook into stitch, yarn over (YO), pull up a loop (2 loops on hook), YO, pull through both loops on hook.
- Slip Stitch (SL ST): Used for joining pieces, moving across stitches without adding height, or creating a neat edge.
- To make a SL ST: Insert hook into stitch, YO, pull through the stitch and the loop on your hook (1 loop on hook).
- Turning Chain (CH 1 for SC): At the end of a row of SC, you’ll chain 1 before turning your work to prepare for the next row. This chain does not count as a stitch.
- Yarn Over (YO): Wrapping the yarn from back to front over your crochet hook.
4. Gauge Swatch: Your Secret to Success (Don’t Skip This!)
A gauge swatch is a small sample of your crocheting. It tells you how many stitches and rows you make in a certain measurement. This ensures your bag turns out the correct size.
- Chain 15.
- Row 1: SC in the 2nd chain from the hook, and in each chain across. (14 SC)
- Row 2: CH 1, turn. SC in each stitch across. (14 SC)
- Repeat Row 2 until your swatch measures about 4 inches (10 cm) tall.
- Measure: Lay your swatch flat. Using a ruler, count how many single crochet stitches you have in 4 inches (10 cm) horizontally, and how many rows you have in 4 inches (10 cm) vertically.
- Adjust:
- If you have more stitches/rows per 4 inches than you want for your desired bag density, your crocheting is too tight. Go up a hook size.
- If you have fewer stitches/rows per 4 inches, your crocheting is too loose. Go down a hook size.
- Repeat until your swatch matches your desired density. For a bag, a firm, dense fabric is usually preferred.
5. Let’s Crochet the Bag Panels!
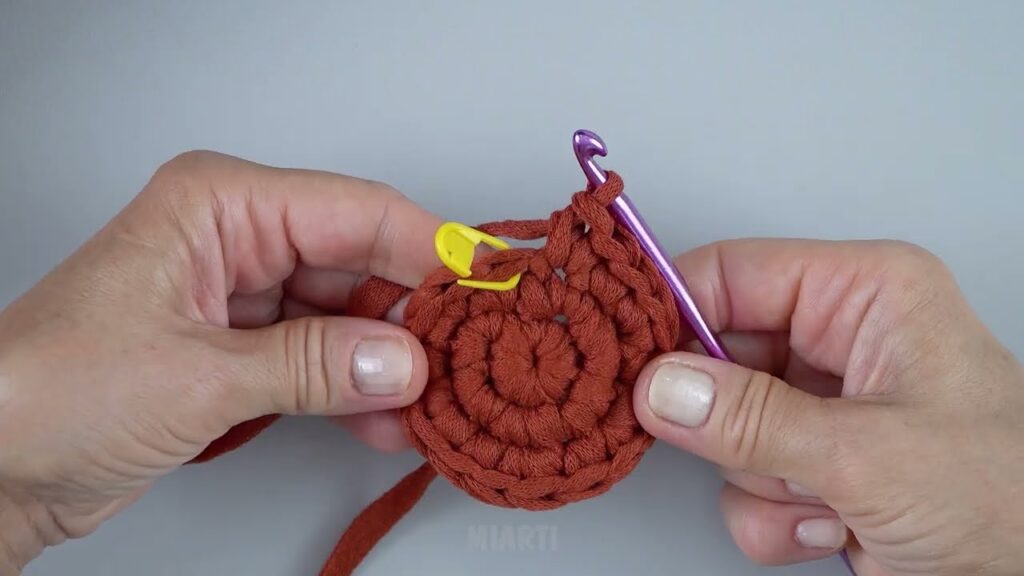
We’ll make two identical rectangular panels that will form the front and back of your bag.
Calculating Your Starting Chain:
- Decide on your desired bag width. Let’s aim for approximately 10 inches (25 cm) for a medium bag.
- Look at your gauge swatch: How many SC stitches do you have in 4 inches (10 cm)?
- Formula: (Desired Width in inches / Stitches per 4 inches) x 4 = Number of stitches for your starting chain. Add 1 extra chain for the turning chain.
- Example: If your gauge is 12 SC in 4 inches, and you want a 10-inch wide bag:
- (10 / 4) x 12 = 30 stitches.
- So, you’ll start with a chain of 30 + 1 = 31 chains.
- Example: If your gauge is 12 SC in 4 inches, and you want a 10-inch wide bag:
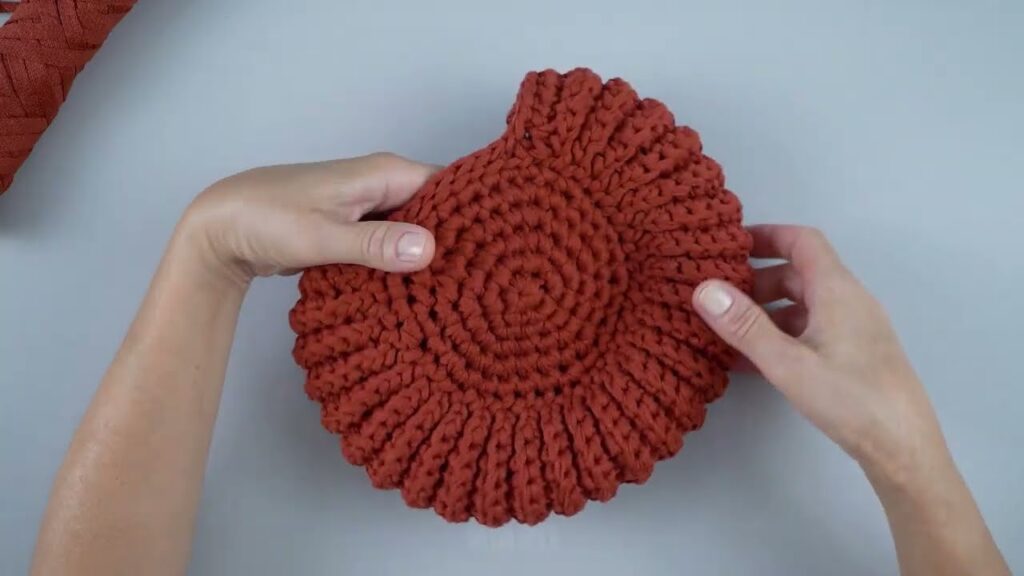
Panel 1 (Make Two Identical Pieces):
- Starting Chain: Make a slip knot and chain the calculated number of chains (e.g., CH 31 for a 10-inch wide bag). Make sure your chain isn’t too tight!
- Row 1: Insert your hook into the 2nd chain from the hook (the loop on your hook doesn’t count). Make a single crochet (SC). Continue making 1 SC in each chain across your starting chain.
- Count your stitches! You should have one less SC than your starting chain (e.g., 30 SC if you started with CH 31).
- Row 2: CH 1 (this is your turning chain, it does NOT count as a stitch), then turn your work. Make 1 SC in the very first SC stitch from the previous row. Continue making 1 SC in each SC stitch across the row.
- Always make sure you go into the last stitch of the previous row. It can sometimes be tricky to find.
- Repeat Row 2: Continue repeating Row 2 until your panel reaches your desired bag height.
- For a medium shoulder bag, aim for about 12-14 inches (30-35 cm) in height.
- Keep counting your rows to ensure consistency.
- Finishing Panel 1: Once you reach your desired height, cut the yarn, leaving a tail about 6-8 inches (15-20 cm) long. Yarn over and pull the tail completely through the loop on your hook to fasten off.
- Create Panel 2: Repeat steps 1-5 to make a second identical panel.
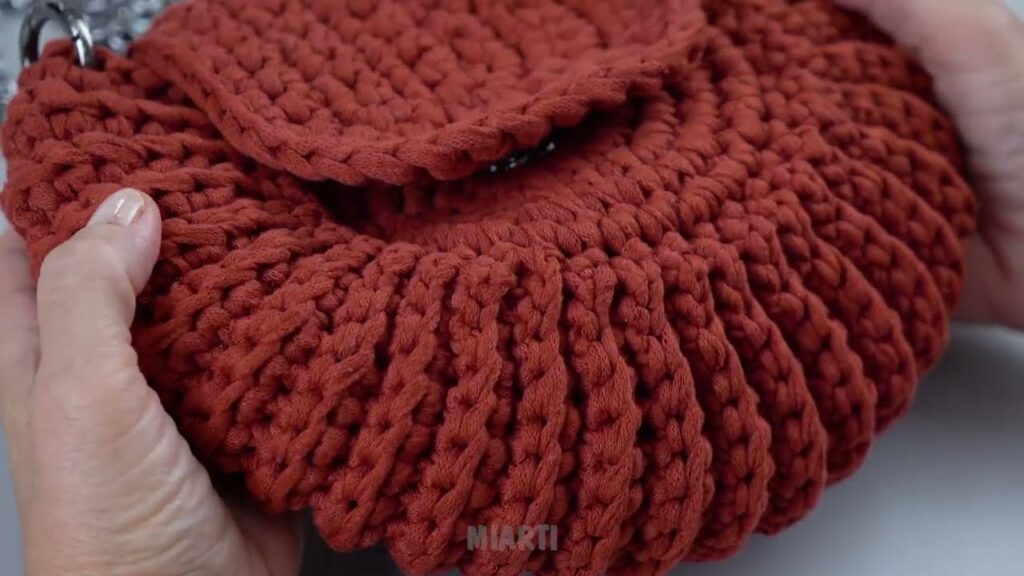
6. Crocheting the Straps
You can make two separate straps and attach them, or make one long strap. For a simple tote, two separate straps are easier.
For Two Straps (Make Two Identical Pieces):
- Determine Strap Width: For a comfortable strap, 4-6 SC stitches wide is usually good.
- Starting Chain: CH 5-7 (e.g., CH 7 for a 6 SC wide strap).
- Row 1: SC in the 2nd chain from the hook, and in each chain across. (e.g., 6 SC)
- Row 2: CH 1, turn. SC in each stitch across. (e.g., 6 SC)
- Repeat Row 2: Continue repeating Row 2 until your strap reaches your desired length.
- For shoulder straps, 20-24 inches (50-60 cm) is a common length. For a cross-body strap, you’ll need 40-48 inches (100-120 cm) or more.
- Finishing Straps: Cut yarn, leaving a long tail (at least 12 inches/30 cm) for sewing the strap to the bag. Fasten off.

7. Assembly: Bringing Your Bag Together!
Now it’s time to join your crocheted pieces into a functional bag.
- Weave in Ends (Except Seaming Tails): Use your yarn needle to weave in all the short loose ends on your two panels. Try to weave them invisibly into the fabric. Leave the long tails from your straps and the fastening-off tails from your panels as we’ll use those for seaming.
- Join the Panels (Sides & Bottom):
- Place your two bag panels on top of each other, aligning all the edges. You can use stitch markers to hold them in place if needed.
- Decide which side you want to be the “right side” (often the side with neater V-stitches from the SC rows). You’ll be joining from the “wrong side” so the seam is less visible.
- Insert your hook into the bottom corner stitch of both panels.
- Method 1 (Slip Stitch Seam – Easy and Strong):
- Join new yarn with a slip knot, pull through both loops in the corner.
- CH 1 (does not count as a stitch).
- Working through both panels, make a slip stitch (SL ST) into each stitch along the bottom edge.
- When you reach the corner, make a SL ST in that corner stitch, then rotate your work.
- Continue making SL STs up the side edge, working through the “end of row” stitches on both panels. Try to go through two loops on each panel to make a sturdy seam.
- Repeat for the second side. Fasten off when you reach the top.
- Method 2 (Single Crochet Seam): This creates a more prominent, ridged seam.
- Follow the above steps, but instead of SL ST, use SC for joining. This adds a bit more structure.
- Method 3 (Yarn Needle Seam – Invisible): Use a long tail of yarn and your yarn needle. With panels side by side or wrong sides together, use a mattress stitch or whip stitch to sew the bottom and side seams. The mattress stitch creates a nearly invisible seam.
- Attach the Straps:
- Position your straps on the inside top edge of your bag. For a shoulder bag, place them about 2-3 inches (5-7.5 cm) in from each side seam, centered on the top edge.
- Using the long tail from the strap and your yarn needle, securely sew the strap to the bag. Go through multiple stitches on both the strap and the bag for durability.
- Repeat for the other end of the strap, and for the second strap.
- Weave in Remaining Ends: Use your yarn needle to neatly weave in any remaining loose yarn tails from joining the panels and attaching the straps. Ensure they are secure and won’t unravel.
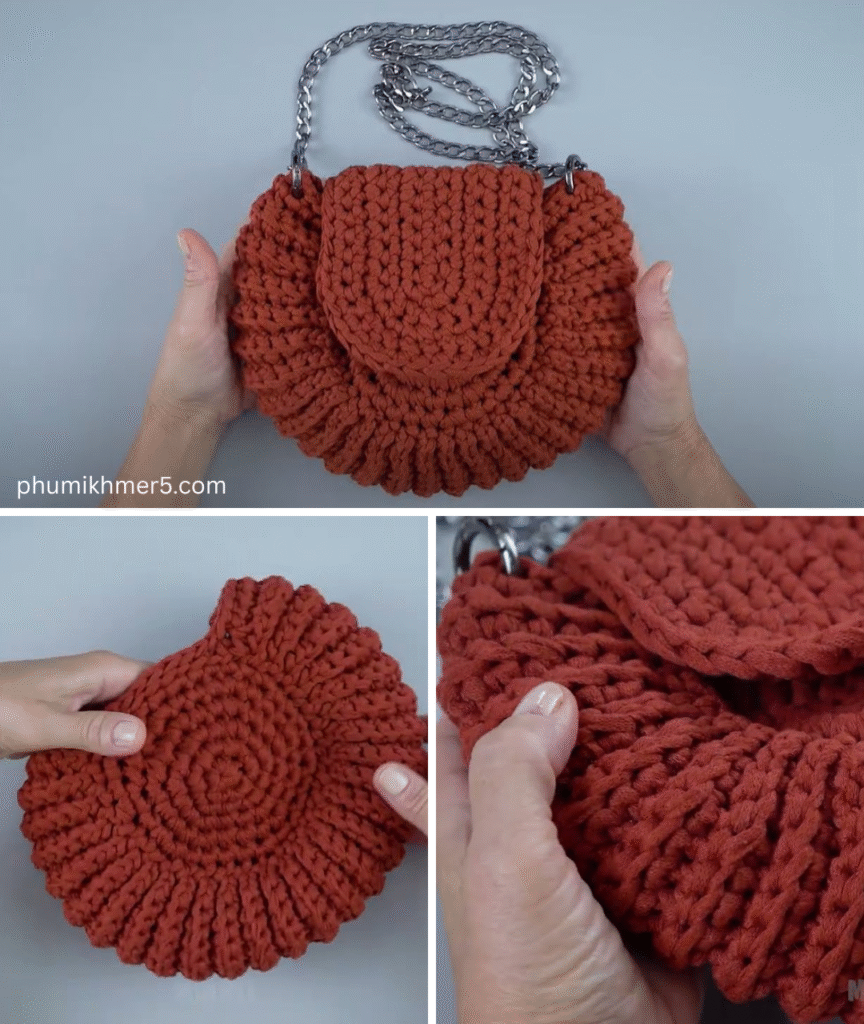
8. Finishing Touches & Care
- Tidy Up: Double-check all your seams and attachments. Trim any excess yarn tails.
- Blocking (Optional but Recommended): Gently wet your finished bag (or spritz it with water). Lay it flat on a towel, shaping it to your desired dimensions. Let it air dry completely. This helps to even out your stitches and gives your bag a more professional, polished look.
- Care: Refer to your yarn label for specific care instructions. Most cotton bags can be hand-washed in cool water with a mild detergent, gently squeezed, and laid flat to dry. Avoid machine washing or drying unless the yarn label specifically says it’s safe, as it can distort the bag’s shape.
Congratulations! You’ve just crocheted your very own bag! This simple design is a fantastic foundation. As you gain confidence, you can experiment with different stitches, shaping techniques, closures, and even adding a fabric lining for extra durability and a professional finish. Enjoy your new handmade accessory!
Video tutorial:
