This tutorial provides a comprehensive, step-by-step guide for crocheting a baby romper, specifically designed with beginners in mind. It aims to demystify what can seem like a more complex garment project by breaking it down into manageable parts.
Key Aspects Covered:
- Project Overview:
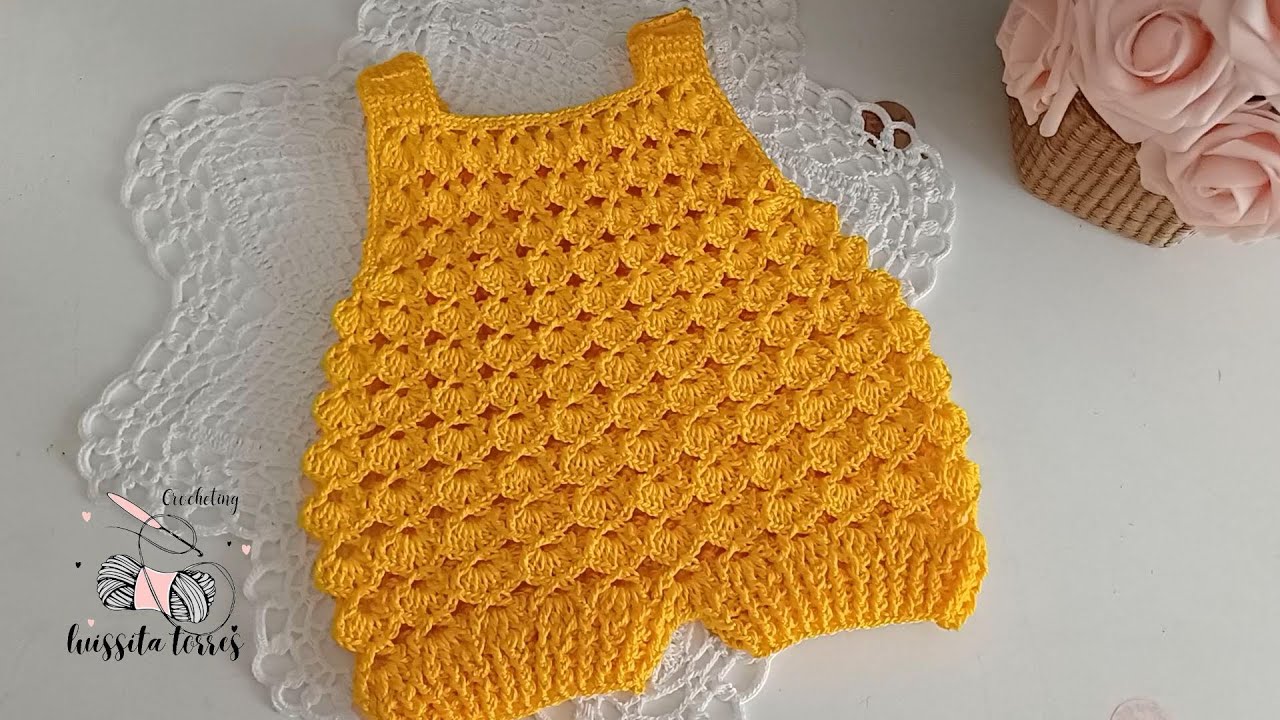
- Type of Garment: A basic, rectangular-shaped baby romper.
- Construction Method: Bottom-up, meaning you start with the legs and work your way upwards.
- Stitch Focus: Primarily uses fundamental stitches like double crochet (dc) for the main body and single crochet (sc) for borders and shaping, making it accessible for those new to garment making.
- Closure: Includes instructions for a simple button closure at the crotch for easy diaper changes.
- Target Size: The pattern is written for 0-3 months, but emphasizes the importance of gauge for adjusting to other sizes.
- Essential Preparation:
- Materials List: Detailed breakdown of necessary items, including DK (Light Worsted/3) weight cotton or cotton blend yarn (recommended for softness and breathability), a 4.0 mm (G-6 US) hook, stitch markers, yarn needle, scissors, and small buttons.
- Gauge Swatch Importance: Stresses the critical step of making and measuring a gauge swatch to ensure the final romper fits correctly. Clear instructions are given on how to check and adjust your hook size based on the swatch.
- Abbreviation List: Provides a quick reference for common crochet abbreviations used in the pattern.
- Step-by-Step Construction (Broken Down into Parts):
- Part 1: Leg Panels (Make 2): Instructions for crocheting individual tubes for each leg, including how to form the initial loop and work in rounds.
- Part 2: Joining Legs & Body: Detailed steps on how to connect the two finished leg panels using a chain space for the crotch, then continuing to crochet the main body of the romper in continuous rounds.
- Part 3: Armhole Shaping: Instructions for creating the armholes by working the back and front panels separately in rows, defining the upper body of the romper.
- Part 4: Straps: Guidance on how to crochet simple, flat straps that will attach to the romper.
- Part 5: Assembly & Finishing: Comprehensive steps for sewing the shoulder seams, securely attaching the straps, creating the crotch placket with buttonholes, and attaching the buttons.
- Enhancements & Care:
- Unique Details: References the previous article on “Unique Details,” suggesting ways to personalize the romper (e.g., adding puff stitches, contrasting colors, appliqués, or decorative edgings) once the basic construction is understood.
- Care Instructions: General guidelines for washing and drying the finished crochet item to maintain its shape and quality.

Overall Goal of the Tutorial:
To empower beginner crocheters to successfully create a wearable baby garment, building confidence in basic shaping, seaming, and closure techniques, while also encouraging creative personalization. It prioritizes clarity and simplicity to make the process enjoyable and achievable.
How to Crochet a Baby Romper: A Step-by-Step Beginner-Friendly Guide
This tutorial will guide you through creating a charming and practical crochet romper for a baby, designed with beginners in mind. We’ll use simple stitches and construction techniques to ensure success.
Target Size: 0-3 Months (You’ll need to adjust hook/yarn or stitch count for other sizes – see “Gauge” section.)
Finished Measurements (approx.):
- Waist/Hip: 16-18 inches (40-45 cm) circumference
- Length (shoulder to crotch): 13-14 inches (33-35 cm)
1. Materials You’ll Need
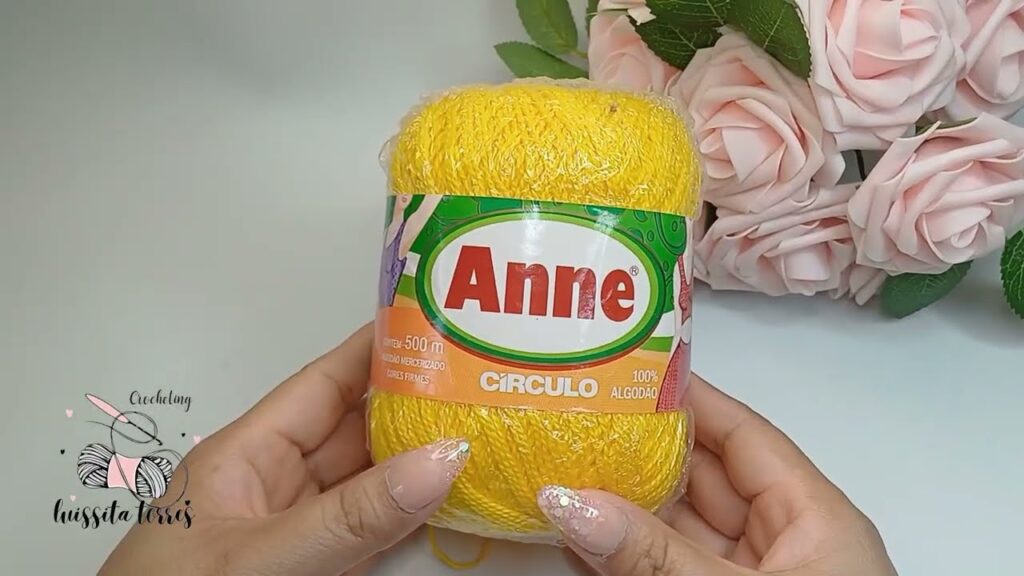
- Yarn: Approximately 300-400 yards (275-365 meters) of DK (Light Worsted / 3) weight cotton or cotton blend yarn. Cotton is breathable and soft for baby skin. Choose a color you love!
- Why DK? It’s lighter than worsted, making a softer, less bulky garment for baby.
- Crochet Hook: 4.0 mm (G-6 US), or the size needed to achieve gauge.
- Stitch Markers: Very helpful for marking leg openings, sides, and strap placement.
- Yarn Needle (Tapestry Needle): For weaving in ends and seaming.
- Scissors: For cutting yarn.
- Measuring Tape: Essential for checking gauge and dimensions.
- Buttons: 3-5 small buttons (approx. 1/2 inch / 1.25 cm diameter) for the crotch closure.
- Sewing Needle and Thread: To attach buttons.
2. Understanding Gauge (CRITICAL!)
Your gauge (the number of stitches and rows per inch/cm) is paramount for ensuring your romper fits! Even if you use the same yarn and hook, your tension might differ.
- Make a Gauge Swatch:
- Chain 22.
- Row 1: DC in the 3rd chain from the hook, DC in each chain across. (20 DC)
- Row 2: CH 2 (counts as first DC), turn. DC in each DC across. (20 DC)
- Repeat Row 2 until your swatch measures about 4 inches (10 cm) tall.
- Measure: You should have 20 DC stitches in 4 inches (10 cm) and 10 rows in 4 inches (10 cm).
- Adjust:
- If you have more stitches/rows, your tension is too tight; go up a hook size (e.g., 4.5 mm).
- If you have fewer stitches/rows, your tension is too loose; go down a hook size (e.g., 3.5 mm).
- Remake your swatch until you match the gauge.
3. Crochet Abbreviations Used
- ch: chain
- sl st: slip stitch
- sc: single crochet
- dc: double crochet
- st(s): stitch(es)
- ch-sp: chain space
- rep: repeat
- sk: skip
- rnd: round
4. Let’s Make the Romper! (Bottom-Up Construction)
We’ll start by making two identical leg panels, join them, then work the body upwards.
Part 1: The Leg Panels (Make 2 identical)
- Starting Chain: Ch 38. (This will be for a snug 0-3m size. If you want a bit looser or larger, add 4 chains for every 1 inch wider you want the leg opening.)
- Rnd 1: Join with a sl st to the first ch to form a loop, making sure not to twist the chain. Ch 2 (counts as first dc). Dc in each ch around. Join with sl st to top of starting ch 2. (38 dc)
- Rnd 2-10 (or desired length): Ch 2 (counts as first dc), dc in each dc around. Join with sl st to top of starting ch 2. (38 dc per round)
- You are creating a tube for the leg. Adjust the number of rounds to reach your desired leg length (e.g., 10 rounds for short legs, more for longer).
- Fasten Off one leg panel. For the second leg panel, DO NOT fasten off. You will continue from here to join the legs.
Part 2: Joining the Legs & Beginning the Body
Now we’ll connect the two leg tubes and work the main body.
- Connect Legs: With the second leg panel still on your hook, ch 3 (this will be the crotch chain).
- Take your first leg panel. Insert your hook into any stitch on the opposite side of where you would start a new round (this will be the middle of the crotch area).
- Join with a sl st to this stitch.
- Ch 2 (counts as first dc).
- Dc in each dc around the first leg (38 dc).
- When you reach the ch 3 you made, dc 3 times into this ch-sp.
- Continue around the second leg, dc in each dc around (38 dc).
- Dc 3 times into the other side of the ch 3-sp.
- Join with a sl st to the top of the starting ch 2.
- Count your stitches! You should have 38 (leg 1) + 3 (ch-sp) + 38 (leg 2) + 3 (ch-sp) = 82 dc for the first body round.
- This forms the combined leg openings and the base of the romper body.
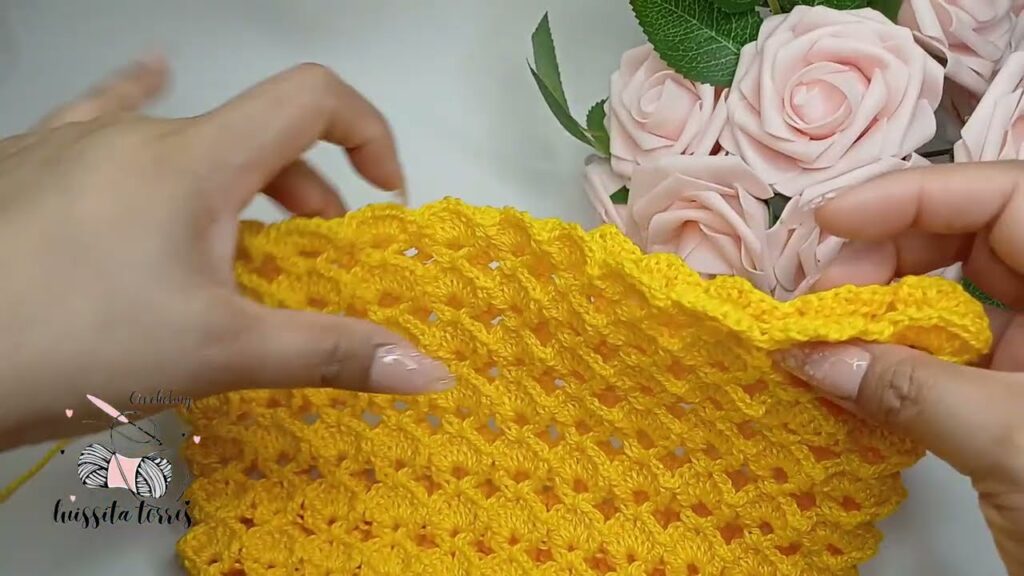
- Body Section (Working in Rounds):
- Rnd 1 (Body): Ch 2 (counts as first dc), dc in each dc around. Join with sl st to top of starting ch 2. (82 dc)
- Repeat Rnd 1: Continue working even rounds of dc until your romper body reaches just below the armpits, or about 8-9 inches (20-23 cm) from the crotch seam upwards. (Approx. 20-25 rounds, depending on your gauge and desired length.)
- Use your stitch markers to mark the side seams, roughly half way around (41 stitches from the start/end of the round) to help keep your work even.
- Armhole Shaping (Back Panel First):
- Now we’ll work in rows for the back and front panels separately to create armholes.
- Row 1 (Back Panel): Ch 2 (counts as first dc), turn. Dc in the next 39 dc. (40 dc total for the back panel, as 41 was half of 82. We’re keeping a small gap for the armholes).
- Row 2-6 (or desired height): Ch 2, turn. Dc in each dc across. (40 dc)
- Fasten off the back panel.
- Armhole Shaping (Front Panel):
- Join yarn with a sl st in the 2nd stitch after the back panel’s last stitch (this creates the armhole gap).
- Row 1 (Front Panel): Ch 2 (counts as first dc). Dc in the next 39 dc. (40 dc total for the front panel).
- Row 2-6 (or desired height): Ch 2, turn. Dc in each dc across. (40 dc)
- Fasten off.
Part 3: Creating the Straps
You can make two separate straps or one continuous piece. Two separate straps are often easier to attach and adjust.
Make 2 Straps:
- Starting Chain: Ch 7.
- Row 1: Dc in the 3rd ch from the hook, dc in each ch across. (5 dc)
- Row 2: Ch 2 (counts as first dc), turn. Dc in each dc across. (5 dc)
- Repeat Row 2 until each strap measures about 8-10 inches (20-25 cm) long, or your desired length for attaching to the front.
- Fasten off, leaving a long tail for sewing.
Part 4: Attaching the Straps & Finishing
- Weave in All Ends: Before assembly, use your yarn needle to weave in all loose ends except the long tails left for sewing the straps.
- Attach Straps:
- Lay your romper flat. Position the back panel on top of the front panel, aligning the side seams.
- Sew the top corners of the back panel to the respective top corners of the front panel using your yarn needle and a small whip stitch or mattress stitch. This creates the shoulder seams.
- Now, measure from the shoulder seam down on the front panel to determine where you want the straps to attach. Usually, 2-3 inches (5-7.5 cm) in from the side seams.
- Attach one end of each strap to the front panel, ensuring they are even and not twisted. Securely sew them in place using the long tails.
- Alternatively, you can skip sewing the shoulder seams and have the straps go over the shoulders, connecting the back to the front. This is more common with overalls-style rompers.
- Create Buttonholes (on Back Straps if connecting to front, or on Front Panel if straps are fixed):
- If your straps are sewn to the back and button to the front, you’ll need buttonholes on the straps.
- For 0-3 month size, you might only need 1 button per strap.
- To make a buttonhole: When crocheting the strap, at the point you want the buttonhole, ch 1, skip 1 dc, dc in the next dc. On the next row, work a dc into the ch-1 space. Or, for a very small button, just chain 1 and skip 1 stitch.
- Alternative (Easier for Beginners): Skip making buttonholes in the crochet. When attaching buttons later, use the gaps between your dc stitches as “buttonholes.” This works well for small buttons and dense fabric.
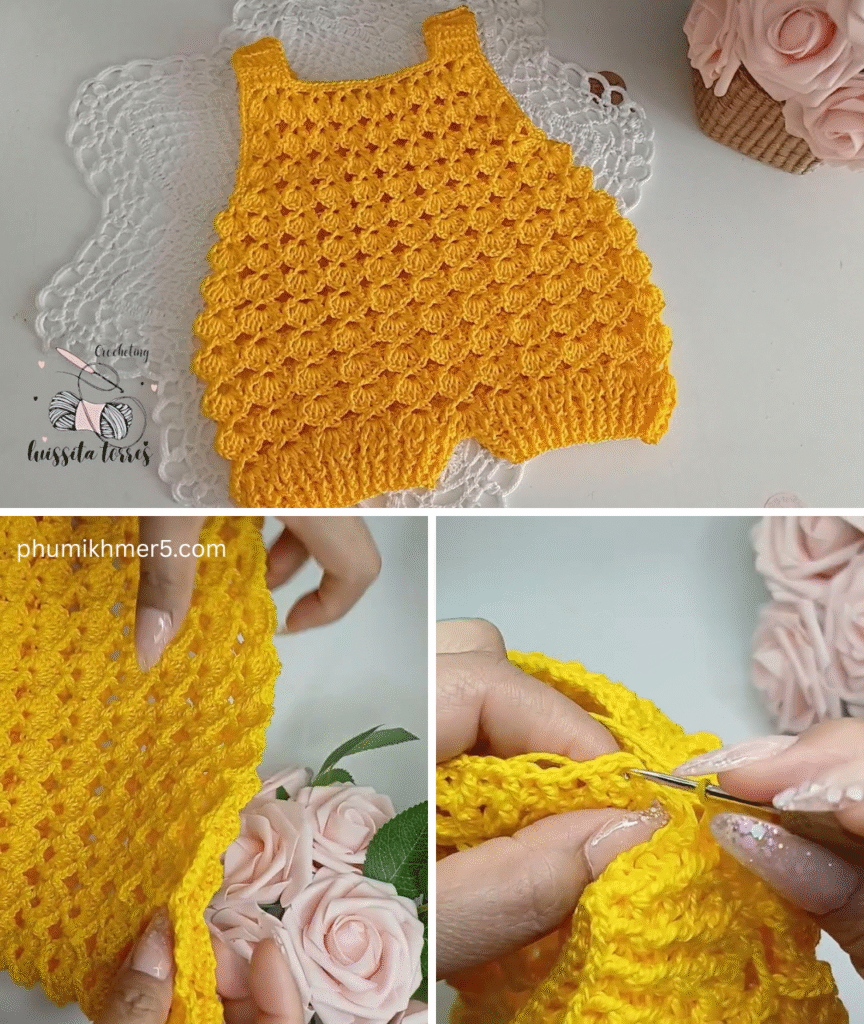
- Add Crotch Closure:
- Lay the romper flat, front facing up.
- Along one inner leg edge (the crotch opening), make a single crochet border: Join yarn, ch 1, sc evenly along the edge (approximately 2 sc per dc row end). Fasten off.
- Repeat for the other inner leg edge.
- Button Placket:
- On one of the inner leg edges, make a button placket: Join yarn to the beginning of the sc border you just made. Ch 2, dc in each sc across. Fasten off. This creates a slightly raised edge for buttons.
- On the opposite inner leg edge, make the buttonhole placket: Join yarn. Ch 2, dc in the first few scs. Then, for each buttonhole: ch 1, sk next sc, dc in next few scs. Repeat for desired number of buttonholes (3-5 for 0-3 months). Dc to end. Fasten off.
- Adjust spacing of ch 1, sk 1 based on button size.
- Sew on Buttons: Using your sewing needle and thread, sew your buttons to the non-buttonhole placket, aligning them with the buttonholes on the other side.
- Final Weaving: Double-check that all tails are securely woven in.
9. Unique Details to Add (Based on Previous Article)
Now that you know the basic construction, consider adding these unique details:
- Textured Legs: Instead of plain DC for the legs, try a few rows of puff stitches at the leg cuffs for a cute, squishy texture.
- Contrasting Straps: Make the straps in a different color yarn for a pop of contrast.
- Crochet Appliqué: Add a small crocheted heart, star, or animal face to the front bib of the romper after it’s completed.
- Shell Stitch Edge: Add a delicate shell stitch border around the armholes or the top bib edge for a sweet, finished look.
- Embroidered Detail: Use a yarn needle and a contrasting color yarn to embroider a simple initial or a few French knot “dots” on the front.
Care for Your Romper
Always check your yarn label for specific care instructions. Most cotton baby items should be:
- Hand-washed or machine-washed on a gentle cycle in cool water.
- Lay flat to dry to maintain shape. Avoid hanging, as it can stretch.
Making a romper is a rewarding project! Take your time, count your stitches, and don’t be afraid to unravel if you make a mistake. The finished garment will be a beautiful, handmade treasure for a little one. Happy crocheting!
Video tutorial:


