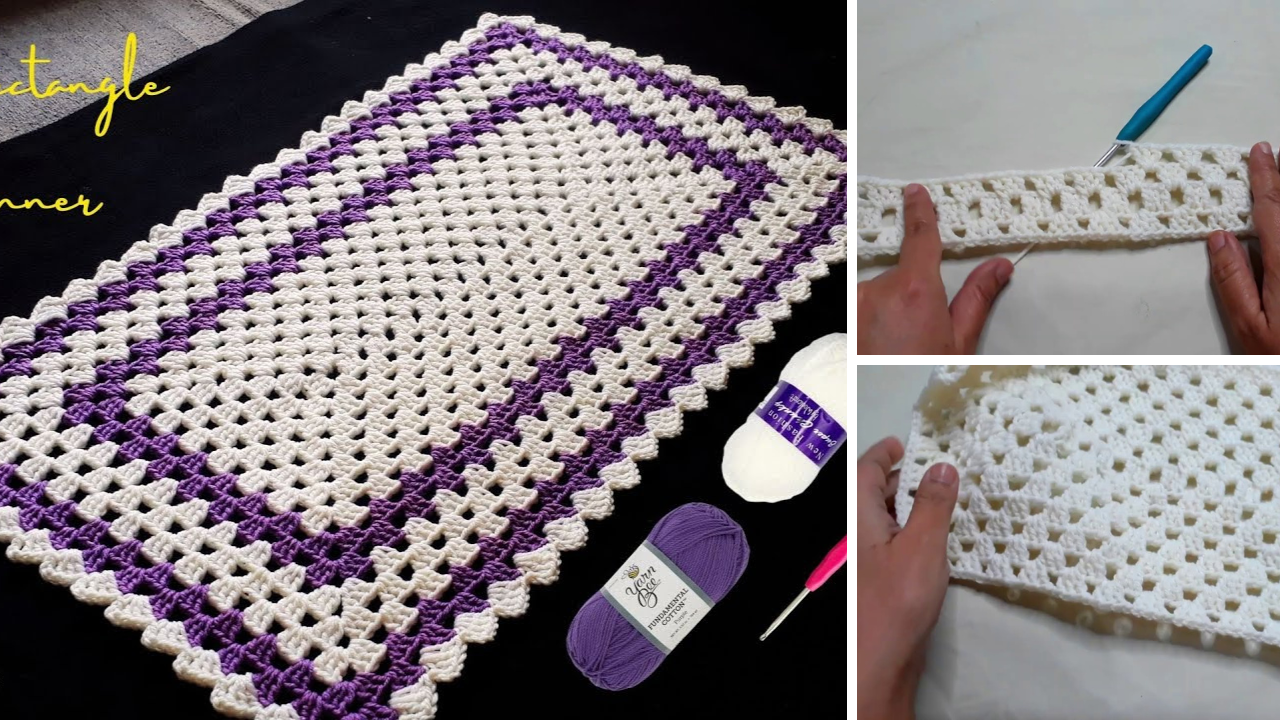
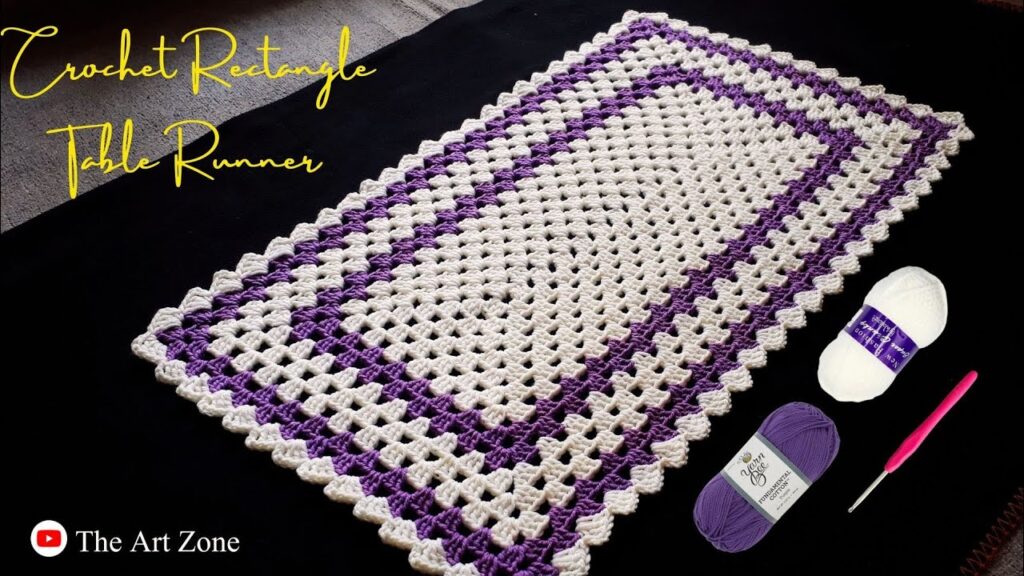
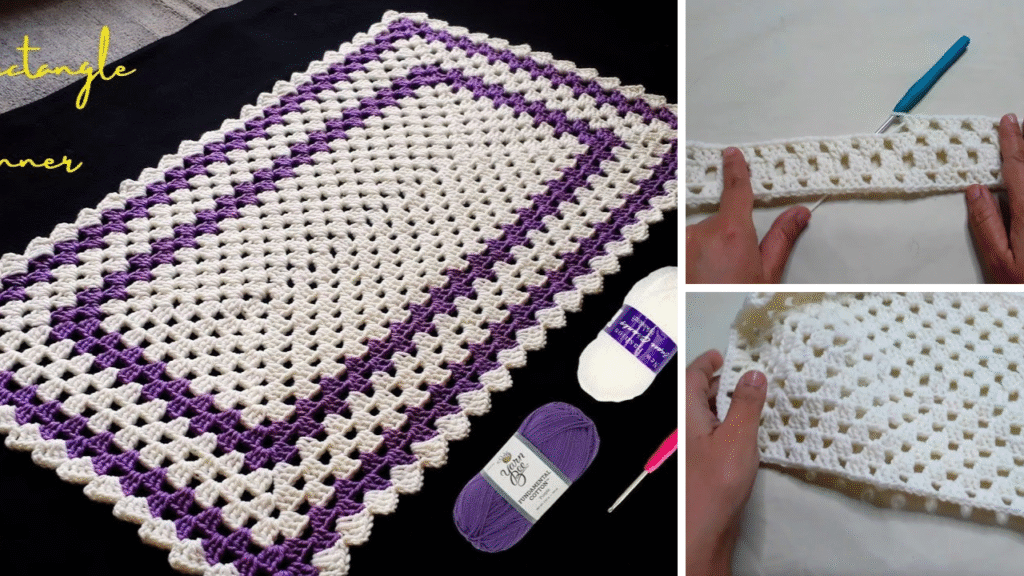
A handmade table runner adds warmth, personality, and a touch of artisanal charm to any dining table, coffee table, or console. For beginners in the world of crochet, it’s an ideal project to practice fundamental stitches while creating a beautiful and functional piece for your home. This detailed tutorial will guide you through crocheting a simple rectangular table runner using basic techniques, ensuring a successful and satisfying first endeavor.
Why a Table Runner is Great for Beginners
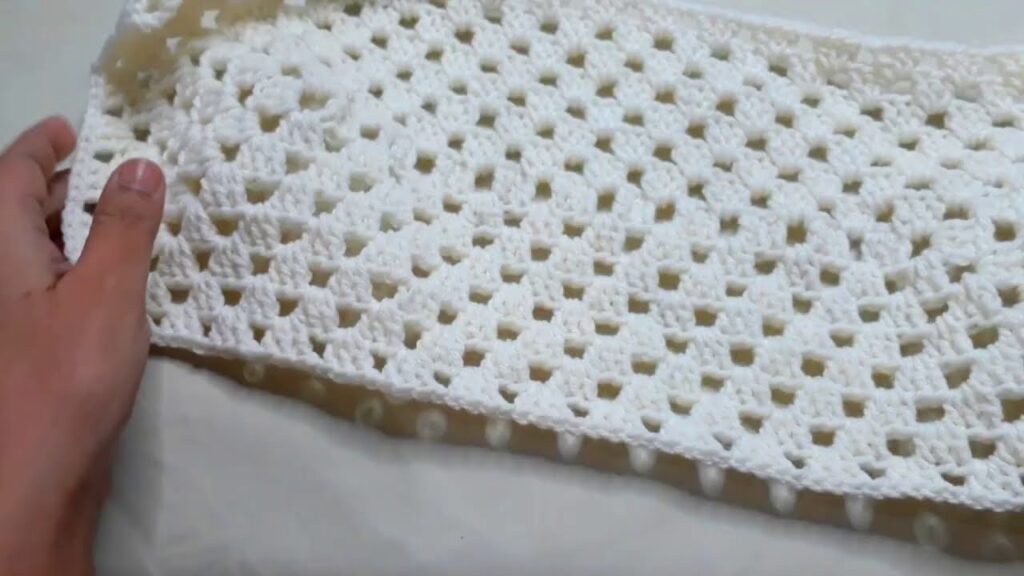
- Rectangular Shape: No complex shaping, increases, or decreases. You’re essentially making a flat rectangle.
- Repetitive Stitches: Relies on just a few basic stitches, allowing you to build muscle memory and consistency.
- Size Flexibility: Easily adaptable to any table size by simply chaining more or fewer stitches, or by working more or fewer rows.
- Practical Item: Creates something useful and decorative for your home, boosting confidence and motivating future projects.
- Yarn Choices: Works well with a variety of yarns, allowing you to experiment with textures and colors.
1. Planning Your Table Runner: Design Considerations
Before you pick up your hook, a little planning goes a long way.
- Table Size: Measure the length of the table where the runner will go. A good rule of thumb is for the runner to be about 1/3 to 1/2 the width of the table, and to hang down 6-12 inches (15-30 cm) on each end.
- Example: For a 60-inch (150 cm) long table, a 72-84 inch (180-210 cm) long runner might be suitable. For a 36-inch (90 cm) wide table, a 12-18 inch (30-45 cm) wide runner would look good.
- Yarn Choice:
- Fiber:
- Cotton: Excellent choice! It’s durable, washable, has great stitch definition, and absorbs spills well.
- Cotton Blends: Also a good option, often softer than 100% cotton.
- Acrylic: Affordable, wide color range, and easy to wash, but might not drape as nicely as cotton.
- Avoid: Wool (unless superwash) for dining tables due to washing complexities and potential for felting with spills. Fuzzy or very textured yarns might hide your stitches as a beginner.
- Weight: Worsted weight (also known as Aran or 4-ply) is highly recommended. It works up relatively quickly and creates a sturdy fabric.
- Color: Choose a color that complements your home decor. Solid colors often highlight stitch definition beautifully for beginners.
- Fiber:
- Stitch Pattern: For simplicity and texture, we’ll focus on either Single Crochet (SC) or Half Double Crochet (HDC). Both create a dense, sturdy fabric suitable for a runner. We’ll use Half Double Crochet (HDC) in this tutorial for a nice balance of speed and density.
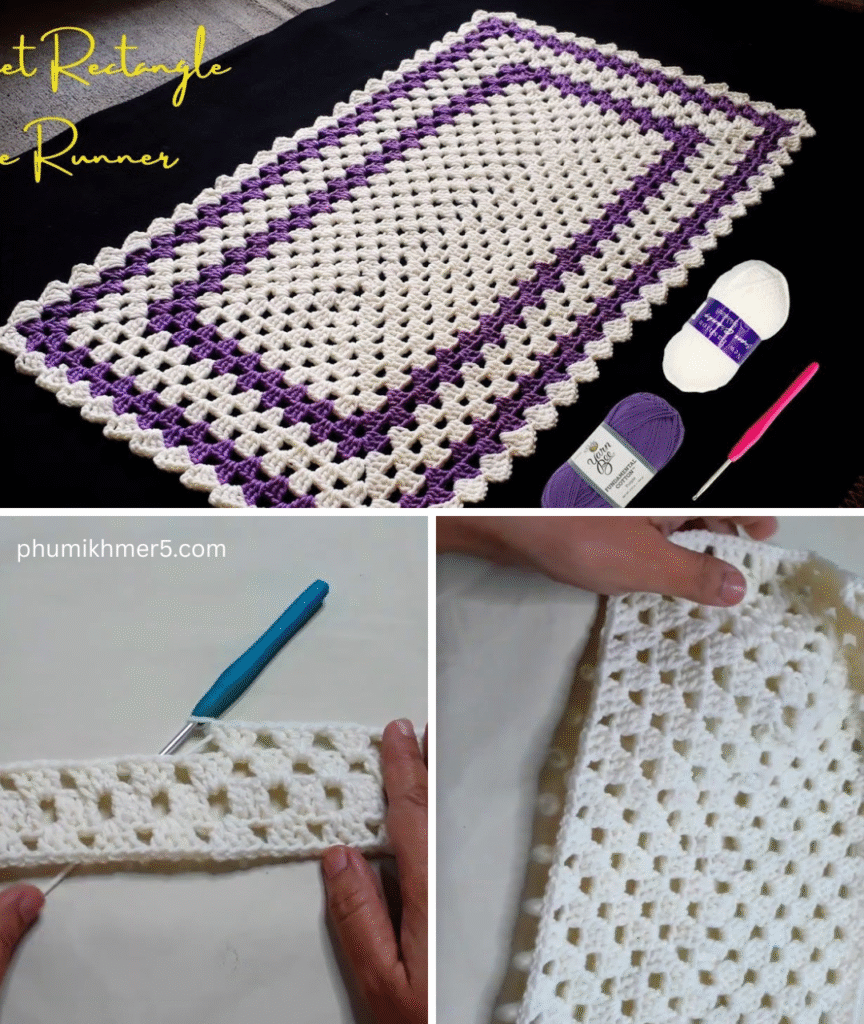
2. Materials You’ll Need
- Yarn: Approximately 500-800 yards (450-730 meters) of worsted weight cotton or cotton blend yarn. The exact amount depends heavily on your desired size and tension. It’s always better to buy an extra skein just in case!
- Crochet Hook: 5.5 mm (I-9 US), or the size recommended on your yarn label for worsted weight. Adjust if needed to meet your gauge.
- Scissors: For cutting yarn.
- Yarn Needle (Tapestry Needle): A large needle with a blunt tip, essential for weaving in ends.
- Measuring Tape: Crucial for checking your gauge and the dimensions of your runner.
- Stitch Markers (Optional but Recommended): Helpful for marking the first and last stitches of a row, especially when you’re starting out.
3. Essential Crochet Stitches (Review)
Make sure you’re comfortable with these basics before you start:
- Slip Knot: The starting knot for your chain.
- Chain (ch): The foundation row of your project.
- Half Double Crochet (hdc): Our primary stitch for this runner.
- To make a HDC: Yarn over (YO), insert hook into stitch, YO, pull up a loop (3 loops on hook), YO, pull through all 3 loops on hook.
- Turning Chain (ch 2 for HDC): At the end of an HDC row, you’ll chain 2 and then turn your work to prepare for the next row. For HDC, the turning chain usually counts as the first HDC of the new row. This is important for keeping straight edges.
- Weaving in Ends: Using a yarn needle to hide loose yarn tails neatly into your finished work.
4. Gauge Swatch: Your Key to Success (Do Not Skip!)
Your gauge swatch is a small sample that tells you how many stitches and rows you get per inch/cm with your chosen yarn and hook. It’s vital for ensuring your runner turns out the correct size.
- Chain 22.
- Row 1: HDC in the 3rd chain from the hook (this counts as your first HDC). HDC in each chain across. (You should have 20 HDC stitches.)
- Row 2: Ch 2 (counts as first HDC), turn your work. HDC in the next HDC (the 2nd stitch from your hook). HDC in each HDC across, making sure to work your last HDC into the top of the turning chain 2 from the previous row. (20 HDC)
- Repeat Row 2 until your swatch measures at least 4-5 inches (10-12.5 cm) tall.
- Measure: Lay your swatch flat. Using a ruler, count how many HDC stitches you have in 4 inches (10 cm) horizontally, and how many rows you have in 4 inches (10 cm) vertically.
- Adjust:
- If you have more stitches/rows per 4 inches than you want for your desired density, your tension is too tight. Go up a hook size (e.g., to 6.0 mm).
- If you have fewer stitches/rows per 4 inches, your tension is too loose. Go down a hook size (e.g., to 5.0 mm).
- Repeat until your swatch matches your desired gauge and fabric density. For a table runner, a relatively firm, dense fabric is usually preferred so it lays flat and holds its shape.
5. Crocheting Your Table Runner: Step-by-Step
Once your gauge is set, you’re ready to begin the main project!
Calculating Your Starting Chain:
- Decide on your desired width for the table runner. Let’s aim for 15 inches (approx. 38 cm) for this example.
- Refer to your gauge swatch: How many HDC stitches do you have in 4 inches (10 cm)?
- Formula: (Desired Width in inches / Stitches per 4 inches) x Stitches in your gauge swatch (e.g., 20) = Number of HDC stitches for your first row.
- Example: If your gauge is 13 HDC in 4 inches, and you want a 15-inch wide runner:
- (15 / 4) x 13 = 48.75. Round to the nearest even number for symmetry, so 48 HDC stitches.
- Add 2 extra chains for the turning chain: So, if you want 48 HDC stitches, you will chain 48 + 2 = 50 chains to start.
- Example: If your gauge is 13 HDC in 4 inches, and you want a 15-inch wide runner:
Instructions for the Runner Body:
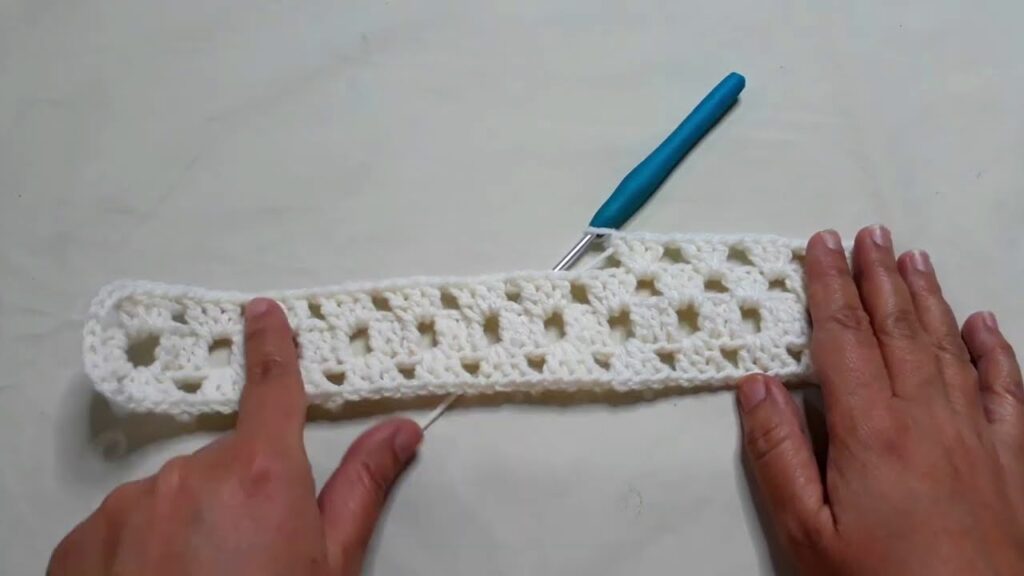
- Starting Chain: Make a slip knot. Chain the calculated number of chains (e.g., ch 50 for a 15-inch wide runner). Make sure your chain is not too tight – a loose chain will make it easier to work into.
- Row 1: HDC in the 3rd chain from the hook (this 2-ch counts as your first HDC). Continue to HDC in each chain across your starting chain.
- Count your stitches! You should have the exact number of HDC stitches you calculated (e.g., 48 HDC if you started with ch 50).
- Tip: Use a stitch marker in the very last HDC of the row to help you find it on the next row.
- Row 2: Ch 2 (this counts as your first HDC), then turn your work. HDC in the next HDC stitch (the 2nd stitch from your hook). Continue to HDC in each HDC across the row. Your last HDC will go into the top of the turning chain 2 from the previous row.
- Always make sure you go into that last stitch/turning chain to keep your edges straight.
- Tip: Move your stitch marker to the last HDC of this row.
- Repeat Row 2: Continue repeating Row 2 until your table runner reaches your desired length.
- For a standard dining table, this could be anywhere from 60-80 inches (150-200 cm), but refer to your initial planning measurements.
- Keep counting your rows occasionally to ensure consistency, but mainly focus on the overall length.
6. Finishing Your Table Runner
Once you’ve reached your desired length, it’s time to finish off your beautiful creation.
- Binding Off: When you’ve completed your final row, cut your yarn, leaving a tail about 6-8 inches (15-20 cm) long. Yarn over your hook and pull the tail completely through the last loop on your hook to fasten off.
- Weave in Ends: Thread your yarn needle with the starting tail and the finishing tail. Neatly weave these tails into the stitches of your runner, going in different directions for a few inches to secure them invisibly. This prevents unraveling and creates a clean look.
- Blocking (Optional, but Highly Recommended):
- Blocking is the process of wetting or steaming your finished crochet piece and shaping it to its final dimensions while it dries. It helps to even out your stitches, straighten edges, and give your runner a professional, polished finish.
- Wet Blocking (for Cotton/Blends): Gently submerge your runner in cool water with a little mild soap (if desired). Squeeze out excess water without twisting. Lay it flat on a clean towel or foam blocking mats. Gently stretch and shape it to your desired rectangular dimensions, pinning it in place if using mats. Let it air dry completely (this can take 24-48 hours).
- Steam Blocking (for Acrylic or if you can’t wet block): Lay your runner flat. Hover a steam iron (do not touch the iron to the yarn unless the yarn label specifically allows it, as acrylic can melt) over the fabric, allowing the steam to relax the fibers. Gently pat and shape with your hands.
7. Care for Your Crocheted Table Runner
Refer to your yarn label for specific care instructions, as they can vary by fiber type. For most cotton or cotton blend runners:
- Machine Washable: Usually machine wash on a gentle cycle in cool water.
- Drying: Tumble dry on low heat or, ideally, lay flat to dry to maintain shape and prevent stretching or shrinking.
- Avoid Bleach: Do not use bleach unless specifically instructed by the yarn label.
Tips for Success
- Consistency is Key: Try to maintain an even tension throughout your project. This will ensure your stitches are uniform and your runner lies flat.
- Count Your Stitches: Especially in the first few rows, count your stitches at the end of each row. This prevents you from accidentally increasing or decreasing and ensures straight edges.
- Don’t Rush: Crochet is a relaxing hobby. Take your time, enjoy the process, and don’t be afraid to unravel a row or two if you spot a mistake.
- Experiment Later: Once you’ve mastered this simple runner, you can experiment with different stitch patterns (like textured stitches, ripple, or even basic filet crochet patterns), adding a decorative border, or incorporating stripes.
Congratulations! You’ve now learned how to crochet a beautiful and practical table runner. This project is a fantastic foundation for more complex crochet endeavors, and you’ll love having a piece of handmade decor in your home. Happy crocheting!
Video tutorial:


