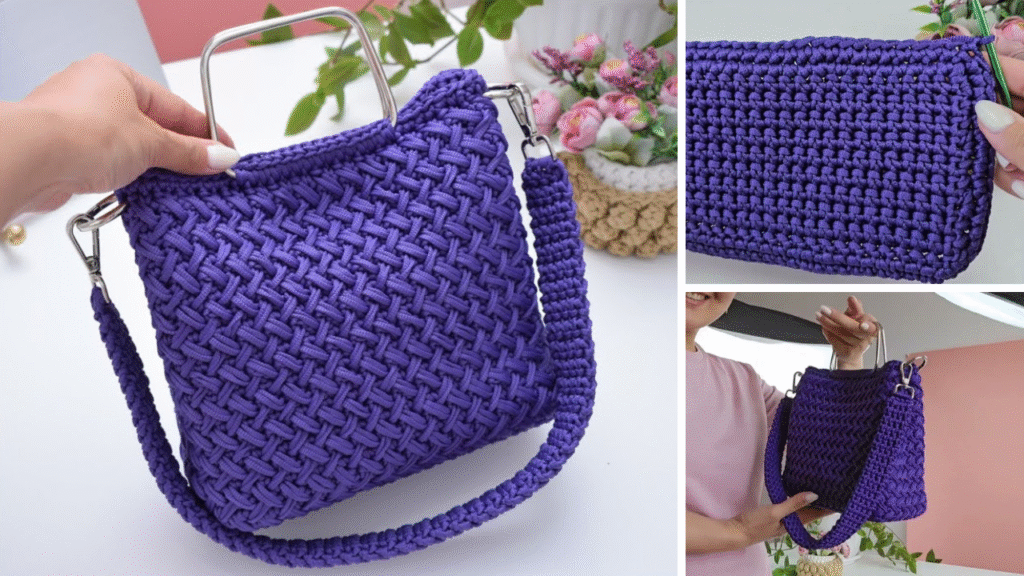
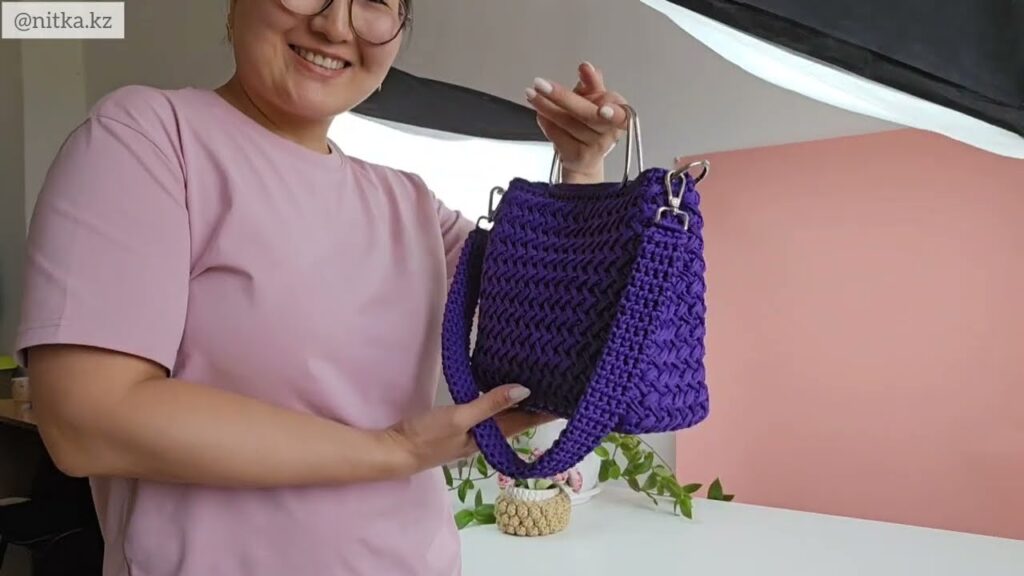
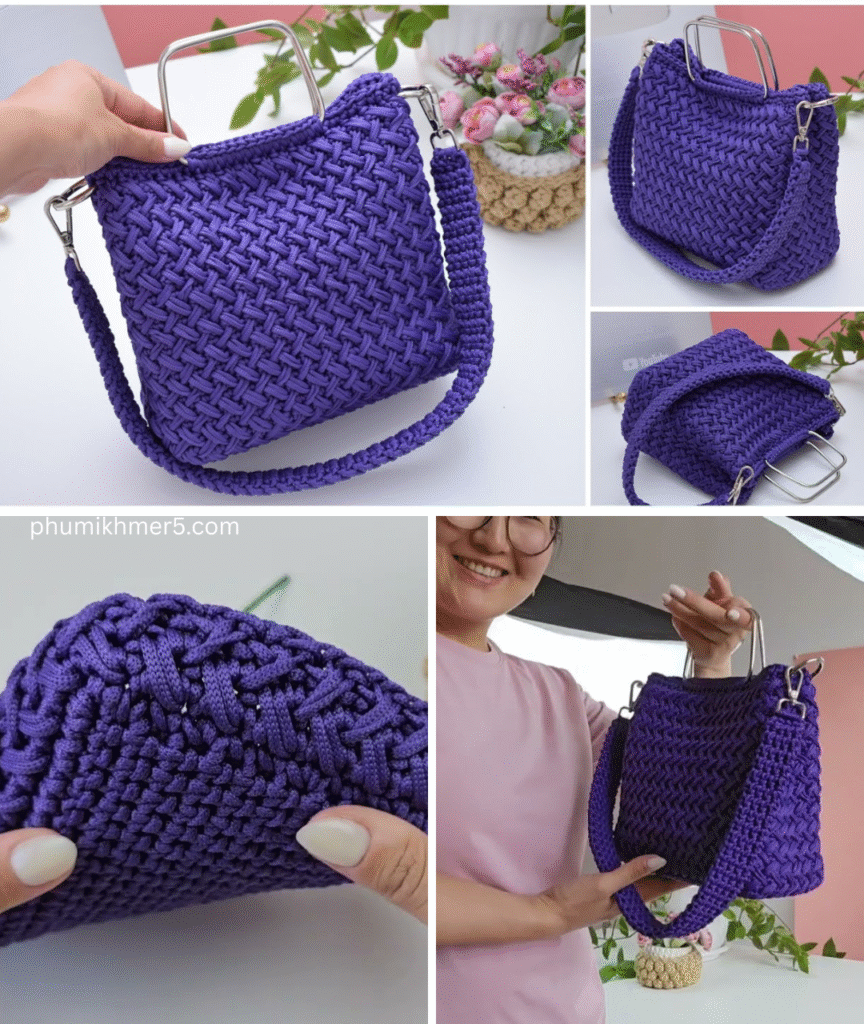
Crochet a Stylish Tote Bag with the Herringbone Half Double Crochet Stitch
Are you ready to create a stunning, textured tote bag that looks incredibly sophisticated yet is surprisingly achievable? The Herringbone Half Double Crochet (HHDC) stitch is your secret weapon! This beautiful stitch creates a dense, V-shaped fabric that mimics the look of knitting or weaving, making it perfect for sturdy, stylish bags that hold their shape.
This detailed article will guide you through crocheting a chic tote bag using the Herringbone Half Double Crochet, complete with clear instructions for a rectangular base and a sturdy main body. Get ready to turn heads with your new handmade accessory!

Why the Herringbone Half Double Crochet is Perfect for a Tote Bag
- Stunning Texture: The HHDC creates a distinctive, elegant V-shaped pattern that truly elevates your bag’s appearance.
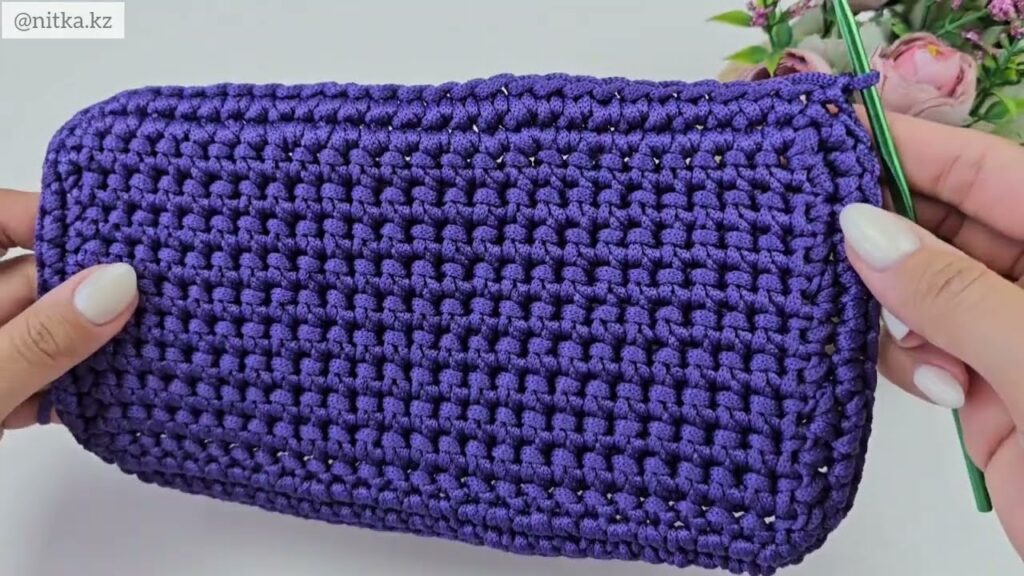
- Dense Fabric: Unlike traditional HDC, the HHDC produces a much denser fabric, which is ideal for bags as it helps them maintain their shape and reduces stretching.
- Durability: The interlocking nature of the stitch makes for a strong, long-lasting fabric capable of carrying your essentials.
- Unique Look: It offers a more refined and unique aesthetic than typical crochet stitches, giving your tote a high-end feel.
- Skill Builder: Mastering the HHDC will add a versatile and beautiful stitch to your crochet repertoire.
1. Planning Your Herringbone Tote Bag: Vision & Practicality
Before you dive in, consider these aspects to ensure your tote is exactly what you envision.
- Size: This pattern will guide you to create a medium-sized tote bag, approximately 12-14 inches wide and 10-12 inches tall (excluding handles).
- To adjust size: You’ll modify your starting chain length for the width and the number of rounds for the height. Keep your initial chain in a multiple of 2 (even number) for a symmetrical base.
- Yarn Choice (Crucial for Bags!):
- Fiber: For bags, 100% cotton yarn is highly recommended. It’s durable, holds its shape well (especially after blocking), and is easy to care for. You could also use a sturdy cotton/acrylic blend or even macrame cord for extra stiffness.
- Weight: Worsted Weight (#4) or even Aran/Heavy Worsted (#4.5/5) yarn is ideal. A thicker yarn will create a sturdier, faster-to-make bag.
- Quantity: You’ll need approximately 600-800 yards (550-730 meters) for a medium tote. It’s always best to have a bit extra!
- Color: Solid colors truly allow the herringbone texture to shine. Neutrals (beige, grey, navy) offer classic versatility, while brights make a bold statement.
- Handles: You can crochet sturdy handles, use pre-made leather/fabric handles, or add D-rings for a removable strap. This tutorial will focus on crocheted handles.

2. Materials You’ll Need
- Yarn: Approximately 600-800 yards (550-730 meters) of Worsted Weight (#4) or Aran Weight cotton yarn.
- Crochet Hook: 5.0 mm (H-8 US) or 5.5 mm (I-9 US). (Choose the size that achieves a tight, dense fabric for your yarn without being too difficult to work with.)
- Scissors: For cutting yarn.
- Yarn Needle (Tapestry Needle): A large, blunt-tipped needle for weaving in ends and seaming.
- Stitch Markers (Highly Recommended!): At least 2, to mark the beginning of rounds or corners.
- Measuring Tape: Essential for checking gauge and bag dimensions.
- Optional:
- Fabric lining and sewing machine/hand-sewing supplies (for a professional finish and added durability).
- Magnetic snap closure or zipper.
3. Essential Crochet Stitches & Techniques (Review & Master)
Before diving into the HHDC, ensure you’re comfortable with these basics:
- Slip Knot
- Chain (ch)
- Slip Stitch (sl st): For joining rounds.
- Half Double Crochet (hdc): The basis for our special stitch.
- To make a HDC: Yarn over (YO), insert hook into stitch, YO, pull up a loop (3 loops on hook), YO, pull through all 3 loops on hook.
Introducing the Herringbone Half Double Crochet (HHDC):
The HHDC creates that signature slanted texture. It’s a variation of the standard HDC.
- How to make HHDC:
- YO.
- Insert hook into the indicated stitch.
- YO, pull up a loop AND immediately pull that loop through the first loop on your hook. (This is the “herringbone” part – you’ll now have 2 loops on your hook).
- YO, pull through both remaining loops on your hook.
- Practice this stitch! It might feel a bit awkward at first, but once you get the rhythm, it’s very satisfying.
- Watch a video tutorial for “Herringbone Half Double Crochet” if you’re a visual learner, it helps immensely!

4. Gauge Swatch: Your Foundation for a Sturdy Bag
A tight, consistent gauge is key for a sturdy bag that holds its shape. You want a dense fabric, not loose or floppy.
- Chain 17.
- Row 1: HHDC in the 3rd ch from hook, HHDC in each ch across. (15 HHDC)
- Row 2: Ch 2 (counts as first HHDC), turn. HHDC in the next HHDC and in each HHDC across. Make sure to work your last HHDC into the top of the beginning Ch 2 from the previous row. (15 HHDC)
- Repeat Row 2 until your swatch measures about 4 inches (10 cm) tall.
- Measure: Lay your swatch flat. Count how many HHDC stitches you have in 4 inches (10 cm) horizontally, and how many rows you have in 4 inches (10 cm) vertically.
- Target Gauge (approximate): For a sturdy bag, aim for approximately 15-16 HHDC stitches in 4 inches (10 cm) and 12-14 rows in 4 inches (10 cm).
- Adjust:
- If you have more stitches/rows, your tension is too tight; go up a hook size.
- If you have fewer stitches/rows, your tension is too loose; go down a hook size.
- Remake your swatch until you’re close to the target gauge. A slightly tighter gauge is better for bags than a looser one.
5. Let’s Crochet Your Herringbone Tote Bag! (Step-by-Step)
We’ll start with an oval base, then build up the sides in continuous rounds.
Part 1: The Oval Base
This creates the sturdy bottom of your tote.
- Foundation Chain: Make a slip knot. Ch 32.
- This will create a base approximately 12 inches (30.5 cm) long when finished. To adjust width, use a longer/shorter chain (always an even number).
- Rnd 1 (Working around the chain):
- Close-up: Work 2 HHDC in the 3rd ch from hook. (This is your first increase for the end).
- HHDC in the next 29 chs.
- 5 HHDC in the last ch. (This is your increase for the other end, pivoting around).
- Now, work along the other side of the foundation chain: HHDC in the next 29 chs (working into the unworked loop of each chain).
- 3 HHDC in the very last ch (the same one where you worked your initial 2 HHDC).
- Join with a sl st to the top of the first HHDC.
- [68 HHDC] (31 HHDC on each long side, 3 HHDC on each end).
- Place a stitch marker in the first HHDC of the round to help you keep track of the start/end.
- Rnd 2: Ch 2 (does NOT count as a st).
- 2 HHDC in the same st (the first st of the round).
- HHDC in the next 30 sts.
- (2 HHDC in next st) 3 times.
- HHDC in the next 30 sts.
- (2 HHDC in next st) 2 times.
- Join with a sl st to the top of the first HHDC.
- [74 HHDC]
- Rnd 3: Ch 2 (does NOT count as a st).
- 2 HHDC in the same st.
- HHDC in the next 32 sts.
- (2 HHDC in next st) 3 times.
- HHDC in the next 32 sts.
- (2 HHDC in next st) 2 times.
- Join with a sl st to the top of the first HHDC.
- [80 HHDC]
- Your base should now be a sturdy oval. For a wider base, you could add more increase rounds, following the pattern of increasing at the ends.

Part 2: The Bag Body (Working Vertically)
Now we’ll stop increasing and build the vertical sides of the bag.
- Rnd 4 (First Wall Round): Ch 2 (does NOT count as a st).
- Close-up: Work this entire round in HHDC in the back loop only (BLO) of each stitch around. This creates a distinct ridge that clearly separates the base from the bag’s sides and helps the bag stand up.
- HHDC in BLO of each of the 80 sts around. Join with a sl st to the top of the first HHDC.
- [80 HHDC]
- Rnd 5 onwards: Ch 2 (does NOT count as a st).
- Work HHDC in each HHDC around, inserting your hook under both loops as normal.
- Join with a sl st to the top of the first HHDC.
- [80 HHDC]
- Repeat Rnd 5: Continue repeating Rnd 5 until your bag reaches your desired height.
- For a medium tote, this might be 18-22 rounds total from the base (including Rnd 4). This should give you a height of 10-12 inches (25.5-30.5 cm).
- The HHDC creates a slight slant to the stitches; ensure you consistently work in the same direction for all rounds (e.g., always right-to-left if you’re right-handed) to maintain the pattern.

Part 3: The Top Edge
A simple finishing edge.
- Last Round: Ch 1 (does NOT count as a st). Sc in each HHDC around. Join with a sl st to the first sc.
- [80 sc]
- Fasten Off, leaving a 6-inch (15 cm) tail.
6. Attaching Handles & Finishing Touches
This brings your tote to life!
- Weave in All Ends: Use your yarn needle to neatly weave in all loose yarn tails. For a bag, make sure they are very secure, as bags see a lot of wear.
- Crocheted Handles (Recommended):
- Placement: Lay your bag flat. Use stitch markers to decide where you want your handles. A good starting point is to count about 15-18 stitches in from each side (for the front and back panels) and place markers. This will leave about 10-14 stitches between your markers for the handle attachment.
- Making a Handle (Make 2):
- Ch 5 (for handle width).
- Row 1: Sc in 2nd ch from hook, sc in each ch across. (4 sc)
- Rows 2-60 (or desired length): Ch 1, turn. Sc in each sc across. (4 sc)
- Adjust row count for shorter/longer handles. Measure how long you want your strap to be when worn over your shoulder.
- Fasten off, leaving a long tail (about 12 inches / 30 cm) for sewing.
- Attaching Handles: With your yarn needle, carefully and securely sew each end of the crocheted handles to the marked sections on the bag, using a strong whip stitch or backstitch. Go through both the handle and the bag fabric multiple times for extra reinforcement. Repeat for the second handle on the opposite side.
- Pre-Made Handles (Alternative): If you purchased leather or fabric handles, attach them according to their instructions. This might involve D-rings, clips, or sewing directly to the bag.
- Blocking (Optional but Enhances Shape):
- While cotton holds shape well, a light steam block can help even out your HHDC stitches and ensure your bag sits perfectly.
- Stuff your bag with towels or pillows to its desired shape. Gently steam with an iron (do not touch iron to yarn), or spritz with water. Let dry completely in shape.

7. Care for Your Crocheted Tote Bag
Always refer to your yarn label for specific care instructions. For most cotton yarns:
- Hand Wash Recommended: Gently hand wash in cool water with a mild detergent.
- Drying: Reshape the bag and lay flat to air dry. Do not hang, as the weight of the water can stretch the bag.
- Avoid Bleach: Do not use bleach.
Congratulations! You’ve just crocheted a beautiful and sturdy tote bag featuring the sophisticated Herringbone Half Double Crochet stitch. This handmade accessory is not only practical but also a fantastic showcase of your crochet skills. Enjoy carrying your stylish new bag!
Video tutorial:


