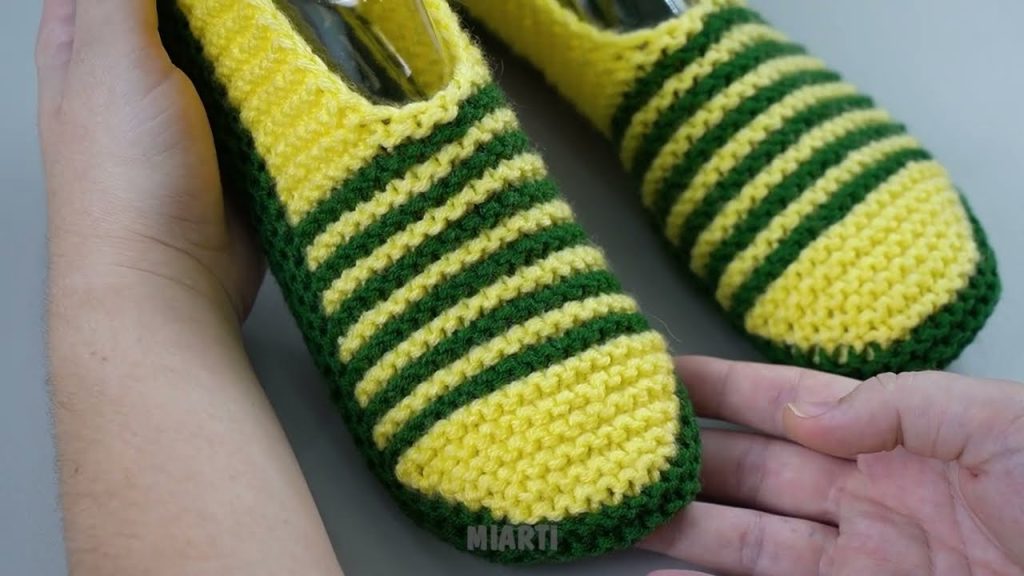
There’s nothing quite like slipping into a pair of warm, handmade slippers after a long day. The “Cozy Stripes” Knitted Slippers are a perfect project for any knitter, featuring a simple garter stitch pattern with fun color changes that create a beautiful, textured fabric. This detailed tutorial will guide you through creating a soft, cozy, and charming pair of slippers that are perfect for keeping your feet warm or making a thoughtful gift.
This project is an excellent choice for a beginner looking to create a beautiful, practical item or for an experienced knitter wanting a fast and fun project. The slippers are knitted flat and then seamed, making them accessible even if you’re not comfortable with circular knitting.
Why Knit the Cozy Stripes Slippers?
- Soft & Cozy: The garter stitch creates a beautiful, squishy texture that is incredibly soft and comfortable for your feet.
- Beginner-Friendly: Uses only fundamental knitting stitches (knit and yarn over), making it accessible for those new to the craft.
- Works Up Quickly: The combination of simple stitches and knitting needles means your project will grow fast!
- Customizable: Easily change the size by adjusting the number of rows, and play with different color combinations to make them your own.
- Sustainable: A great project for using up leftover yarn scraps!
1. Planning Your Slippers: Size & Materials
- Finished Size: This pattern is designed for an adult foot length of approximately 23.5 cm (US women’s size 6-7 / EU 37-38). You can easily adjust the length by adding or subtracting rows, and the width by adjusting the number of stitches picked up later.
- Yarn Choice: Choose a yarn that is soft, durable, and comfortable for slippers.
- Fiber: A Worsted Weight (#4) yarn in acrylic, wool, or a blend is ideal. The video shows two balls of yarn.
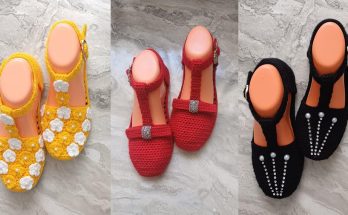
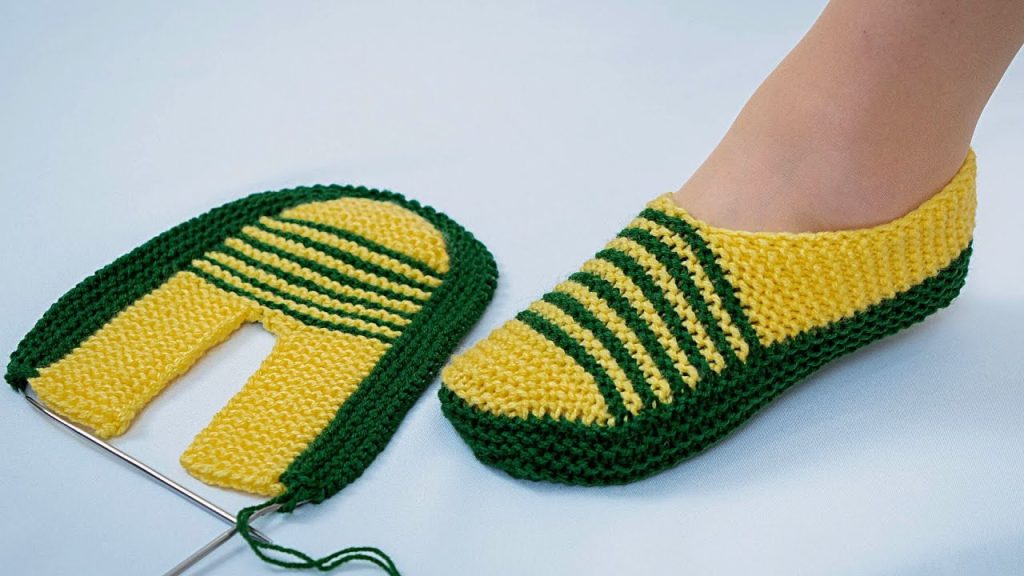
- Color: You will need two contrasting colors for the stripes. For example, a bright yellow and a forest green, as shown in the inspiration.
- Quantity: You will need approximately 300 meters in 100g of yarn in total (divided between your two colors).
2. Materials & Tools You’ll Need
- Yarn: Your chosen quantity of Worsted Weight (#4) yarn in two contrasting colors (Color A – main color, Color B – stripe color).
- Knitting Needles: 3.5 mm (US 4) knitting needles (circular needles are shown in the video, but straight needles will work just as well for flat knitting).
- Scissors: For cutting yarn.
- Yarn Needle (Tapestry Needle): For weaving in ends and seaming.
- Stitch Markers (Optional): To mark the center stitches.
3. Essential Knitting Stitches & Techniques
- Cast On: Starting your knitting project.
- Knit Stitch (k): The fundamental knitting stitch.
- Yarn Over (yo): An increase stitch used to create a new stitch.
- Knit Two Together (k2tog): A decrease stitch.
- Bind Off: Finishing your knitting project.
- Garter Stitch: Achieved by knitting every row, creating a textured fabric.
4. Let’s Knit the Cozy Stripes Slippers!
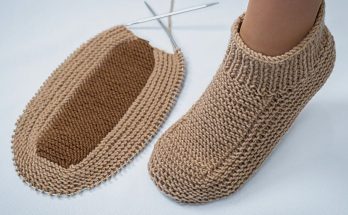
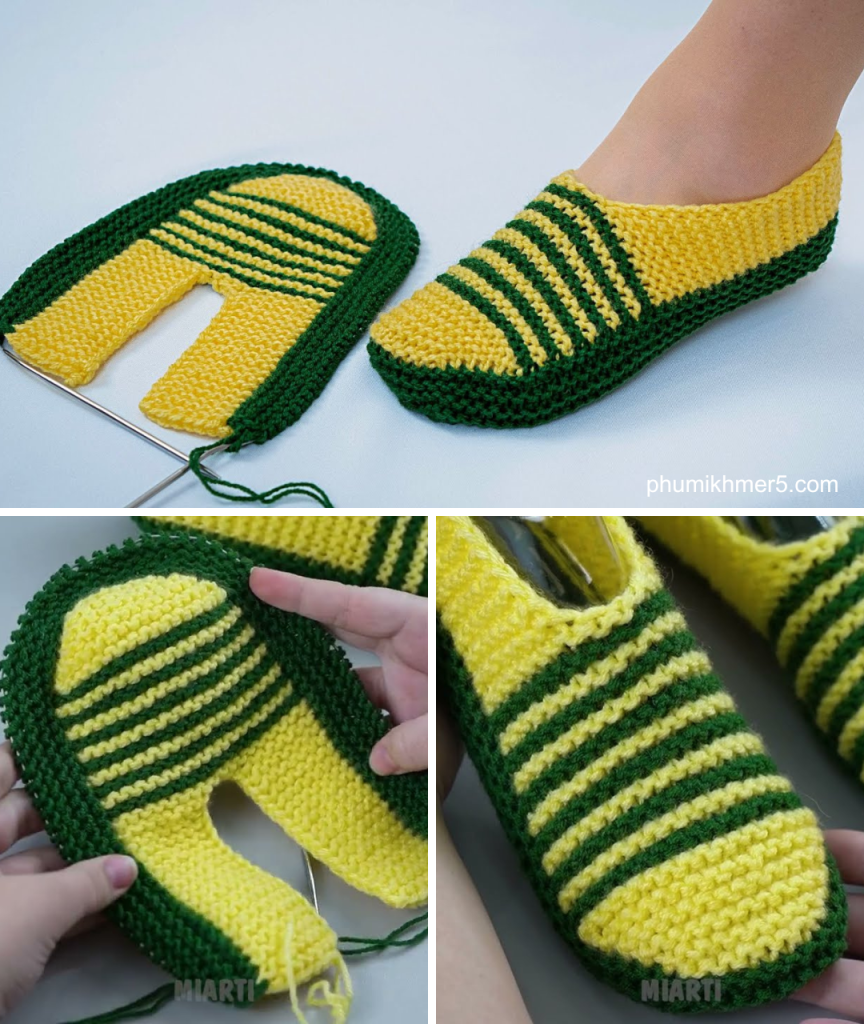
The slippers are knitted in a flat piece, shaped for the toe and heel, and then seamed.
Pattern Notes:
- This pattern uses a garter stitch (knit every row).
- Color changes are made every two rows to create the stripes.
- The instructions are for one slipper; repeat for the second slipper.
Part 1: The Toe (Starting with Color A)
- Cast On: With Color A (yellow, as in the video), cast on 10 stitches.
- Row 1: Knit all stitches.
- Row 2 (Increase Row): Knit all stitches, but make a yarn over at the beginning and at the end of the row. (You’ve increased by 2 stitches).
- Repeat Rows 1 and 2: Further alternate Row 1 and Row 2 until you get 20 stitches on the knitting needle.
- You will knit Row 1, then Row 2, then Row 1, then Row 2, etc., until you reach 20 stitches.
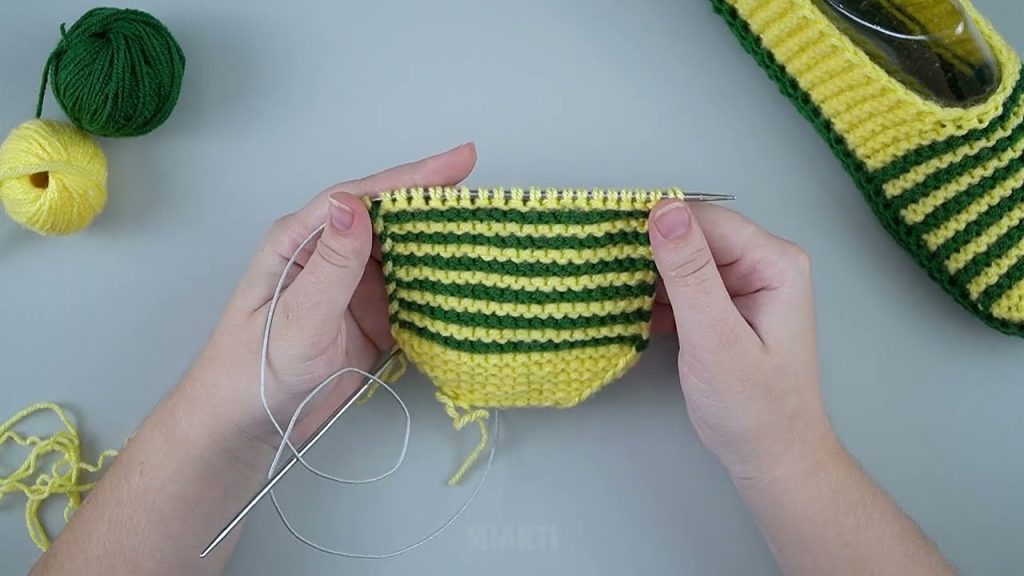
Part 2: The Foot (Alternating Colors)
Now we’ll introduce the stripe color and knit the main body of the slipper.
- Change to Color B: Change the color of the yarn (green, as in the video) and work 2 rows with knit stitches.
- Change to Color A: Change the color of the yarn (yellow) and work 2 rows with knit stitches.
- Continue Alternating: In this way, continue alternating 5 more times (making 5 more sets of 2-row stripes).
- This will result in 6 stripes of Color B and 6 sections of Color A (including the section on the toe).
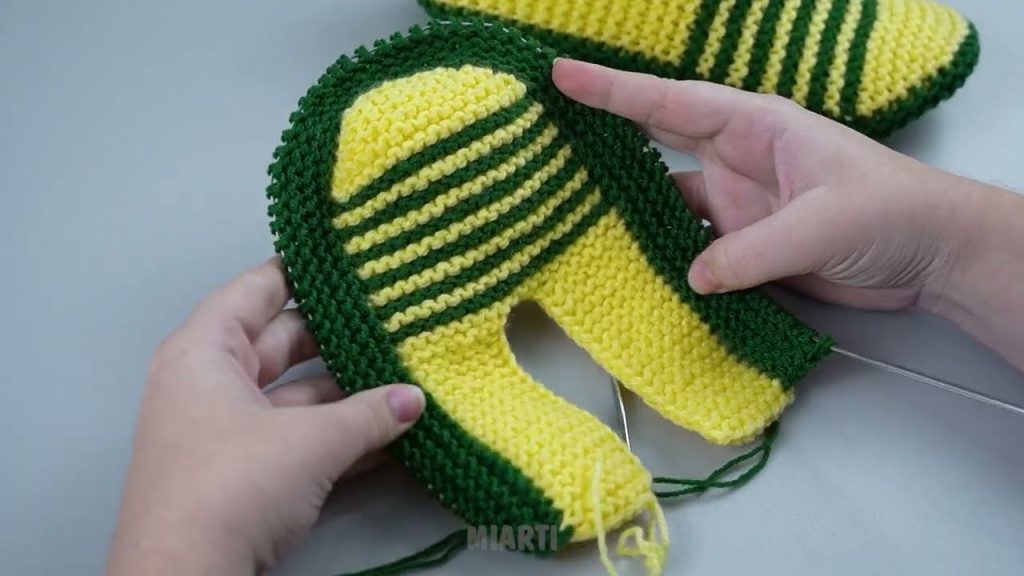
Part 3: The Instep Opening (Shaping for the Foot)
This section creates the opening for your foot.
- Current Color (Color A): Work 9 knit stitches, cast off 2 stitches, and the remained stitches work knitwise.
- You now have a gap in the middle of your work.
- Continue Working in Rows: Further work 9 stitches with garter stitches. Work for 19 garter paths (which means 38 rows in total as each garter path is 2 rows).
- This creates one side of the instep opening.
- Bind Off: Cast off the stitches.
- Repeat for Other Side: Also work the same detail on these 9 stitches. Reattach yarn to the other set of 9 stitches from where you cast off the middle two stitches. Work these 9 stitches for 19 garter paths.
- Bind Off: Cast off the stitches.
- Your piece should now have a “U” shape or a “Y” shape with the gap in the middle forming the instep.
Part 4: The Heel (Using Color B for the main section, with decreases)
Now we will shape the heel and the sides of the slipper.
- Picking Up Stitches: With Color B (green), grab stitches around from the selvage stitches (along the side edges of the instep opening). Pick up a stitch in each garter ridge, and in the space where you bound off stitches, to create a continuous edge around the instep.
- Knit Rows: Work 7 rows with knit stitches.
- Decreases (Row 1): Work 8 knit stitches, 2 stitches together purlwise. Turn your work.
- Decreases (Row 2): Slip 1 stitch, knit 7 stitches, 2 stitches together knitwise. Turn your work.
- Repeat Decreases: Alternate the first and the second row. Continue decreasing until it remains by 4 stitches on the lateral sides.
- Continue this decreasing pattern, always slipping the first stitch, knitting across the main heel stitches, and then knitting 2 together (or purling 2 together as instructed) at the end of the 9-stitch heel flap, reducing the side stitches until no more stitches remain on the lateral sides.
Part 5: Seaming and Finishing
- Seaming the Edges: Sew the edges with slip stitches using a crochet hook. You will seam the back of the heel first.
- Seaming the Toe: Also continue fixing the edges with the hook around the toe area to close any gaps and give it a finished look.
- Weave in Ends: Cut the yarn and weave in all loose ends securely.
Enjoy your beautiful, handmade “Cozy Stripes” Knitted Slippers! They are a perfect, comfortable accessory for chilly days.
Video tutorial: